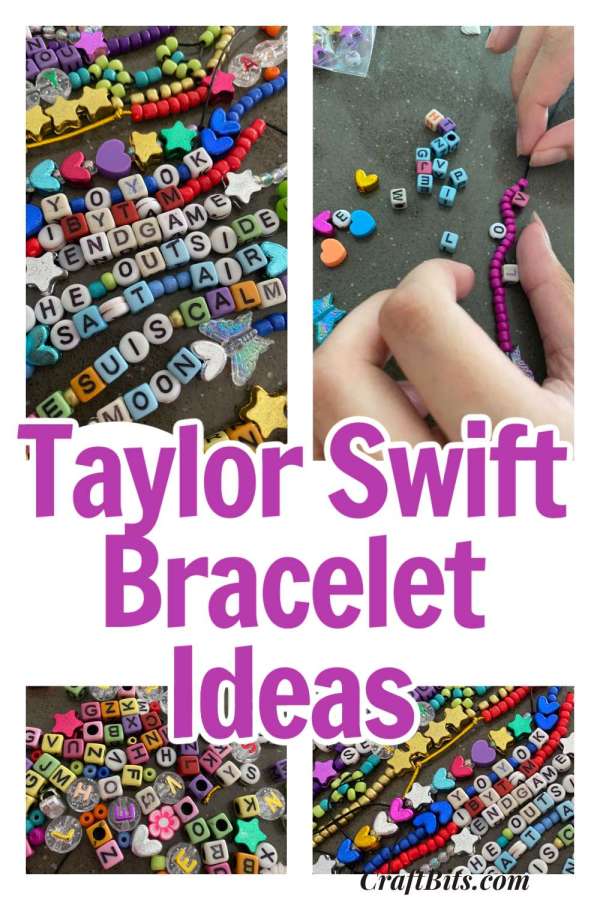
Are you a die-hard Taylor Swift fan looking to add a touch of Swiftie style to your accessories collection? Look no further! In this article, we’ll explore some fun and creative DIY bracelet ideas inspired by Taylor Swift’s iconic songs and albums.
Taylor Swift bracelets are deeply rooted in the tradition of friendship bracelets, which has been embraced by Swifties as a symbol of camaraderie and mutual appreciation for Taylor Swift’s music. Fans often exchange handmade bracelets with fellow Swifties at concerts, meetups, and fan events, fostering a sense of community and belonging within the fandom.
Whether you’re gearing up for a Taylor Swift concert, hosting a Swiftie-themed party, or simply want to showcase your love for the pop sensation, these DIY bracelet projects are sure to delight.
Looking for a fun birthday gift? Check out this Taylor swift birthday card complete with a bracelet and keychain.
One of the defining features of Taylor Swift bracelets is the DIY (do-it-yourself) culture surrounding their creation. Many fans enjoy making their own bracelets inspired by Taylor Swift’s lyrics, album covers, and personal style. DIY tutorials and crafting kits for Taylor Swift bracelets are popular among fans who want to unleash their creativity and express their love for Taylor Swift in a unique and personalized way.
DIY Friendship Bracelets Tutorial
Kids Craft – Super Cute Friendship Bracelets
The bracelets serve as tangible reminders of shared experiences, emotional connections to Taylor Swift’s music, and the supportive community that exists within the fandom.
So grab your crafting supplies and get ready to channel your inner Swiftie with these fabulous bracelet ideas!
Here are our top 5 swiftie trade bracelet ideas:
Frequently Asked Questions (FAQ) – Taylor Swift Bracelets
1. How many bracelets should I make for the Eras Tour?
- It’s recommended to bring around five to 10 bracelets to the Eras Tour to trade with other fans. Many attendees come prepared with bags filled with bracelets to exchange during and after the concert.
2. Do Swifties exchange friendship bracelets at Taylor Swift concerts?
- Yes, exchanging friendship bracelets has become a popular tradition at Taylor Swift’s concerts, including the Eras Tour. Fans and celebrities alike participate in this nostalgic activity, trading bracelets with each other as a symbol of their shared love for Taylor Swift’s music.
3. Why are Taylor Swift fans trading friendship bracelets at the Eras Tour?
- The tradition of trading friendship bracelets at Taylor Swift concerts is a way for fans to connect with each other and celebrate their mutual admiration for Taylor Swift and her music. This trend originated from Taylor Swift’s song “You’re On Your Own, Kid” from her album “Midnights.”
4. What is the significance of making friendship bracelets for Taylor Swift’s concerts?
- Making friendship bracelets for Taylor Swift’s concerts, such as the Eras Tour, is a way for fans to express their creativity and demonstrate their dedication to Taylor Swift and her community of Swifties. It’s a fun and meaningful activity that adds to the overall concert experience.
5. When did the trend of trading friendship bracelets at Taylor Swift concerts begin?
- The trend of trading friendship bracelets at Taylor Swift concerts, including the Eras Tour, began as fans eagerly anticipated the start of the tour in 2023. Inspired by Taylor Swift’s song “You’re On Your Own, Kid,” fans started making and exchanging friendship bracelets as a symbol of unity and camaraderie within the Swiftie community.
Making a Simple Beaded Bracelet
Beaded bracelets are not only stylish accesyssories but also fun and ea to make at home. In this tutorial, we’ll guide you through the steps to create a simple beaded bracelet that you can customize to match your style or give as a thoughtful handmade gift. Let’s get started!
Materials Needed:
- Beading wire or stretch cord
- Assorted beads of your choice
- Scissors or wire cutters (if using beading wire)
- Clasp or closure (optional)
- Bead stoppers (optional)
Step 1: Choose Your Beads
- Select the beads you want to use for your bracelet. You can choose beads of various colors, sizes, shapes, and materials to create a unique design. Consider mixing different types of beads for added visual interest.
Step 2: Measure and Cut the Cord
- Measure the beading wire or stretch cord to your desired bracelet length, allowing extra length for tying knots or attaching a clasp. It’s better to cut a longer piece of cord than you think you’ll need, as you can always trim the excess later.
Step 3: Secure One End
- If you’re using beading wire, attach a bead stopper or fold the end of the wire to prevent the beads from sliding off. If you’re using stretch cord, you can skip this step.
Step 4: String the Beads
- Begin stringing your selected beads onto the cord in your desired pattern or random arrangement. You can experiment with different bead combinations until you achieve the look you want. Leave a small amount of cord at the end to allow for tying knots or attaching a clasp.
Step 5: Tie Off the Ends
- Once you’ve finished stringing all your beads, secure the ends of the cord by tying a knot. If you’re using beading wire, you can use crimp beads and a clasp to finish the bracelet neatly. If you’re using stretch cord, tie several knots to ensure a secure closure.
Step 6: Trim Excess Cord
- Use scissors or wire cutters to trim any excess cord, being careful not to cut too close to the knot. Leave a small tail to prevent the knot from coming undone.
Step 7: Finishing Touches (Optional)
- If you’re using beading wire, you can add a clasp or closure to one end of the bracelet for easy wear. Simply attach the clasp using crimp beads and pliers. If you prefer a more adjustable fit, you can use a sliding knot closure with stretch cord.