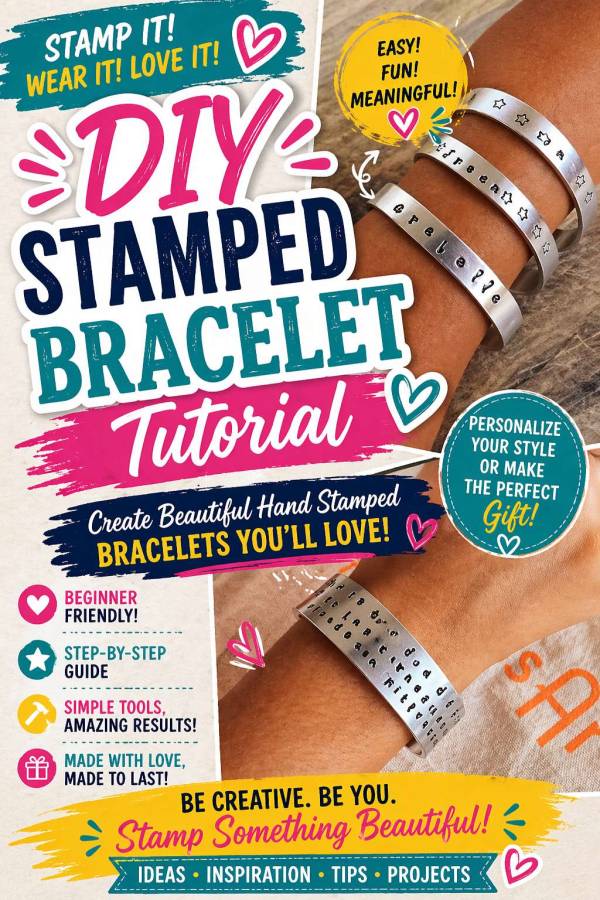
Stamped metal bracelets are such a lovely way to turn a simple bracelet blank into something meaningful. Whether you choose a favourite quote, a name, a special date, or a cheeky little word that makes you smile, hand-stamped jewellery always feels personal in a way shop-bought pieces rarely do.
This stamped metal bracelet tutorial uses ImpressArt bracelet blanks, metal letter stamps, a steel block, stamp guides, an enamel marker, and bracelet bending tools to create a custom handmade cuff bracelet. It is a wonderful project if you have been wanting to try metal stamping for jewellery making but were not quite sure where to start.
What I love about this type of DIY bracelet is that it looks beautifully finished, but the process is surprisingly approachable once you have the right tools. The stamp guides help keep your lettering neat, the enamel marker makes the stamped letters stand out, and the bracelet bending bar gives the flat blank that proper curved cuff shape.
It is also a great handmade gift idea. You could stamp an inspirational quote, a bookish phrase, a child’s name, a wedding date, or a short message for a friend. Just remember to plan your wording before you start hammering — metal stamping is not quite as forgiving as moving beads around on a tray!
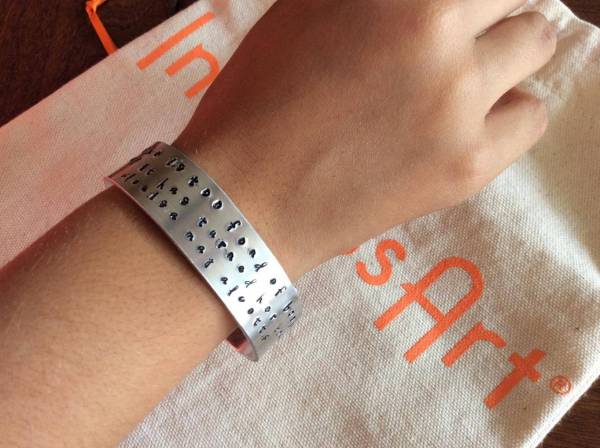
ImpressArt gave us an exciting opportunity to review some of their top-notch products. And of course, we said yes.
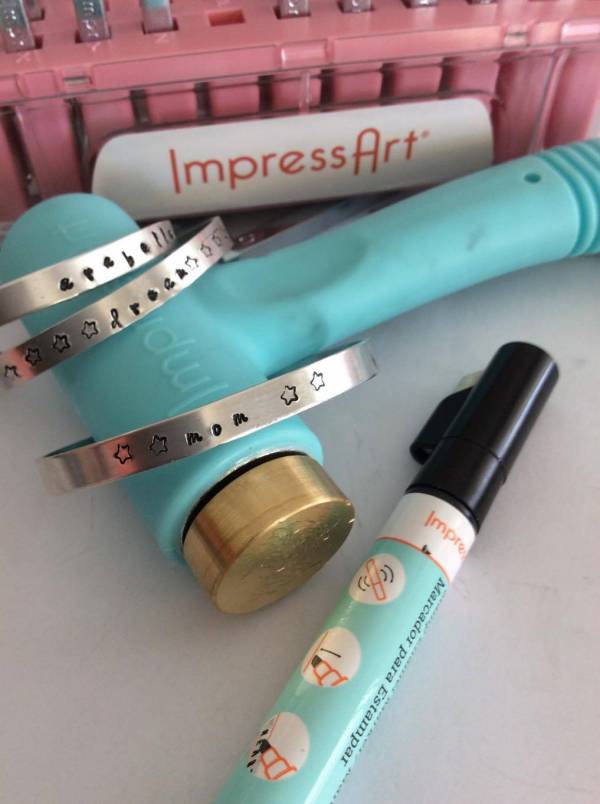
A few weeks later, an oversize box with Craftgossip’s name on it arrived in the mail. I ripped the box open to find:
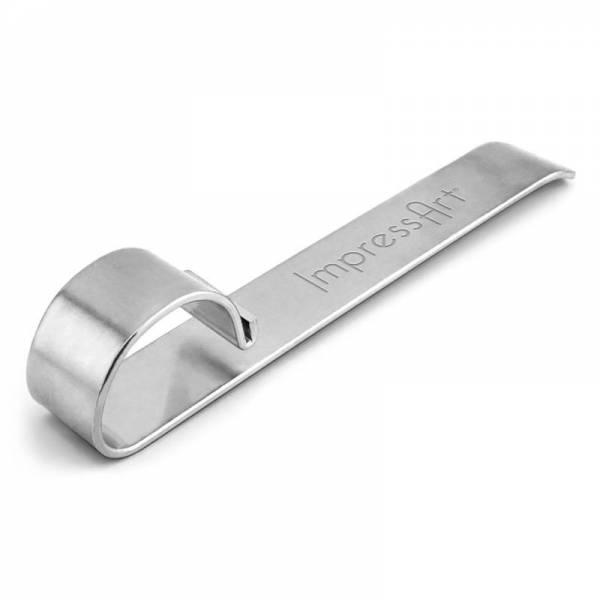
Bracelet Bending Bar
Bracelet Bending Pliers
Bracelet Blanks
*Lowercase Melody Letter Stamps (3mm)
*Ergo-Angle Hammer
*Stamp Guides
Small Steel Block
*Enamel Marker
Star Stamp
*New Products
Making bracelets has never been so easy. You can view our tutorial below or check out the video we added to our Facebook page.
And this is how we made our stunning bracelets.
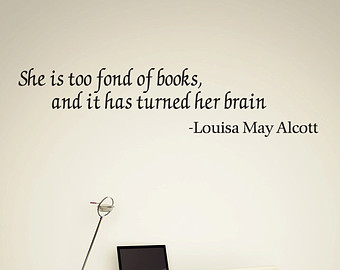
Step 1: Choose a bracelet blank, decide what you are going to write, and get the corresponding letters ready. A nice inspirational quote works well. We chose one quoted by Louisa May Alcott.
Step 2: Grab the Steel Block and the Stamp Guides. Trust me, the Stamp Guides are an angel sent from heaven. Without them I have no idea where our letters would have ended up. Peel the ruler from the booklet and stick it onto the Block. Grab a Bracelet Blank (BE SURE TO PEEL OFF THE PLASTIC!!) and line it up with the ruler. Take the Ergo-Angle Hammer and hit the letter stamps into the Blank.
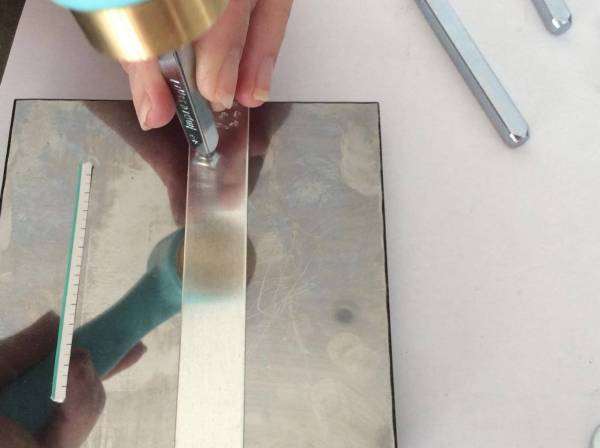
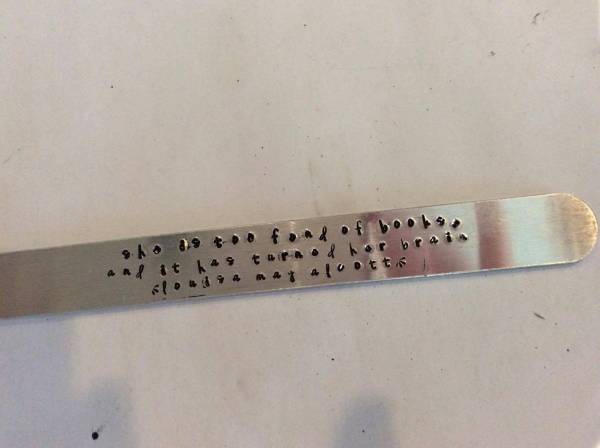
A quick and helpful tip: When we did ours, we found it hard knowing which letter to hit next. If you did the same quote as us, here’s a quick guide. There wasn’t a hyphen, so we simply left a space and went to the next line. We also added a flower to each end of Ms. Alcott’s name.
s h e i s t o o f o n d o f b o o k s a n d i t h a s t u r n e d h e r b r a i n
l o u i s a m a y a l c o t t
Step 3: When you have stamped each letter, grab the Enamel Marker and give it a shake before your first use to get the ink flowing. Draw a thick line across all of your letters. Don’t worry about getting the ink in places other then the letters. Wait 2-3 minutes for the best results. Then, using a cloth, wipe the Bracelet Blank until the ink has gone. The letters should be outlined in a lovely black.
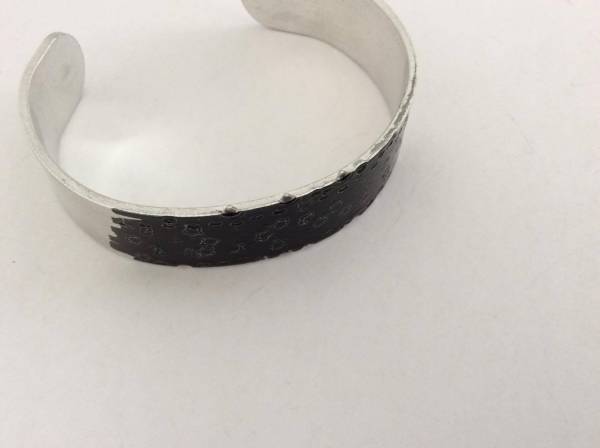
Step 4: Grab the Bracelet Bending Bar and slide one end of the Bracelet Blank into the fold on the curved end of the Bender. Push down on the opposite end of the Blank and it should bend. Repeat this step for the opposite side. You should now have a lovely bracelet!
We loved the stunning bracelets we crafted and me and my mom wanted to make more!
ImpressArt products are available at craft retailers globally. Visit the store locator at ImpressArt.com to find a retailer near you.
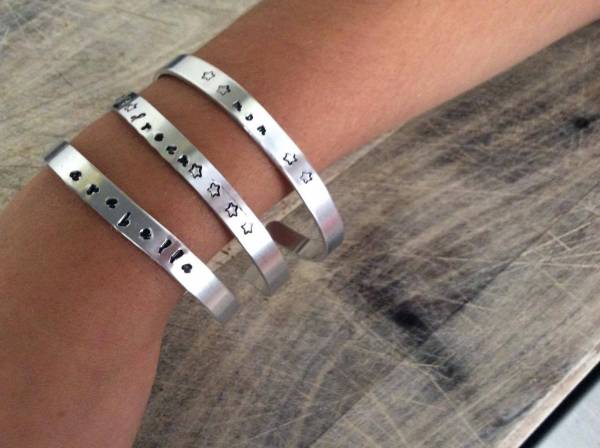
Review By Arabella
(Shellie’s 10 year old daughter)
ImpressArt Bracelet-Making Tutorial
Textured Love Pendant – Metal Stamping with ImpressArt
Stamped Metal Earrings – Metal Stamping with ImpressArt
Stamped Emoji Charm Tutorial – Metal Stamping with ImpressArt
This ImpressArt stamped bracelet project is a lovely example of how a few jewellery-making tools can turn a plain metal blank into a keepsake piece. Once you have tried one bracelet, it is very tempting to start stamping all sorts of words, quotes, and tiny symbols onto every blank you can find.
Try experimenting with different metal finishes, shorter phrases, star stamps, flower stamps, or initials for a more personalised look. These handmade cuff bracelets would make thoughtful gifts, bridesmaid jewellery, craft night projects, or special pieces to mark a meaningful moment.
And yes, if your first few letters wobble a little, don’t panic. That is part of the charm of handmade stamped jewellery — and also a very good excuse to make another one.