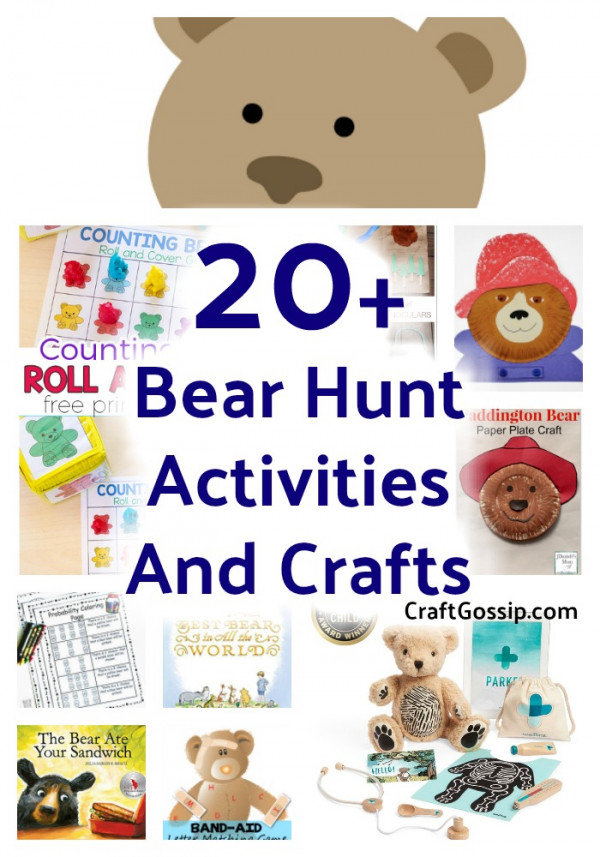
Bear Hunts and Teddy Bear searches are going on around the world right now! It seems like every country and neighbourhood has its own bear hunt trail taking place. Do you have a teddy bear in your window? I have seen cars of families driving past and shouting out “There!” Each time they pass another bear. It is a simple activity but I can see how much effect it is having on people. Not just the kids, I think it’s giving adults an activity to do too. It is something that can be done safely in isolation, be it in your own car or on foot, on a bike or in the pram.
The Book We are going on a bear hunt , is one of the most treasured books in our house, it was the bedtime story for our youngest and after 11 years we still have it.
This article is all about bear hunts in your own neighbourhood and how you can extend the day’s activity to include other crafts and activities based around your Bear hunt outing. Maybe you can’t go out, but have a Teddy bear in your own window and these activities will help you to enjoy the “bear hunt” craze safely from your own home.
Don’t have a teddy bear? How about printing one out to stick in the window. We have included a A4 sized printable below, just save and print. You may wish to print in black and white if you don’t have the ink available. You can also paint your own teddy bear onto a canvas. If you are feeling very creative, how about using an old bed sheet and painting a giant bear to hang in your Window?

Check out these other Bear Crafts Too
Teddy bears picnic Beehive Pinata from Canadian Family
Make a crafty Bear Hunt Map from Buggy and Buddy
Paint a Bear Card with a Fork from Crafty Morning
Lesson plan and Activities
Parker the STEAM Learning Bear

Free bandaid letter matching bear printable
Books about bears
The Bear That ate your sandwich

The best bear in all the world
Young Adult – The Bear That Heard Crying
Board games about Bears
Bears Vs Babies Adult Board Game

Bears matching Kids board game
DIY Picnic Basket from Brown Paper Bags

3 paper bags, all the same size but any size/color can be used
Scissors
Strong tape
Glue stick
Bag One – the handle: With the first bag, cut it in half through the width. Discard the bottom of the bag. With the top, roll the bag down 1 inch at a time, pressing flat with each roll, until the bag is completely rolled into a handle. Run glue along the seam where the final fold overlaps and press to seal.

Bag Two – the weaving strips: With the second bag, cut in 1 inch strips across the width of the bag, discarding the very bottom. When you unfold the strips, this creates paper loops. After opening each loop, cut each strip along one of the folded seams to create a long strip instead of a paper loop.


Bag Three – the basket body: With the final bag, open the bag completely and cut 1 inch lines from the opening of the bag straight to the bottom. Do not cut the bottom of the bag where it will rest. Open all of the cut pieces to lay flat on your work surface.
Line the handle (from bag one) across the bottom of the open bag (bag three – the basket body) aligning the handle with the strips along the side so that when the weaving begins, the handle can be included in the weave. Tape the handle to the inside of the bottom.
With the paper strips from bag two, begin weaving the strips in and out of the cut strips on bag three. It is best to start at a corner. Try to align the folded edges of the strips (where the bag was folded before being cut) with the folded edges on the basket body to help hold the shape. Using glue, attach the starting and ending edges of the strips to the basket body.
Tip: To add stability to the basket, start each weave in a different corner.
Continue weaving, alternating each row and including the basket handle in the weave. Have three to four rows for your basket.
To finish the basket, fold the final strips of the basket body facing the outside of the weave to the inside, over the edge of the basket walls. Cut as needed to fit the length into the basket and use glue on the inside to attach the loose ends to the basket’s walls. For the strips of the basket body that are on the inside of the weave, trim them to match the height of the basket walls.
Allow glue to dry before playing or displaying.