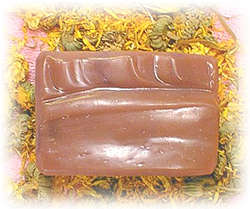
 Susann Kaspersen has shared a delicious sounding vanilla caramel cold process soap recipe on Teach Soap. Find all the instructions here.
Have you read?
Spooky and Stylish: How to Make Halloween Splatter Pumpkins for a Bold Décor Statement
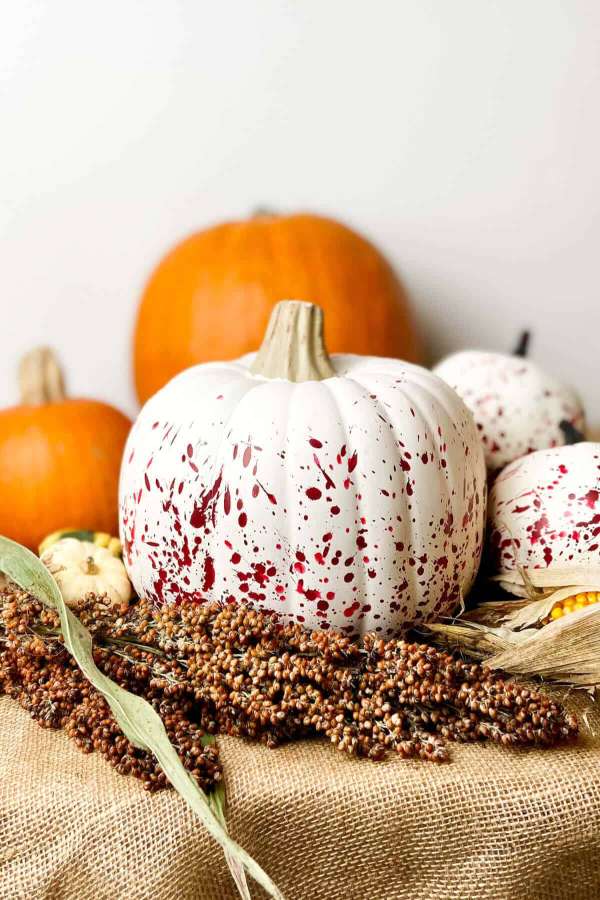
Oh my gourd-ness, it’s almost Halloween, and these Halloween splatter pumpkins are the perfect last minute decoration! With just a few inexpensive craft pumpkins and some paint, you’ll add this whimsical yet spooky decor to your home in no time at all.
These Halloween Splatter Pumpkins are just what you need to bring some bold, creative energy to your fall décor! This DIY project is a perfect way to add a pop of color and an artistic twist to your Halloween setup. Imagine traditional pumpkins transformed with splashes of paint that give them a spooky, yet modern vibe—perfect for both indoor and outdoor spaces.
Whether you’re decorating your porch or crafting unique centerpieces, these splatter pumpkins are a stylish way to up your Halloween decor game without any complicated steps. Plus, they’re an awesome way to get the whole family involved in creating something cool and fun.
Ready to make your pumpkins stand out this Halloween? href=”https://maplewoodroad.com/halloween-splatter-pumpkins/” target=”_new” rel=”noopener” data-start=”870″ data-end=”961″>Check out the full tutorial here! and get started on creating your own spooky masterpiece today!