There is a fun trend coming to the US from Japan termed “kawaii”, pronounced “ka-why-ee”, the simple definition is “cute” and it’s a big trend in clothes, food, toys and even crafts and stamps. This trend borrows alot of influences from Japanese anime and manga forms of animation. Here’s a wikipedia page if you’re interested in more info. I wanted to share some of the great stamp shops that focus on kawaii, the images are so sweet and so much fun!
NikoArt has some of the most adorable kawaii stamps, Nicole Holi is the wonderful illustrator for these stamps. You can buy wood mounted sets or individual stamps. I particularly love this Forest Friends set:
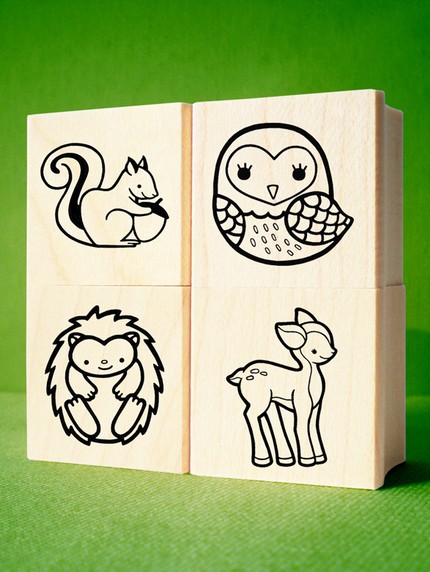
image by Niko Art
and this cupcake:
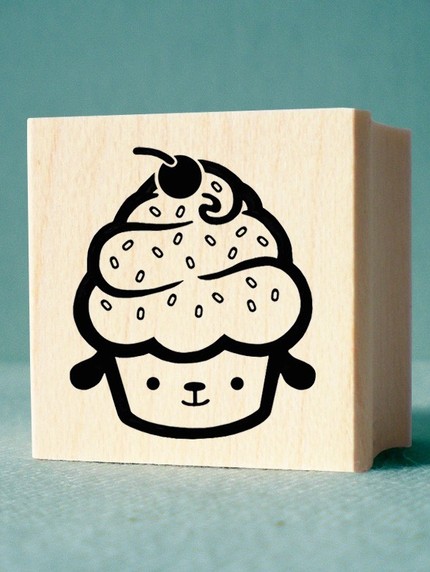
image by Niko Art
The Mayberry Sparrow offers terrific hand carved kawaii style stamps like this absolutely adorable bunny:
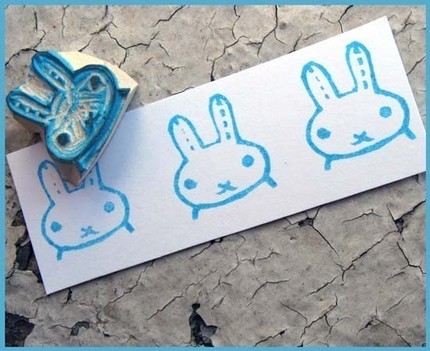
image by The Mayberry Sparrow
Craft Pudding offers cute tiny wood mounted stamps like this girl with a bird on her head, how sweet is that??:
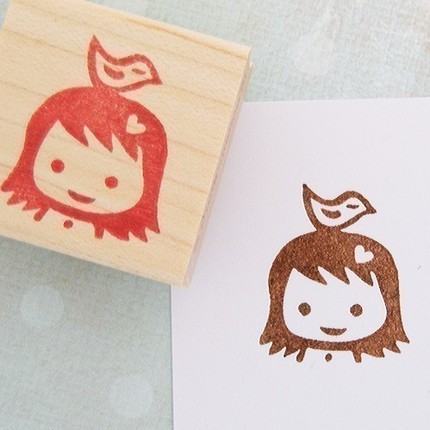
image by Craft Pudding
Craft Chi offers fun little acrylic stamp sets like this fruit and nut set:
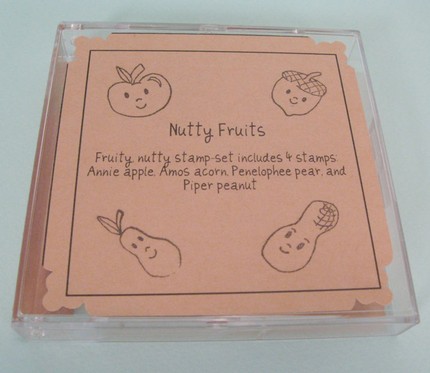
image by Craft Chi
Hope you’ve enjoyed this peek into the fun world of kawaii stamps!
-Heather