 I’ll ask this of the fusers and stained glass folks and the mosaic enthusiasts as well as the blowers this question soon, but tonight’s question goes to those that make beads. The most popular glass used is COE 104, Moretti/Effetre or Murano or Vetrofond or Double Helix, some Reichenbach and Uroboros. There’s also TAG and some more 104’s I’m not mentioning. I love 104. The colors available are fabulous! It has a good amount of time to work it while it’s still soft. But there’s also Bullseye, COE 90. And Spectrum 96…Uroboros makes 96 as well as Gaffer, which has some amazing, magical colors. We must not forget the extremes too, Boro and Satake. One is very hard and one is very soft. Neither is my personal favorite, but I’ve seen spectacular glass made with both types. So what’s your favorite?
Have you read?
Transform Fallen Leaves into Stunning Mandala Art – Here’s How
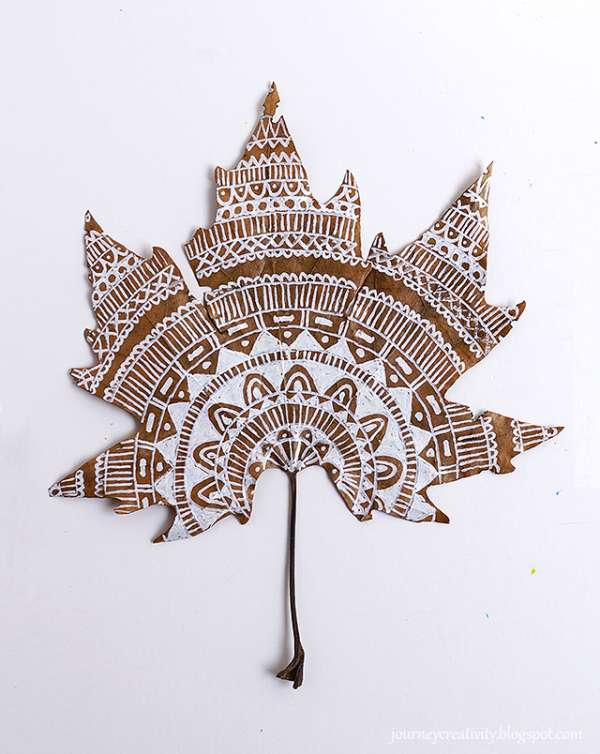
Who knew that something as simple as fallen Platanus leaves could be turned into a beautiful mandala masterpiece? If you’re a fan of nature-inspired art or looking for a fun and creative project, this tutorial is perfect for you!
By using leaves from the Platanus tree, you can create an intricate, symmetrical design that showcases the natural beauty of the outdoors. It’s a mindful craft that’s perfect for relaxing and getting in touch with nature. Plus, the finished mandala can make a stunning piece of eco-friendly wall art for your home.
Create your own nature-inspired art today!
Learn how to make your own mandala art here!
Mandala Floor Stencils And Painting Tutorials
A Year of Stone Painting: 52 Mandala Designs to Inspire Your Spirit