• Home
  • Suggest A Craft
  • DIY Newsletter

Craft Gossip

The largest independent craft review site since 2007

  • About CraftGossip
  • Our Network
    • Bath & Body Crafts
    • Candle Making Ideas
    • Crochet Ideas
    • Cross Stitch
    • Edible Crafts
    • Felting Patterns
    • Glass Art
    • Home & Garden Ideas
    • Indie Crafts
    • Jewelry Making
    • Kids Crafts
    • Knitting Patterns
    • Lesson Plans
    • Needlework
    • Party Ideas
    • Polymer Clay
    • Quilting Ideas
    • Recycled Crafts
    • Scrapbooking
    • Sewing Patterns
    • Card Making
    • DIY Weddings
    • Not Craft Ideas
  • Giveaways
  • Roundups
  • Store
  • Search

Speed Piecing Stack-N-Whack Blocks: 3 Time-Saving Hacks for Impatient Quilters

May 10, 2025 by Shellie Wilson

The first time I tried a Stack-N-Whack quilt, I spent three hours carefully aligning my fabric layers, only to realize I’d rotated one stack 90 degrees by accident. My “kaleidoscope” looked more like a funhouse mirror.

After that disaster (and a few choice words), I became obsessed with finding faster, foolproof ways to piece these mesmerizing blocks—without the headache.

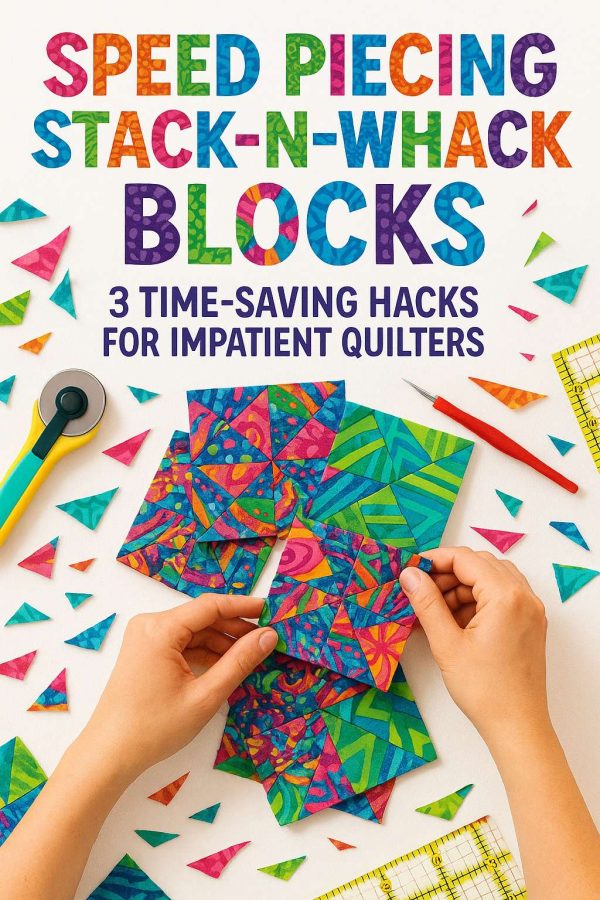
Here are the three game-changing hacks that cut my Stack-N-Whack time in half (and saved my sanity):

Hack #1: The “No-Fuss” Cutting Trick

(Because measuring each layer is for overachievers)

What You’ll Need:

  • Rotary cutter with a fresh blade (dull blades = frayed tempers)
  • Non-slip ruler grips (or painter’s tape on the back)
  • Glow-in-the-dark masking tape (trust me)

How It Works:

  • Stack fabrics RIGHT SIDES UP (no flipping needed).
  • Mark your first cut line with the tape on your ruler—no measuring repeats!
  • Cut all layers at once with firm pressure.

Why It’s Magic:

  • Eliminates measuring errors (goodbye, mismatched points!)
  • The tape line glows under dim sewing room lights (night owl approved)

Pro Tip: Use sandpaper grips under your fabric stacks—they prevent shifting better than prayers.

Hack #2: Chain-Piecing Like a Boss

(Because threading the needle 87 times is torture)

The Problem:

Traditional piecing has you:

  • Sew one unit
  • Clip threads
  • Repeat ad nauseam

The Fix:

  • Arrange ALL your identical units in order (e.g., all “A” triangles).
  • Feed them through continuously without lifting the presser foot.
  • Snip apart later while binge-watching your favorite show.

Bonus Speed Boost:

  • Use leader/ender scraps to avoid thread nests at the start.
  • Try 50wt thread—thinner = less bulk when clipping.

Real-World Results:

  • 48 half-square triangles pieced in under 15 minutes (vs. 45+ the old way).

Hack #3: The “Pressing Station” Shortcut

(Because ironing is the quilter’s treadmill—necessary but boring)

Set Up Your Battle Station:

  • Iron RIGHT next to your machine (no steps = no procrastination)
  • Mini design board (foam core + flannel) to organize units
  • Best Press starch (prevents stretching during assembly)

The Lazy Quilter’s Pressing Flow:

  • Sew a seam ? immediately press (no piling up!)
  • Use the “hover and steam” method for seams:
  • No dragging = no distortion
  • Faster than full-on pressing
  • Twirl seams open with a chopstick (no fingernail damage)

Confession: I once timed myself—this shaved 2 hours off a queen-size quilt.


Read These Next

  • DIY Nautical Beach /Hamptons Styled Mirrors
  • 22 Layer Cakes That Will Wow Your Guests
«

Have you read?

Make Your Own Stylish Half Circle Skirt in Just a Few Steps: A Simple Sewing Tutorial

f you’ve ever wanted to create a chic, flattering skirt with minimal effort, this easy half-circle skirt tutorial from The Seaman Mom is the perfect project for you! Whether you’re a beginner or an experienced sewist, this tutorial walks you through how to make your own half-circle skirt that’s both comfortable and stylish.

This skirt is a wardrobe staple that you can dress up or down, and the half-circle shape creates a lovely flow when you move. It’s perfect for wearing in warm weather or layering in colder months, and because it’s so easy to sew, you’ll find yourself making a few in different fabrics and colors for every season!

What’s great about this tutorial is that it simplifies the process of making a half-circle skirt, which might sound complicated at first, but with step-by-step instructions, you’ll be able to create one in no time. You can even personalize it with your own fabric choices, from solid colors to fun patterns, making it truly unique to your personal style.

So, if you’re ready to make a skirt that’s as easy to sew as it is to wear, head over to The Seaman Mom’s Easy Half Circle Skirt Tutorial and get started on creating your own fun and flirty new skirt!

RSS More Articles

  • Make Your Own Stylish Half Circle Skirt in Just a Few Steps: A Simple Sewing Tutorial
  • Speed Piecing Stack-N-Whack Blocks: 3 Time-Saving Hacks for Impatient Quilters
  • Designer Spotlight: Natalka Studio
  • Paw Print Shaped Dog Mini Album
  • Another Great Shawl to Use Your Leftovers
  • Mother’s Day Gift Guide 2025: My Top Amazon Picks She’ll Actually Love
  • The Quilter’s Fabric Dictionary: 57 Terms You Need to Know
  • How to Fix a Missed Crochet Stitch (No Frogging Needed!)
  • Best Sewing Machine for Quilting Beginners: Your No-Stress Buying Guide
  • McCall’s Half-Price Pattern Sale – Starts Friday!

Pick Your Blog

  • Sewing
  • Knitting
  • Quilting
  • Crochet
  • Home & Garden
  • Recycled Crafts
  • Scrapbooking
  • Card Making
  • Polymer Clay
  • Cross-Stitch
  • Edible Crafts
  • Felting
  • Glass Art
  • Indie Crafts
  • Kids Crafts
  • Jewelry Making
  • Lesson Plans
  • Needlework
  • Bath & Body
  • Party Ideas
  • Candle Making
  • DIY Weddings
  • Not Craft
  • Free Craft Projects

Copyright © 2025 · CraftGossip | Start Here | Contact Us | Link to Us | Your Editors | Privacy and affiliate policy