 This Soy candle tutorial comes with free printable labels. The jars are rustic and practical. These simple labels give them a wholesome homemade feel. Perfect for gifts or wedding favors. Full Tutorial
Have you read?
Inspired by the Stolen Neighbors Quilt? How to Organise a Community Quilt Project
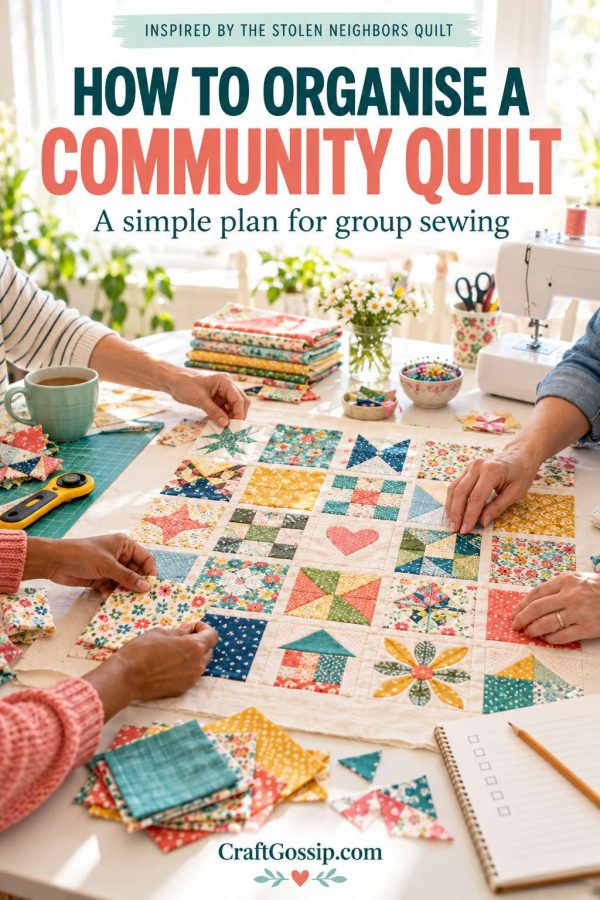
The Minnesota Stolen Neighbors Quilt has reminded many of us just how much a group of makers can achieve together. Its organisers brought contributions from across the country into a quilt containing 12,500 squares, which was unveiled at the Minnesota State Capitol in September 2026.
Your own community quilt does not need thousands of pieces or a Capitol-sized staircase. It might bring together a quilting guild, a school, a neighbourhood, a family or a group remembering someone they love. The part worth borrowing is the approach: give people a clear purpose and a manageable way to contribute.
Here is how I would plan a community quilt that people can actually finish, display and enjoy.
1. Decide what the quilt is for
Write its purpose in one or two sentences before you choose fabrics. Are you recording local stories, celebrating a school anniversary, raising money, honouring a person or making a quilt to donate?
This decision helps with everything that follows, especially when someone asks what to put on their block. If the subject involves people’s names or personal experiences, decide how you will seek permission and what you will keep private. That conversation is much easier before the sewing begins.
For more examples of quilts carrying a public message, see our resistance quilts and protest patchwork guide.
2. Work backwards from the finished size
Start with a realistic display space and the number of contributions you expect. For a simple example, 48 blocks finishing at 8 inches each, arranged six across by eight down, make a centre measuring 48 by 64 inches before borders. With a standard quarter-inch seam on each side, contributors would submit unfinished blocks measuring 8½ inches square.
Choose one size and say clearly whether it is the unfinished submission size or the finished size after joining. Those extra half-inches are exactly the sort of detail that can turn a pleasant sewing afternoon into an evening with a seam ripper.
If beginners or children will decorate fabric squares, consider preparing the base pieces for them. You can give experienced quilters the job of squaring up and joining the contributions later.
3. Write a one-page contributor guide
Keep it short enough that people will read it. Include:
- The quilt’s purpose and who may contribute
- Exact unfinished block dimensions
- Fabric and colour guidance, if needed
- Suitable techniques, such as piecing, appliqué, embroidery or fabric markers
- Any limits on beads, buttons or bulky embellishments
- The deadline and delivery address
- Whether blocks may be photographed or displayed publicly
- How contributors will be credited
Projects such as the We the People Quilt show how useful clear instructions can be when many makers are contributing different designs. Its organisers also explain why stitched or painted details may be more durable than glue alone.
4. Make a sample before inviting everyone in
Sew one block to your own rules. Measure it, photograph it and ask a beginner to follow the instructions. If they have to message you three times to ask what you meant by “8-inch square,” the guide needs another edit.
A sample is particularly useful when the quilt will contain words. Check that lettering remains readable after seam allowances take a bite out of the edges.
5. Plan jobs beyond making blocks
Someone needs to log arrivals, check measurements, arrange the layout, piece the top, quilt it, bind it and make a label. For a large project, you may also need people to store sections, fund postage and organise the final display.
Ask volunteers which part they want to do. Not everyone enjoys precision piecing, but someone may be brilliant at tracking contributions or taking photographs. If donated scraps are part of your plan, our string quilt block tutorial offers an approachable option for using narrow strips.
For a project made from new quilting cotton, a coordinating bundle from Fat Quarter Shop or Connecting Threads could help keep the background consistent while leaving contributors free to add their own colours. Check what your group already has first. Community quilts have a lovely habit of beginning in several well-stocked fabric cupboards.
6. Decide where the quilt will go
Will it hang in a library, travel between community spaces, be given to a family or be raffled for a cause? Confirm the venue’s hanging requirements and the quilt’s eventual owner. Agree on who can lend it, photograph it and look after it when the event is over.
Add a label recording the project name, dates, purpose and contributors. Our stitched envelope quilt label tutorial is one way to keep some of that history with the work.
Then photograph the finished quilt and its details. From across a room, people will see what the group achieved together. Close up, they can see what each maker gave.