• Home
  • Suggest A DIY
  • DIY Newsletter

Craft Gossip

Independent craft blog since 2007

  • About CraftGossip
  • Our Network
    • Bath & Body Crafts
    • Candle Making Ideas
    • Crochet Ideas
    • Cross Stitch
    • Edible Crafts
    • Felting Patterns
    • Glass Art
    • Home & Garden Ideas
    • Indie Crafts
    • Jewelry Making
    • Kids Crafts
    • Knitting Patterns
    • Lesson Plans
    • Needlework
    • Party Ideas
    • Polymer Clay
    • Quilting Ideas
    • Recycled Crafts
    • Scrapbooking
    • Sewing Patterns
    • Card Making
    • DIY Weddings
    • Not Craft Ideas
  • Giveaways
  • Roundups
  • Store
  • Search

Pringle Tin Candles

December 7, 2016 by Shellie Wilson

8017

Are you tired of using the same old candle molds and looking for something new to try? Look no further than your own pantry! Yes, you read that right. Pringles tins can make for great molds for your homemade candles. Not only are they readily available, but they are also cost-effective and the perfect shape and size for a candle.  See the tutorial here – Pringle Tin Candles.

Using Pringle tins as molds is a great way to create unique and interesting shapes for your candles. The cylindrical shape of the tin creates a sleek and modern look that can be hard to achieve with traditional molds. Plus, the tins can be easily decorated or labeled to fit any occasion or theme.

Now, using Pringles tins as candle molds isn’t without its challenges. The first and perhaps most significant challenge is finding a wick that fits perfectly in the tin. This can be achieved by using a small bead of hot glue to attach the wick to the bottom of the tin. Additionally, you’ll need to consider how to keep the wick centered in the tin while the wax sets. A great solution is to use a wooden skewer or toothpick to hold the wick in place until the wax cools and sets.

When it comes to pouring the wax, you’ll want to make sure to heat the wax to the appropriate temperature and use a pouring pitcher to prevent spills and messes. Another challenge of using Pringle tins is removing the candle from the tin once it has set. Be sure to freeze the candle for a few hours before attempting to remove it from the mold. This will help to loosen the wax and make it easier to remove.

Most candle makers and Soap makers know you can use Pringle tins as a mold, but have you ever actually tried? Well here is a guide to using tin and how they come out. You can purchase pringle tin candle molds too.


«
»

Have you read?

How to Make DIY Shower Jellies – Lush-Inspired, Kid-Friendly and Naturally Scented

If your morning shower feels more like a chore than a treat, it’s time to shake things up—literally. These DIY shower jellies are bouncy, fun, and scented with natural essential oils that turn your bath or shower into a playful spa moment. Inspired by Lush but made at home for a fraction of the cost, they’re perfect for kids, tweens, or anyone who wants a little joy added to their self-care routine.

Best part? You can tailor the scent, color, and shape to match your mood, season, or even holiday gifts. I’ve made everything from zesty lemon sunbursts in summer to calming lavender moons for bedtime wind-downs. My teens love them, and even Aloo (our cheeky pup) tries to sneak a sniff.

What Are Shower Jellies?

Shower jellies are squishy, soap-based gels that clean like body wash but jiggle like jelly. They melt on skin contact, lather up beautifully, and add a bit of tactile joy to your daily scrub. Think wobbly soap that feels like toy-slash-skincare.

Ingredients (All-Natural Option)

  • 1 tablespoon unflavored gelatin (or 1 tbsp agar agar for vegan version) 
  • 3/4 cup boiling water 
  • 1/4 cup liquid castile soap (or SLS-free body wash) 
  • 10–20 drops essential oil (lavender, citrus, eucalyptus – your call) 
  • Optional: skin-safe mica powder or natural food coloring 
  • Optional: dried botanicals (lavender buds, calendula petals) 
  • Silicone molds or ice cube tray 

Instructions

Step 1: Boil & Bloom
In a heatproof bowl, whisk the gelatin into the boiling water until fully dissolved. This is your jelly base—make sure there are no lumps. If using agar agar, simmer for a couple of minutes for full gelling power.

Step 2: Add the Fun Stuff
Once smooth, stir in your liquid soap, essential oils, and any color or botanicals. I love using pink clay for a rosy tint or a few drops of lemon essential oil for a fresh, morning zing.

Step 3: Mold It
Pour your mixture into silicone molds or an ice cube tray. Let cool at room temp for about 10 minutes, then pop into the fridge for 2–3 hours until set.

Step 4: Pop Out & Store
Once firm, gently remove your shower jellies from the mold. Store them in an airtight container in the fridge if your bathroom is steamy, or a lidded jar by the shower in cooler months.

How to Use Shower Jellies

Simply grab one in the shower, squish it between your hands or rub directly on your skin to lather up. They glide easily and rinse clean, leaving your skin soft and lightly scented. For extra cooling, keep them chilled and use post-sun or after a workout.

Tips & Variations

  • Sleepytime Blend: Lavender + chamomile essential oil 
  • Energy Boost: Orange + peppermint (keep away from eyes!) 
  • Holiday Jellies: Add glitter (biodegradable) and candy cane scent for stocking stuffers 
  • Kid-Safe: Use unscented baby body wash and natural fruit coloring

These DIY shower jellies are pure joy in a jar. Whether you’re making them for your little ones, holiday gifting, or your own self-care stash, they add a bouncy boost to your bath time. Bonus: They’re easy to make in big batches, so get ready for a fridge full of jiggly, wiggly goodness.


RSS feed: More Articles More Articles

  • Mini Mending Mondays: Patch a Child’s Leggings Knee Without Using a Sewing Machine
  • Crafts to Celebrate Hispanic Heritage Month
  • Crochet Colourful Doily Pillow – Bright, Easy, and a Great Scrap Yarn Project
  • Free Printable Food Gift Tags for Homemade Treats
  • DIY Sushi Bowls and Ceramic Chopsticks with Koi Wave Pottery Transfer Paper
  • Free Crochet Diwali Lantern Wind Spinner Pattern – Bright Festival of Lights Decoration
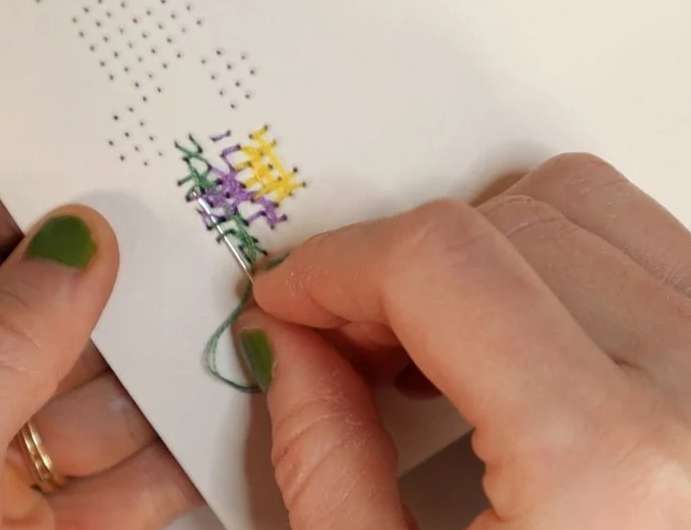
  • Cross Stitch on Anything with Waste Canvas
  • Halloween Hand Embroidery Pattern Bundle – Etsy Review
  • 20 FREE Rustic and Rural Landscape Printables
  • How to Make String Quilt Blocks (Turn Fabric Scraps Into a Beautiful String Quilt)

Pick Your Blog

  • Sewing
  • Knitting
  • Quilting
  • Crochet
  • Home & Garden
  • Recycled Crafts
  • Scrapbooking
  • Card Making
  • Polymer Clay
  • Cross-Stitch
  • Edible Crafts
  • Felting
  • Glass Art
  • Indie Crafts
  • Kids Crafts
  • Jewelry Making
  • Lesson Plans
  • Needlework
  • Bath & Body
  • Party Ideas
  • Candle Making
  • DIY Weddings
  • Not Craft
  • Free Craft Projects

Copyright © 2026 · CraftGossip | Start Here | Contact Us | Link to Us | Your Editors | Privacy and affiliate policy