
image by The Stamps of Life
The Stamps of Life has just released their new clear stamp set for October, they also offer the images digitally too!!
And don’t miss their new video showing lots of great projects made with this fun stamp set.
-Heather
Independent craft blog since 2007
image by The Stamps of Life
The Stamps of Life has just released their new clear stamp set for October, they also offer the images digitally too!!
And don’t miss their new video showing lots of great projects made with this fun stamp set.
-Heather
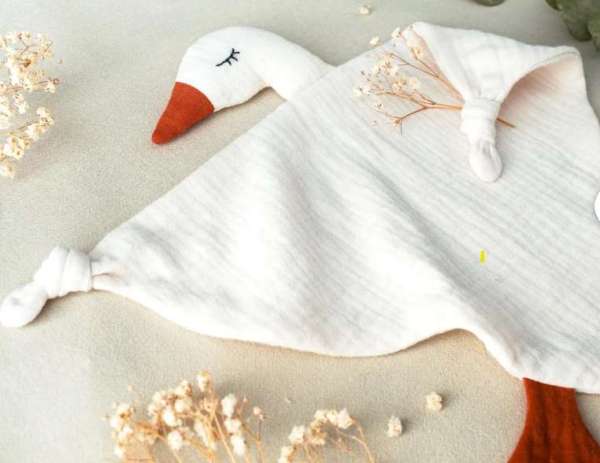
Okay, full confession—we don’t have any babies in our life right now, but that doesn’t stop me from swooning over sweet little sewing patterns like this adorable goose baby lovey! I mean, how could you resist that soft, cuddly face and those tiny wings? It’s giving timeless nursery charm with a modern handmade twist.
This pattern comes as a PDF with a helpful English video tutorial, so it’s perfect for confident beginners or anyone wanting to try their hand at sewing softies. It’s designed to be both a comfort toy and a keepsake—just the kind of thing little hands love to hold, and mamas love to treasure.
Maybe it’s time I start putting a few baby patterns away for the (not-too-distant?) future—grandchildren stash, anyone? Even if you’re not sewing for a little one right now, this pattern is a total heart-stealer and would make the most beautiful handmade baby shower gift.
CraftGossip Supporting Etsy Sellers
We love sharing beautiful finds from Etsy’s talented independent designers. Supporting makers means keeping the creativity flowing, and patterns like this one are a lovely way to sew a little extra love into the world.
Tutorial: Ribbon tag lovey toy for baby
Tutorial: Baby lovey with a pacifier loop