• Home
  • Suggest A Craft
  • DIY Newsletter

Craft Gossip

The largest independent craft review site since 2007

  • About CraftGossip
  • Our Network
    • Bath & Body Crafts
    • Candle Making Ideas
    • Crochet Ideas
    • Cross Stitch
    • Edible Crafts
    • Felting Patterns
    • Glass Art
    • Home & Garden Ideas
    • Indie Crafts
    • Jewelry Making
    • Kids Crafts
    • Knitting Patterns
    • Lesson Plans
    • Needlework
    • Party Ideas
    • Polymer Clay
    • Quilting Ideas
    • Recycled Crafts
    • Scrapbooking
    • Sewing Patterns
    • Card Making
    • DIY Weddings
    • Not Craft Ideas
  • Giveaways
  • Roundups
  • Store
  • Search

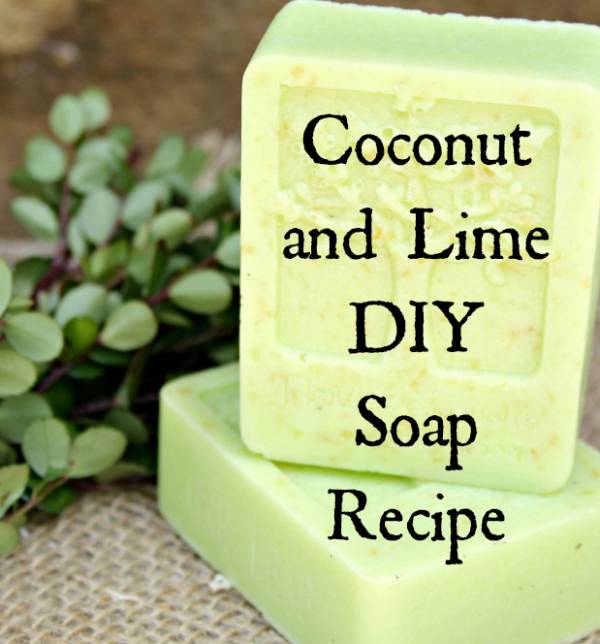
Melt and Pour Soap – Coconut and Lime

July 2, 2018 by Shellie Wilson

This soap making recipe shows you how to make soap using Coconut milk and lime juice. This melt and pour soap method using easy to use soap base that you just add ingredients to. The soap making tutorial is easy to use with step by step photos to guide you as you make this handmade soap. Use organic materials to create a natural organic soap.


Lime Essential oil : is invigorating and can help promote mental clarity. It has an uplifting fresh citrus scent. Lime soap is perfect for morning showers to wake your senses.


1/2 cup coconut milk

1-pound goats milk soap base

1 teaspoon lime juice

1 teaspoon coconut oil

1 teaspoon apple cider vinegar

1 teaspoon baking soda

1 teaspoon vitamin e oil

10 drops lime essential oil

Food or soap coloring

Spray bottle of rubbing alcohol to remove bubbles

Mold


Step 1: Melt soap base in the microwave and add coconut milk.
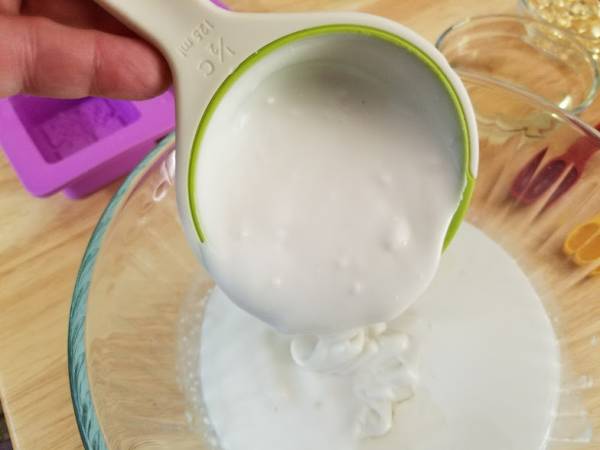
Step 2: Add lime juice
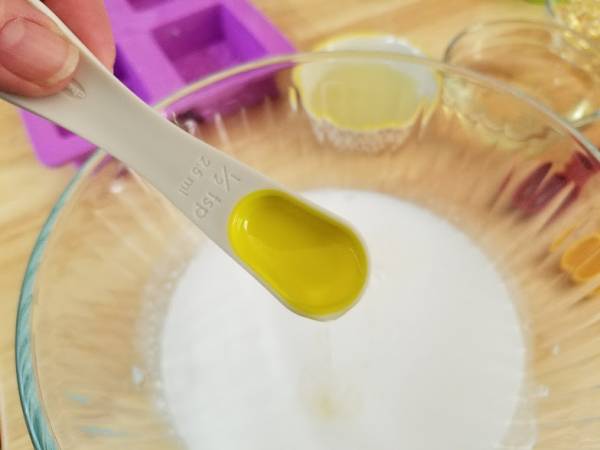
Step 3: Using a whisk, combine ingredients.
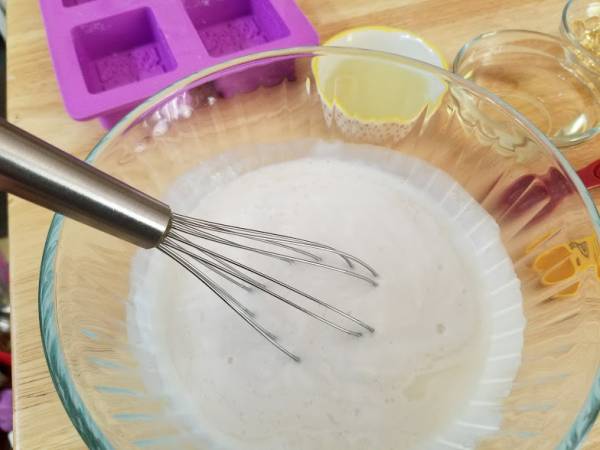
Step 4: Add coconut oil to the bowl
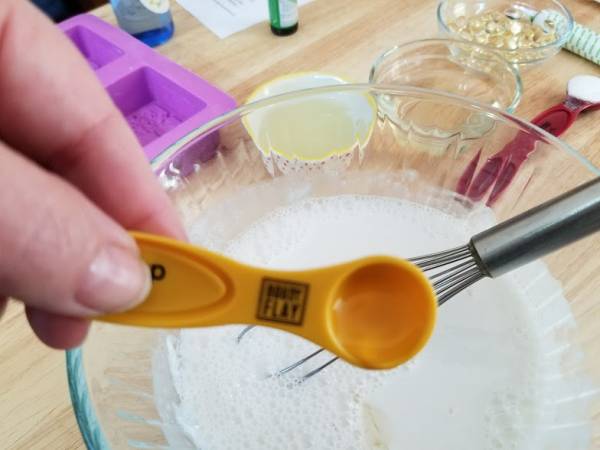
 

Step 5: Add apple cider vinegar to the mixture
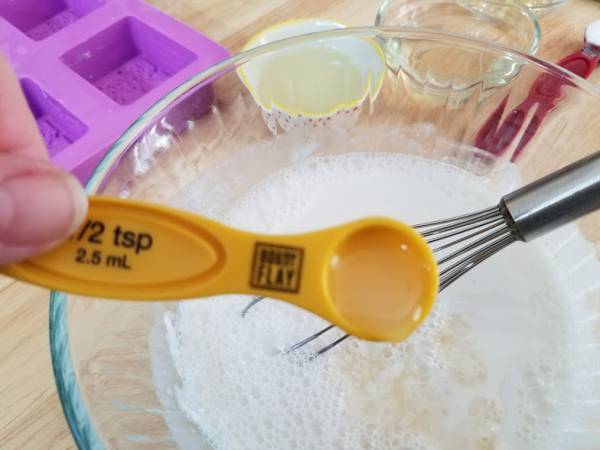
 

Step 6: Add baking soda to the bowl
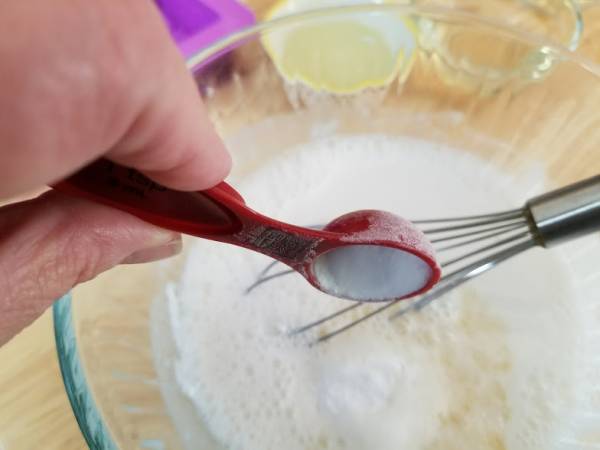
 

Step 7: Add vitamin E to the mixture
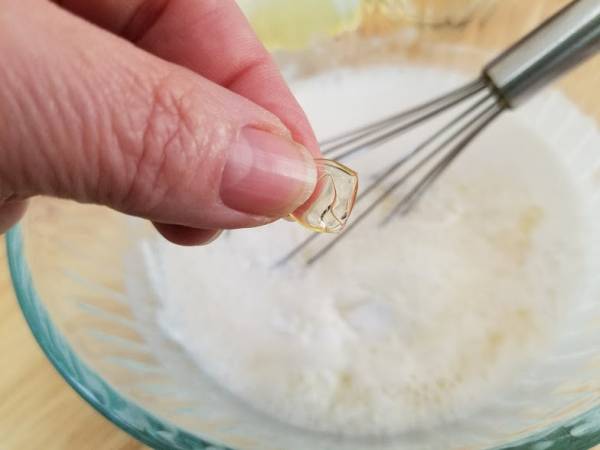
Step 8: Add lime essential oil
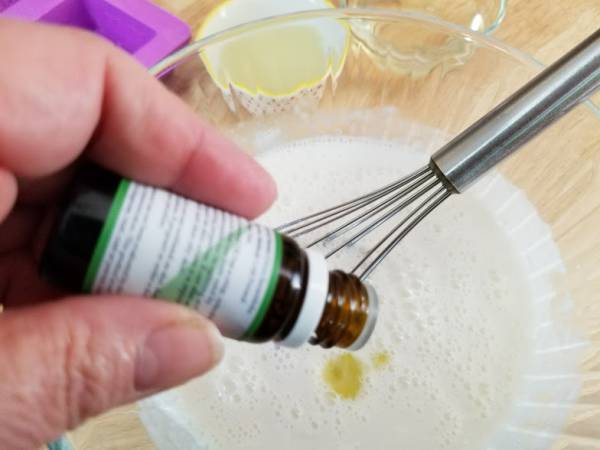
Step 9: Add colouring if desired
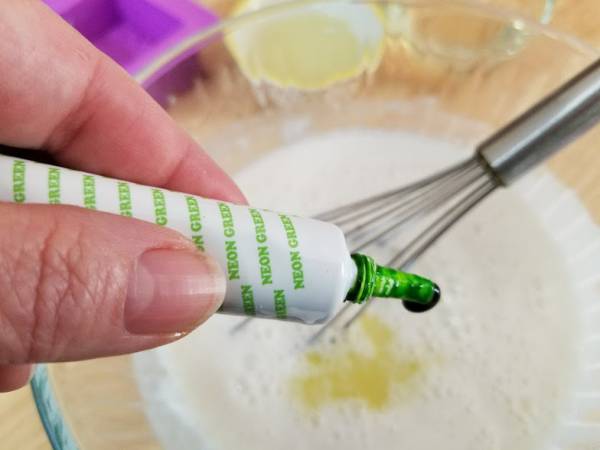
 

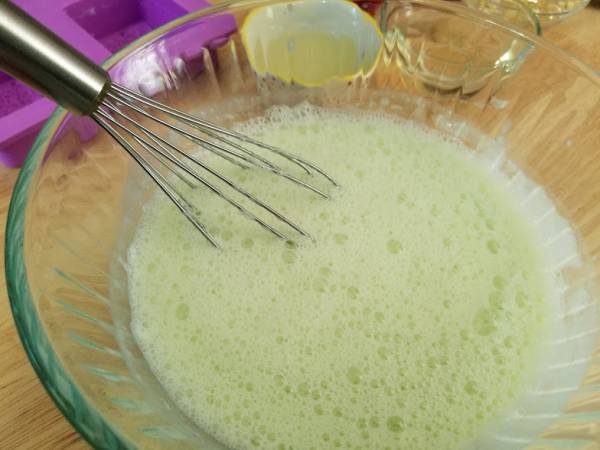
Step 10: Mix everything together well with a whisk
 

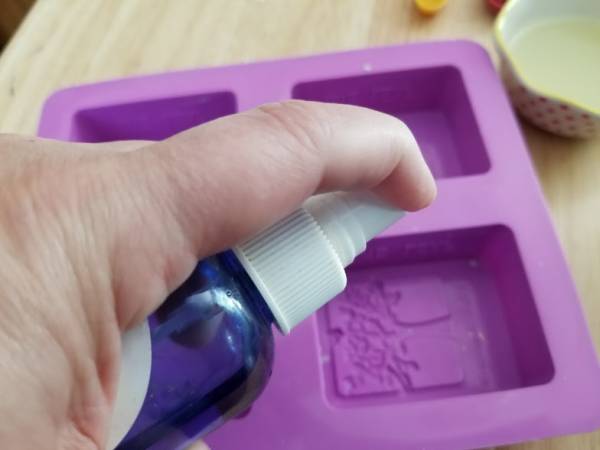
Step 11: Spray bottom of mold with rubbing alcohol. This removes the bubbles formed when mixing your soap!
 

Step 12: Carefully add soap mixture to mold.
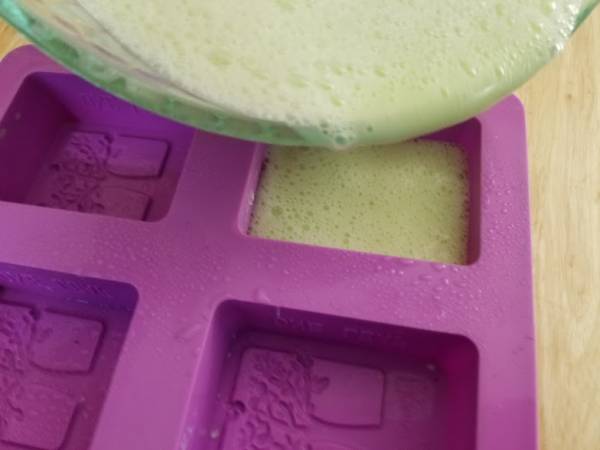
 

Step 13: Spray top of mold with the rubbing alcohol.
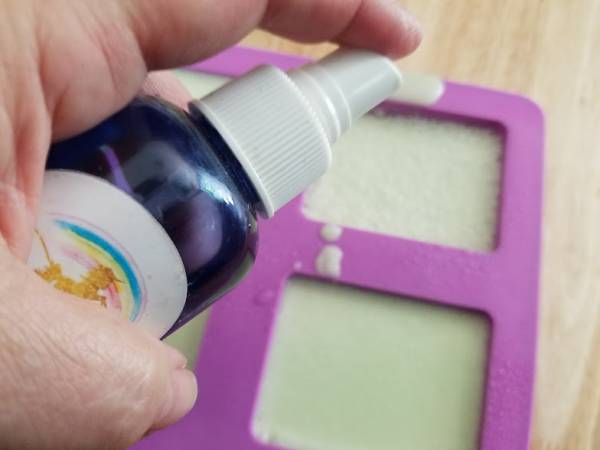
 

Step 14: Allow hardening for at least 2 hours.
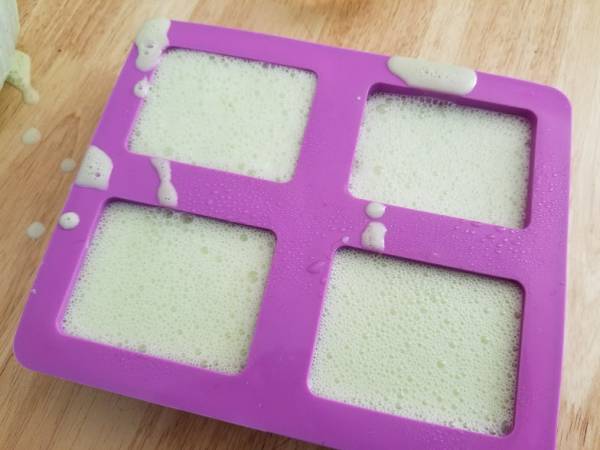
 

Store in an airtight container or Ziploc bag until ready for use.

This article contains affiliate links, this means that when you purchase from the links below we will get a kick back in small change, this is at no extra cost to you.

Looking for more Goat’s Milk recipes? Check out our DIY recipe for making your own goat’s milk lip chapstick. The Goat’s milk in this DIY Goat’s Milk Chapstick recipe will leave your lips soft and smooth.  The PH Level in goat’s milk is super skin-friendly and the lactic acid helps remove dead skin cells from your lips for a soft and brighter smile. The ingredients are so basic for making this lip balm you will be surprised, you may even have the chapstick ingredients in your fridge or pantry.

Read These Next

  • Soap Recipe: Cold Process Olive Oil Soap Recipe
  • 15 Melt and Pour Goat's Milk Soap
«
»

Have you read?

Master the Art of Appliqué with This Ultimate Guide

If you’ve been looking to elevate your sewing projects with a little extra flair, then appliqué is the perfect technique to learn, and this Ultimate Guide to Appliqué from The Crafty Gentleman has you covered! Whether you’re new to the technique or just need a refresher, this guide breaks down everything you need to know to get started.

Appliqué is a fantastic way to add dimension and design to any sewing project. From clothes and bags to home décor, the possibilities are endless when you start applying fabric to fabric. What makes this guide stand out is how thorough it is—covering all the different methods of appliqué, including hand and machine stitching techniques, so you can choose the one that best fits your skill level and project.

The step-by-step instructions are clear and easy to follow, with helpful tips on choosing the right fabrics and tools for the job. Plus, there’s advice on how to avoid common mistakes and ensure your appliqué looks neat and professional.

Whether you’re working on a custom T-shirt, a quilt, or even a pillow, mastering appliqué will allow you to create unique designs that reflect your personality and creativity. This guide ensures you’ll be confident with the technique in no time.

Click here for the full guide and dive into the wonderful world of appliqué today!

Applique Bunny Treat Bag Sewing Tutorial

How to Make Lace Applique Motifs – Sewing Tutorial

Sewing pattern: Applique burp cloths

RSS More Articles

  • Master the Art of Appliqué with This Ultimate Guide
  • Are Thread Bundles Worth the Money
  • Practice Colorwork on a Cute Knit Bunny
  • Love All Crochet Dress Pattern
  • Canada Day Activities for Kids
  • How to Make an Interactive Bird Watching Card
  • You’ll Want to Sew All 25 of These Wrap Skirts – Stylish, Flattering And Surprisingly Easy!
  • Make a Sweet Summer Wallet Mini Album
  • Book Review – Two-Color Quilts
  • Come On Baby, Start My Fire – DIY Firestarters

Pick Your Blog

  • Sewing
  • Knitting
  • Quilting
  • Crochet
  • Home & Garden
  • Recycled Crafts
  • Scrapbooking
  • Card Making
  • Polymer Clay
  • Cross-Stitch
  • Edible Crafts
  • Felting
  • Glass Art
  • Indie Crafts
  • Kids Crafts
  • Jewelry Making
  • Lesson Plans
  • Needlework
  • Bath & Body
  • Party Ideas
  • Candle Making
  • DIY Weddings
  • Not Craft
  • Free Craft Projects

Copyright © 2025 · CraftGossip | Start Here | Contact Us | Link to Us | Your Editors | Privacy and affiliate policy