• Home
  • Suggest A Craft
  • DIY Newsletter

Craft Gossip

The largest independent craft review site since 2007

  • About CraftGossip
  • Our Network
    • Bath & Body Crafts
    • Candle Making Ideas
    • Crochet Ideas
    • Cross Stitch
    • Edible Crafts
    • Felting Patterns
    • Glass Art
    • Home & Garden Ideas
    • Indie Crafts
    • Jewelry Making
    • Kids Crafts
    • Knitting Patterns
    • Lesson Plans
    • Needlework
    • Party Ideas
    • Polymer Clay
    • Quilting Ideas
    • Recycled Crafts
    • Scrapbooking
    • Sewing Patterns
    • Card Making
    • DIY Weddings
    • Not Craft Ideas
  • Giveaways
  • Roundups
  • Store
  • Search

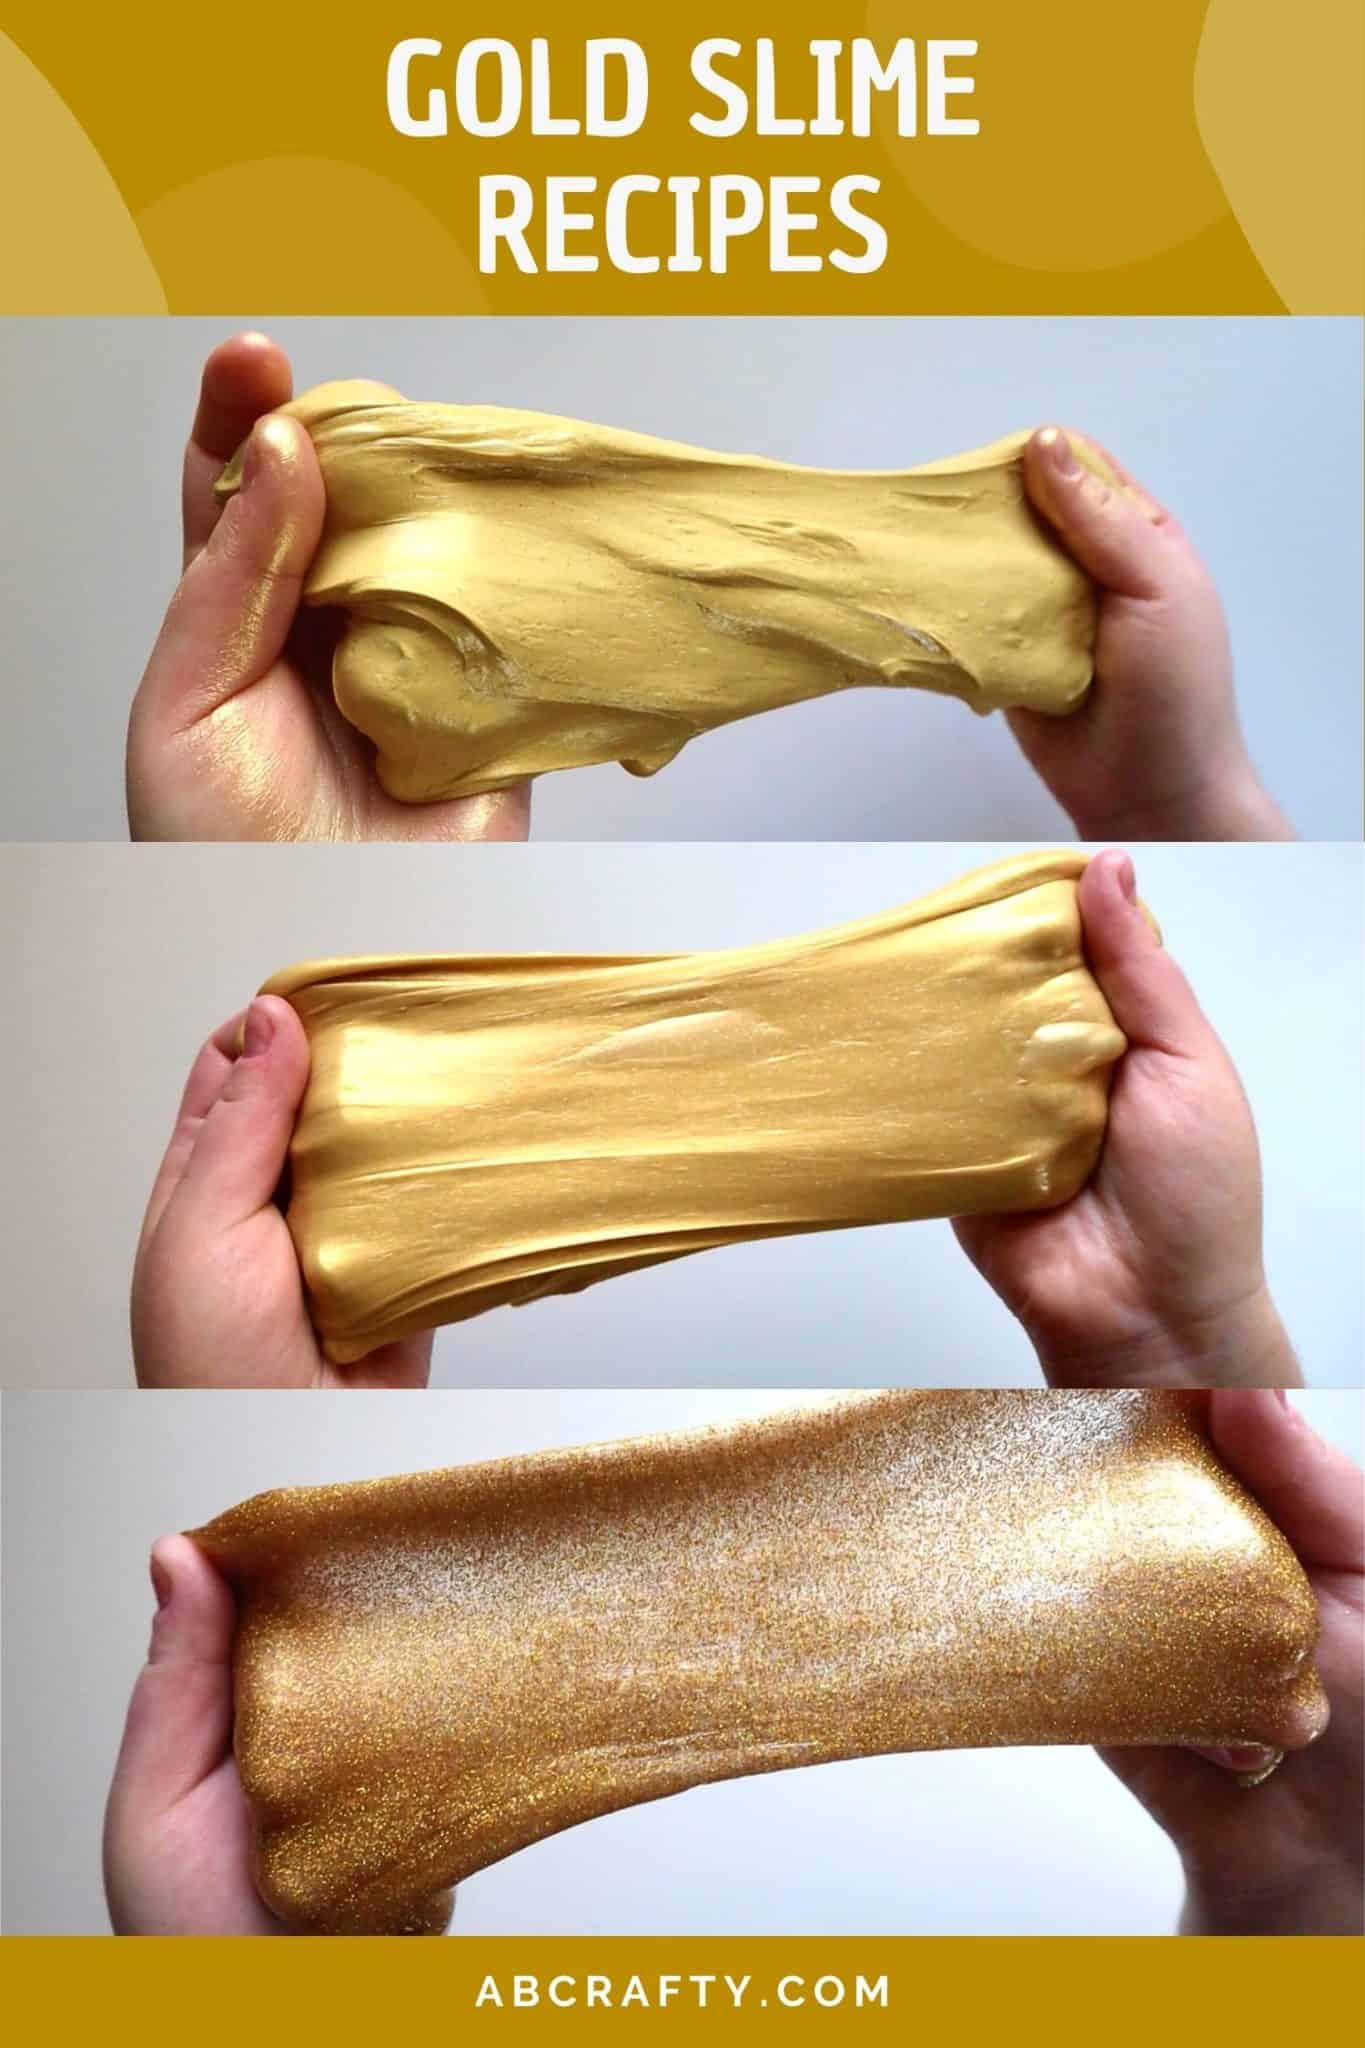
Gold Slime Recipes

December 21, 2021 by Larissa Coleman

It’s 3 different ways to make 3 kinds of gold slime, including shiny metallic and glitter gold. They’re all super quick and easy to make!

Hey there, fellow parents and caregivers! Today I want to talk to you about the wonderful benefits of letting kids make slime. Yes, slime! That ooey-gooey, stretchy, and squishy substance that kids absolutely love. Not only is slime a fun and engaging activity, but it’s also incredibly tactile and has numerous benefits for child development.

Firstly, let’s talk about the sensory benefits of slime. Making and playing with slime is a great way for kids to explore different textures, colors, and smells. It’s a sensory experience that engages the sense of touch and can be a calming and soothing activity for kids who may struggle with sensory processing issues. It can also help improve fine motor skills as kids manipulate the slime with their fingers.

In addition to the sensory benefits, making slime can also encourage creativity and imaginative play. Kids can experiment with different colors, textures, and scents to create their own unique creations. They can also use the slime as a prop for imaginative play, creating stories and characters with their slime creations.

So, let’s get started on making some slime! Here are three different recipes for you to try out:

Basic Slime:

Ingredients:

1/2 cup of white school glue
1/2 cup of liquid starch
Food coloring (optional)
Instructions:

Pour the glue into a bowl.
Add food coloring, if desired, and mix well.
Slowly add the liquid starch to the glue, stirring continuously.
Continue to mix until the slime forms and pulls away from the sides of the bowl.
Knead the slime with your hands until it becomes stretchy and smooth.

Scented Slime:

Ingredients:

1/2 cup of white school glue
1/2 cup of liquid starch
Essential oils (your choice of scent)
Food coloring (optional)
Instructions:

Pour the glue into a bowl.
Add food coloring and essential oils, mixing well.
Slowly add the liquid starch to the glue, stirring continuously.
Continue to mix until the slime forms and pulls away from the sides of the bowl.
Knead the slime with your hands until it becomes stretchy and smooth.

Textured Slime:

Ingredients:

1/2 cup of white school glue
1/2 cup of liquid starch
Glitter, beads, or other small objects for texture
Food coloring (optional)
Instructions:

Pour the glue into a bowl.
Add food coloring and glitter or beads, mixing well.
Slowly add the liquid starch to the glue, stirring continuously.
Continue to mix until the slime forms and pulls away from the sides of the bowl.
Knead the slime with your hands until it becomes stretchy and smooth.
In conclusion, making slime is a great activity for kids that can promote sensory exploration, imaginative play, and fine motor skills. So, gather up some materials and get ready for some fun and educational slime-making adventures with your little ones!


Read These Next

  • 40 Sensory Activities For Kids For All Seasons
  • 10 Kid-Friendly Slime Tutorials
«
»

Have you read?

Swirly Do – Online Quilt Class

Are you ready to embark on a quilting adventure like no other? Dive into the enchanting world of fabric artistry with renowned quilt artisan Heather Thomas as she guides you through the creation of a mesmerizing fantasy tree quilt that will leave you spellbound!

In this captivating online class, Heather Thomas unveils her secrets to crafting an exquisite fantasy tree quilt bursting with swirling leaves and intricate filigree roots. 

What You’ll Learn:
Crafting the tree’s trunk and main branches with loosely woven fabric
Extending elements into delicate branches through the art of thread sketching
Machine quilting mesmerizing filigree swirls for lifelike roots
Managing fullness in the trunk and creating realistic bark texture
Fashioning swirling leaves using torn and twisted fabric strips

Heather’s expert guidance and invaluable insights will take your quilting skills to new heights, opening the door to boundless creative possibilities. Whether you’re a seasoned quilter or just starting your journey, this class is sure to inspire and delight!

Don’t miss out on this opportunity to learn from a master quilter and transform your quilting dreams into reality. Enroll now and let your imagination soar!

RSS More Articles

  • Swirly Do – Online Quilt Class
  • Create a Beautiful DIY Flower Press and a Little Girl’s Flower Garden
  • 13 Fun Door Stops You Can Crochet For Your Home
  • Creative Ways to Reuse UNO Cards: Fun Upcycled Crafts to Try
  • Crewel Embroidery Handy Pocket Guide: Everything to Get You Started
  • Etsy Spotlight: Tank Top and Shorts PDF Pattern for Boys
  • What’s Next for Joann?
  • Color Wheel Mini Scrapbook Album
  • Sunday Shout Out – A Must-Have Crochet Pattern
  • Woolie and Furry Upcycled Slippers by Made By Barb

Pick Your Blog

  • Sewing
  • Knitting
  • Quilting
  • Crochet
  • Home & Garden
  • Recycled Crafts
  • Scrapbooking
  • Card Making
  • Polymer Clay
  • Cross-Stitch
  • Edible Crafts
  • Felting
  • Glass Art
  • Indie Crafts
  • Kids Crafts
  • Jewelry Making
  • Lesson Plans
  • Needlework
  • Bath & Body
  • Party Ideas
  • Candle Making
  • DIY Weddings
  • Not Craft
  • Free Craft Projects

Copyright © 2025 · CraftGossip | Start Here | Contact Us | Link to Us | Your Editors | Privacy and affiliate policy