I have always been fascinated with neon and have wanted to learn how to create neon art. So I did a fabulous google search and found Neon Workshops in Los Angeles! Yee ha! I may have to sign up for this. It looks like there’s plenty of lead time since it’s scheduled for September. I’ll be verifying that tomorrow and if I find there’s an error in this I’ll post it right here. The class is conducted by Lilli Lakich, the founding director of The Museum of Neon Art. Her work is fabulous!! Check out her web site and all of the various commissions she’s done. And if you get a chance head on over to the museum in downtown LA on 4th St.
Have you read?
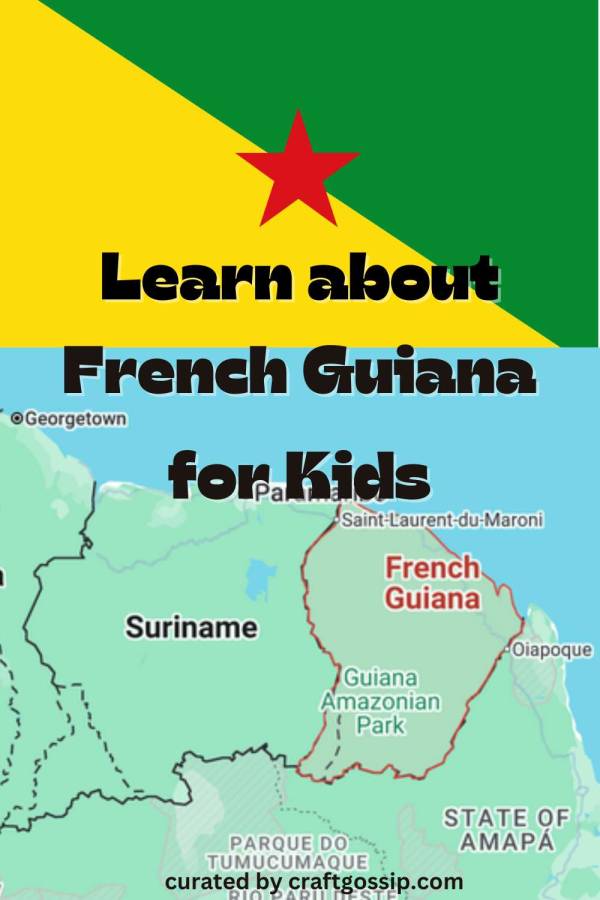
Learn about French Guiana for Kids
French Guiana is actually not an independent country; it’s an overseas department that’s considered a region of France. It’s also known by its French name, Guyane, but since it is situated within South America as if it were a country, let’s take a closer look at French Guiana.
French Guiana Basics
French Guiana borders Suriname and Brazil, as well as the Atlantic Ocean.
It is the second largest region of France and about one seventh the size of European France. It has an area of 32,000 square miles, of 84,000 square kilometers. The population is not quite 300,000 people.
Most of the population lives in the capital and largest city, Cayenne.
Almost 99 percent of the country is covered by forest, and 41 percent of the country is a national park.
French Guiana has been fully a part of the French Republic since 1946. As part of the European Union, it uses the Euro. It’s official language is French but French Guianese Creole and other regional languages are also recognized.
It originally was inhabited by a variety of Indigenous people before the French founded Cayenne in 1643. It was a center of slavery until the French Revolution, when slavery was abolished in the overseas colonies.
The government is made up of a prefect and a legislative assembly.
French Guiana Symbols
Because it’s not a country French Guiana doesn’t have national symbols, but it does have an unofficial flag, which has a diagonal division down the center with green on the right side and yellow on the left. A red five-pointed star sits at the center. The flag was designed in 1967 by the Guyana Agricultural and General Workers’ Union. Officially the French flag is also the flag used in French Guiana.
Likewise the unofficial regional anthem is “Le Chant du départ,” or “The Song of Departure,” which is a song from the French Revolution that is also the official presidential anthem in France. It was first performed in 1794 and was the national anthem of the First French Empire.
The coat of arms of French Guiana features a crest showing a boat full of gold on a green river, topped with a set of three fluers de lis and the date 1643. Above the shield is a castle (or maybe a fort?) and palm trees, and a banner with words in Latin that translate to “work creates abundance.” There are also anteaters on either side of the crest.
There are many creatures that live in the Amazon rain forest that might be considered regional symbols, including the jaguar, harpy eagle and leatherback sea turtle. Among the endemic species are the Guianan cock-of-the-rock, red-faced spider monkey, Guianan red howler monkey and dyeing poison dart frog.
French Guiana Learning Activities for Kids
Because most of French Guiana is rain forest, focusing on the animals and life of the forest is a great way to learn about French Guiana. Check out this post on A-Z Animals for more about some of the animals that live in the area. You can also learn more about the Guiana Amazonian Park (the site is in French but there are great photos, and you can translate it if you need to).
Learn more about Cayenne, French Guiana and check out this video from Jumps Travel Documentary for more on the culture in Cayenne.
Lost in Context has another good video about the history of French Guiana and what it has to do with the space industry.
Find some French Guiana printables and learning activities at Teachers Pay Teachers.
A common dish is awara broth, or bouillon d’awara, which is made from the past of a palm tree, along with smoked meats and vegetables like cabbage and eggplant. French Guiana calou, made with shrimp or smoked meat and spinach, is another common dish that can be found throughout the Caribbean as well as in French Guiana. I didn’t find a good recipe but here’s a video showing a little about it from TikTok (or here’s a version from YouTube that includes pig tail, roast beef and a smoked turkey leg).
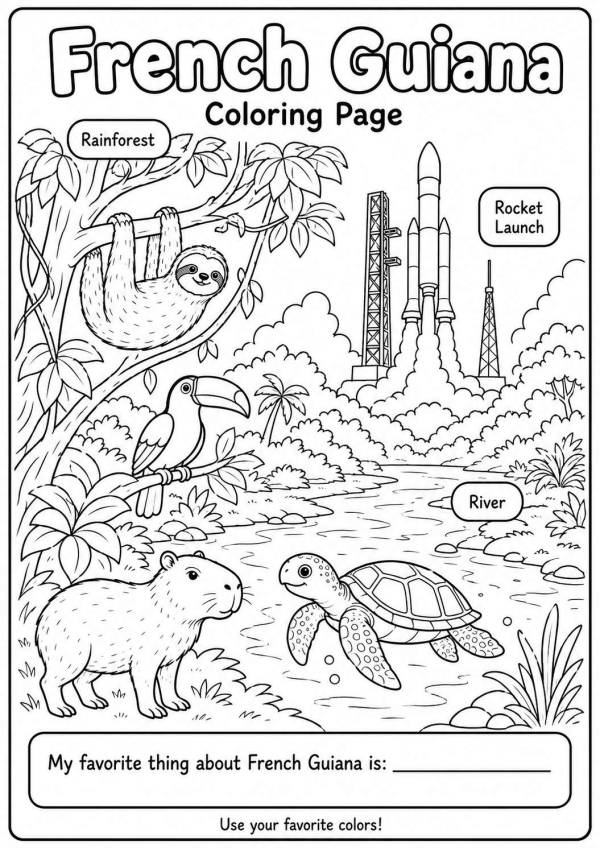
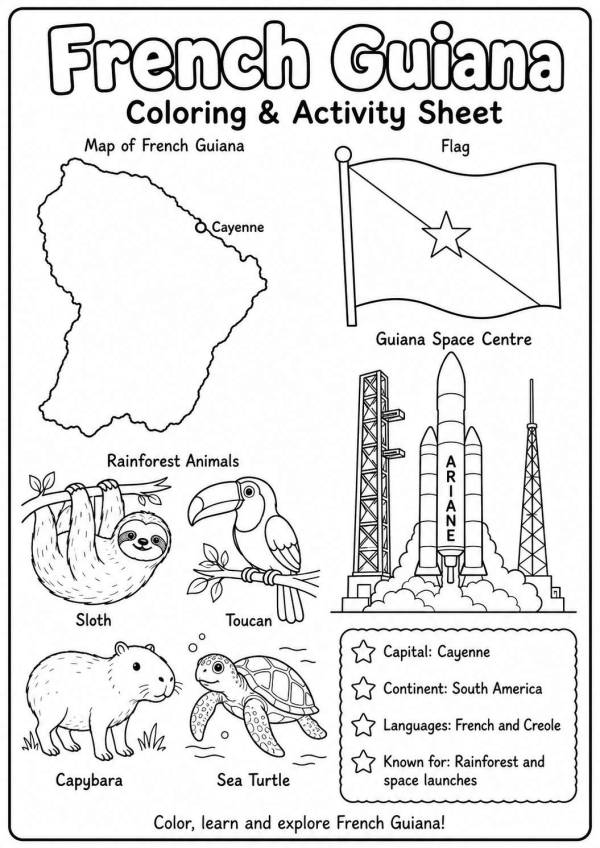
Free Printables – Right click and save or print or French_Guiana_A4_Printable_Coloring_Activity_Sheets