Patches are one of those sewing jobs that look simple… until you actually sit down to do it. I’ve seen beautifully made jackets ruined by puckered stitches, melted iron-on glue, or patches sewn slightly crooked that you can’t unsee once it’s done.
Whether you’re repairing a tear, covering a stain, adding a scout badge, or customising a denim jacket for personality, learning how to sew a patch onto a jacket properly makes all the difference between “homemade” and “intentional.”
This step-by-step guide covers iron-on patches, sew-on patches, hand sewing, and machine sewing, plus the mistakes most tutorials forget to warn you about.
Choosing the Right Patch for Your Jacket
Before you even thread a needle, check what kind of patch you’re working with.
Sew-on patches
These are fabric-backed patches with no adhesive. They’re the most durable option and ideal for leather, wool, denim, and delicate fabrics.
Iron-on patches
These have heat-activated glue on the back. They’re quick, but not permanent on their own. If the jacket will be washed or worn often, sewing around the edges is still recommended.
Embroidered patches
Thick and decorative, often with a finished edge. These look great on denim and canvas but need stronger needles and slower stitching.
Fabric patches (DIY repairs)
Simple fabric shapes used to cover holes or reinforce worn areas, especially on elbows or sleeves.
Tools You’ll Need (Keep It Simple)
You don’t need a fancy setup, just the right basics:
- Patch
- Jacket
- Thread that matches the patch edge or contrasts intentionally
- Sharp hand sewing needle or sewing machine needle (denim needle for thick jackets)
- Pins or fabric clips
- Scissors
- Iron (optional, even for sew-on patches)
Step 1: Decide on Patch Placement (This Matters More Than You Think)
Put the jacket on or lay it flat and check symmetry. A patch that’s 1 cm off-centre will haunt you forever.
Common placement spots:
- Upper arm or shoulder
- Chest area
- Back panel
- Elbows (for repairs)
- Lower front near pockets
Tip from years of sewing:
If it looks slightly crooked before sewing, it will look very crooked after.
Pin it in place and step back. Even take a quick phone photo to double-check alignment.
Step 2: Prep the Jacket Fabric
If the jacket is washable, wash and dry it first. Fabric shrinkage after sewing a patch can cause puckering later.
For iron-on patches, lightly press the area first to remove wrinkles. Never iron directly on leather, vinyl, or waterproof fabrics.
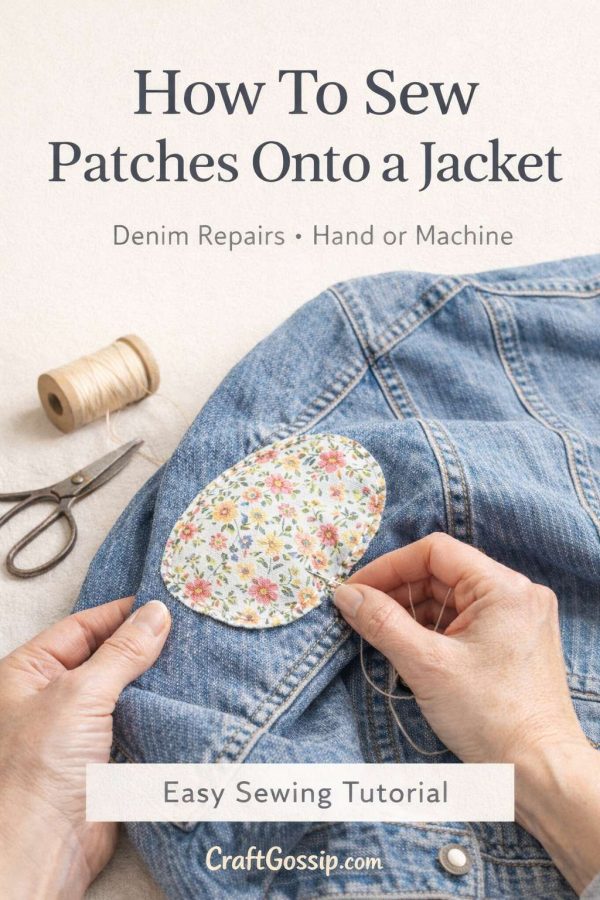
How to Sew a Patch on a Jacket by Hand (Best for Control)
Hand sewing is slower, but it gives you full control, especially on thick seams or awkward areas.
Best Hand Stitches for Patches
Whip stitch
Fast and decorative. Stitches wrap over the edge of the patch.
Running stitch
Simple and subtle. Good for fabric patches.
Blanket stitch
Decorative and strong. Ideal for visible patches you want to stand out.
Hand Sewing Steps
- Thread your needle and knot the end.
- Start from inside the jacket so the knot is hidden.
- Stitch evenly around the patch edge, keeping tension consistent.
- Take smaller stitches on curves or corners.
- Tie off securely on the inside.
Take your time. Uneven stitches are more noticeable than slow sewing.
How to Sew a Patch on a Jacket with a Sewing Machine
Machine sewing is faster and extremely durable, especially for kids’ jackets, uniforms, or workwear.
Machine Settings
- Straight stitch or narrow zigzag stitch
- Stitch length: medium (2.5–3)
- Needle: denim or heavy-duty for thick fabrics
Machine Sewing Steps
- Pin or clip the patch firmly.
- Lower the presser foot and go slowly.
- Pivot at corners with the needle down.
- Sew close to the patch edge without stitching over thick borders too aggressively.
If the jacket is bulky, roll or bunch excess fabric so it doesn’t pull as you sew.
Should You Iron-On or Sew? (Honest Answer)
Iron-on alone is fine for:
- Decorative jackets worn occasionally
- Areas that won’t flex much
- Quick costume fixes
But for:
- Kids’ clothing
- Denim jackets
- Frequent washing
- Long-term repairs
Always sew it on. Heat-activated glue eventually fails in the wash.
Common Mistakes to Avoid (Learn From Everyone Else’s Regret)
- Sewing before checking placement twice
- Using thread that’s too thin
- Pulling stitches too tight and puckering the fabric
- Skipping sewing on iron-on patches
- Using a regular needle on thick denim
These are the reasons patches fall off or look messy.
Washing and Caring for Patched Jackets
Turn the jacket inside out before washing. Use cold water and avoid tumble drying when possible. Well-sewn patches will last years with proper care.
Why Sewing a Patch Is Worth Doing Properly
A patch isn’t just decoration. It’s repair, storytelling, personality, and practicality rolled into one. When sewn properly, it strengthens fabric, extends garment life, and adds character you can’t buy in stores.
If you’ve ever hesitated to sew a patch because you were afraid of messing it up, this is your sign to try. Start slow. Pin carefully. Sew deliberately. The confidence comes fast.
If you’ve got a jacket sitting in the wardrobe waiting for a second life, this is one of the easiest ways to give it one.