You can re-wick your candles to give them an extra lease of life. We all know about those candles that have had a good run, but still have enough left in them, but the wick is too small, right? It really is not too hard to re-wick these candles, as Sweet Verbana shows you.
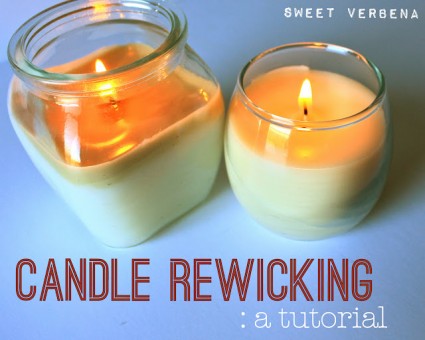
Candles can create a cozy and relaxing atmosphere in any room, but there’s nothing more frustrating than investing in a beautiful candle only to have it burn out unevenly or stop burning altogether. Before you toss it in the trash, consider re-wicking the candle to extend its lifespan and get the most out of your investment. In this tutorial from Sweet Verbana, you’ll learn how to rewick old candles so you can continue to enjoy them.
The process of re-wicking a candle is simple and straightforward, making it a great DIY project for beginners. With just a few tools and some patience, you can give new life to old candles and avoid wastefulness. Sweet Verbana’s tutorial covers everything you need to know, including the supplies you’ll need, how to remove the old wick, and how to add a new wick to the candle.
The other day, I shared a tutorial about how to recycle old candles.
One of the main advantages of re-wicking candles is that it can save you money. Rather than tossing out a candle that’s not burning correctly, you can salvage it and get more use out of it. Additionally, re-wicking a candle is a sustainable practice that helps reduce waste, making it an eco-friendly option for candle lovers.
But what if you’ve never re-wicked a candle before? Don’t worry! Sweet Verbana’s tutorial breaks down the process into easy-to-follow steps, complete with photos to help you visualize each step. The first step is to gather the supplies you’ll need, which include a wick, scissors, a double boiler or a heat-proof container and a pot of boiling water, a wick holder, and your old candle.
Once you have your supplies, you’ll need to melt the old wax in the double boiler or heat-proof container. This will allow you to remove the old wick and clean out any remaining wax from the container. Then, you’ll need to add your new wick to the candle. Sweet Verbana’s tutorial includes tips on how to make sure your new wick is centered and straight, so your candle will burn evenly.
In addition to saving money and reducing waste, re-wicking your candles can also give you more creative control. You can experiment with different types of wicks to achieve different effects, such as a longer or shorter burn time, a brighter flame, or a more subtle scent. By re-wicking your candles, you can customize them to your liking and create a truly unique candle.
Re-wicking your candles is a great way to extend the life of your candles, save money, and reduce waste. Sweet Verbana’s tutorial makes it easy to rewick old candles and enjoy them for longer. Whether you’re new to candle making or a seasoned pro, this tutorial is a valuable resource that you can refer back to whenever you need to re-wick a candle. So next time you have a candle that’s burning unevenly or not at all, don’t toss it out – re-wick it!