• Home
  • Suggest A Craft
  • DIY Newsletter

Craft Gossip

The largest independent craft review site since 2007

  • About CraftGossip
  • Our Network
    • Bath & Body Crafts
    • Candle Making Ideas
    • Crochet Ideas
    • Cross Stitch
    • Edible Crafts
    • Felting Patterns
    • Glass Art
    • Home & Garden Ideas
    • Indie Crafts
    • Jewelry Making
    • Kids Crafts
    • Knitting Patterns
    • Lesson Plans
    • Needlework
    • Party Ideas
    • Polymer Clay
    • Quilting Ideas
    • Recycled Crafts
    • Scrapbooking
    • Sewing Patterns
    • Card Making
    • DIY Weddings
    • Not Craft Ideas
  • Giveaways
  • Roundups
  • Store
  • Search

How to make a face mask with ties

April 8, 2020 by Shellie Wilson

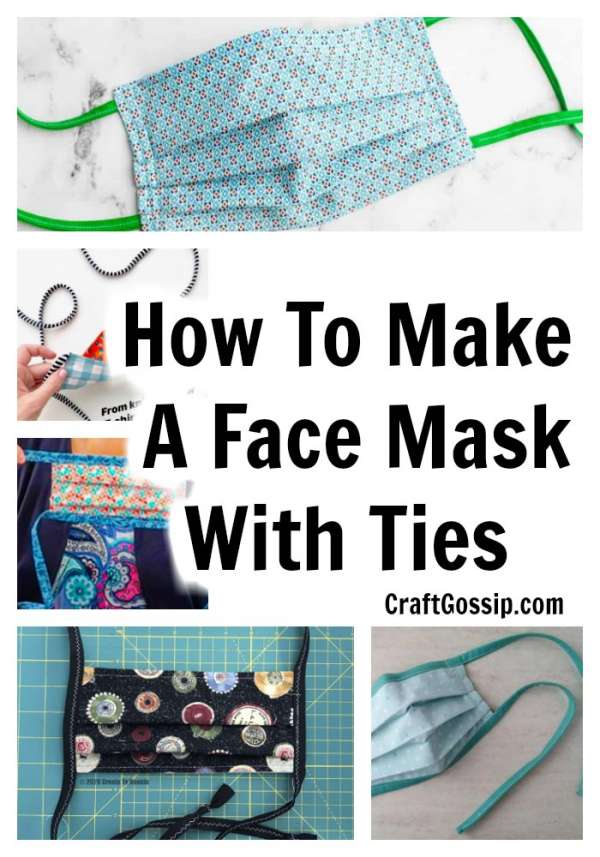
This list of DIY’s is for face masks that use ties. Why ties and not elastic? The elastics are becoming unpopular due to the tension it creates on the ears. Remember most people wearing masks in hospitals and on the frontline are wearing them for hours and hours.

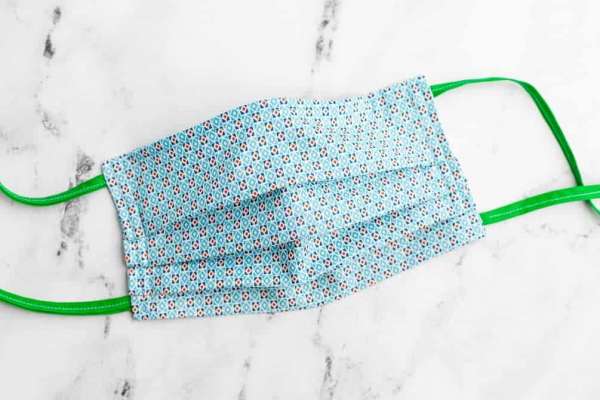
This first face mask is for a pleated mask that has ties for comfort and also a pocket for a mask filter.

This next tutorial is for a basic design with cloth adjustable mask ties, which is perfect for anyone who is a straight stitcher and just learning to sew.

This free tutorial comes with lots of step by step images to guide you along.

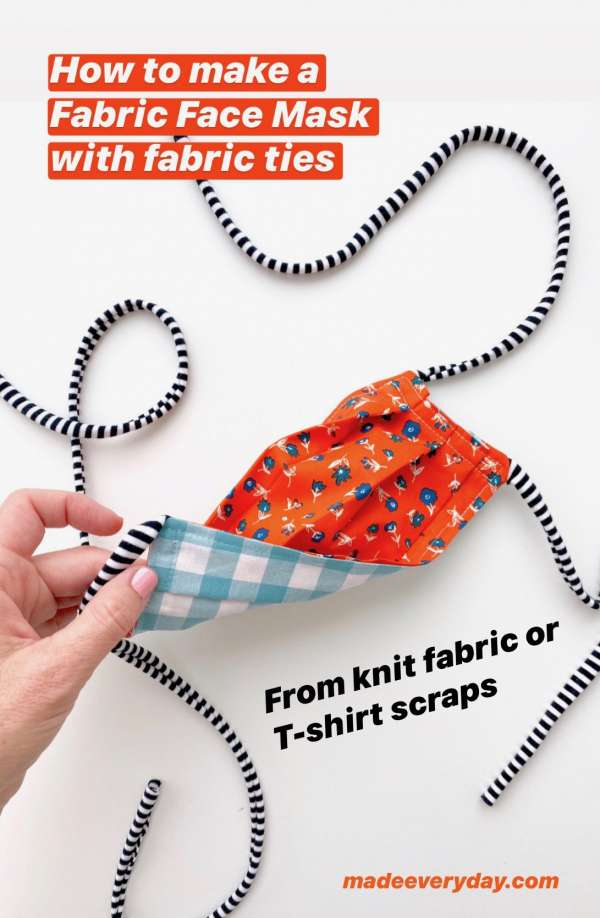
This face mask with ties has adjustable ties that are made from knit fabric or an old t-shirt. This allows the mask ties to have a little bit of tension to keep it firmer through the day

This tutorial comes with a video to guide you along, perfect for anyone who is a visual learner and needs some help with making the cloth fabric masks.

Free printable pattern for the mask with ties ca be downloaded here.  A great print version with minimal ink requirements.

The main aim of a fabric mask is to prevent YOUR bodily fluids from being expelled or you being splashed on by someone else’s bodily fluids. It is my (non-medical) understanding that air still flows through the masks. The best fabric for surgical face masks is cotton that can be easily washed and NON woven fabric as a filter that can be replaced several times during the day. You can purchase readymade carbon filters too. (for more info about filters read this article here)

Don’t want to make your own but buy a readymade mask?  So why should you buy a handmade mask? Because obviously you can’t sew one or you would be making your own, so put a few dollars into someone else’s pocket and keep a handmade business alive.

Looking for a new sew version of the mask? Check this article out No Sew Bandana Mask and different styles of no sew masks using other fabric materials.

Need to make a lot of masks? Check out this amazing Mask Cutting Machine. It cuts 6 masks out at a time!

Read These Next

  • 20 Coffee Filter Craft Ideas
  • Crochet for a Cause: Using Your Skills to Make a Difference
«
»

Have you read?

Make Your Cross Stitch into an Iron On Patch

A while back I made a little rainbow cross stitch pattern and I wasn’t sure what I wanted to do with it, so I turned it into a patch. My idea was that it could be used on a jacket or backpack, or you could add a pin to the back and wear it temporarily on a shirt or elsewhere. 

But what if you want to make your design more permanent? Is it possible to turn a piece of cross stitch into an iron-on design?

It turns out yes, it is, and Sirious Stitches has done it so I didn’t have to try to figure it out on my own. 

The way they did it was by using HeatnBond, an iron-on adhesive that attaches fabrics without sewing. There was still sewing involved to finish the edges of the cross stitch fabric and make it look like a purchased patch. The post shows how to do this by hand or with your sewing machine. (I just did blanket stitch edging on mine, which doesn’t look like a “real” patch but is also a lot faster.)

Once you have the patch prepared it’s a pretty easy matter of using the fusible adhesive to the back of the patch so you can then iron it onto whatever jacket, pair of jeans, bag or whatever else you might want to add it to. 

I guess I’m a little paranoid about the washability of cross stitch projects, though you could hand wash anything with an iron-on cross stitch patch as you might need to with a purchased iron-on patch, anyway. But this does look really cool and is a great option if you know you want to permanently add a cross stitch patch to a garment of bag. 

Get the full tutorial over at Sirious Stitches. Would you add an iron-on cross stitch patch to something? I’d love to hear what you would use this technique for!

[Photo: Sirious Stitches]

RSS More Articles

  • Make Your Cross Stitch into an Iron On Patch
  • How to Make a Trendy Capybara Card
  • DIY Valentine Shabby Chic Bookmarks: A Creative and Heartfelt Gift Idea
  • Stitch Stars: Taylor: Over 20 unofficial embroidery patterns for stitchy superfans
  • Bee Themed Mini Scrapbook Album
  • Fun Tank Top Knitting Patterns
  • Books to Get Ready for Back to School
  • Just Feel Festive Shawl crochet pattern by QuirkyMondayCrafts
  • Cozy Up Your Holidays with This Stunning Christmas Blanket!
  • 5 Must-Know Secrets to Turning Your Suburban Home into a Profitable, Sustainable Homestead

Copyright © 2025 · CraftGossip | Start Here | Contact Us | Link to Us | Your Editors | Privacy and affiliate policy