• Home
  • Suggest A DIY
  • DIY Newsletter

Craft Gossip

Independent craft blog since 2007

  • About CraftGossip
  • Our Network
    • Bath & Body Crafts
    • Candle Making Ideas
    • Crochet Ideas
    • Cross Stitch
    • Edible Crafts
    • Felting Patterns
    • Glass Art
    • Home & Garden Ideas
    • Indie Crafts
    • Jewelry Making
    • Kids Crafts
    • Knitting Patterns
    • Lesson Plans
    • Needlework
    • Party Ideas
    • Polymer Clay
    • Quilting Ideas
    • Recycled Crafts
    • Scrapbooking
    • Sewing Patterns
    • Card Making
    • DIY Weddings
    • Not Craft Ideas
  • Giveaways
  • Roundups
  • Store
  • Search

How to make a Tie Dye Heart T-shirt

May 20, 2022 by arabella

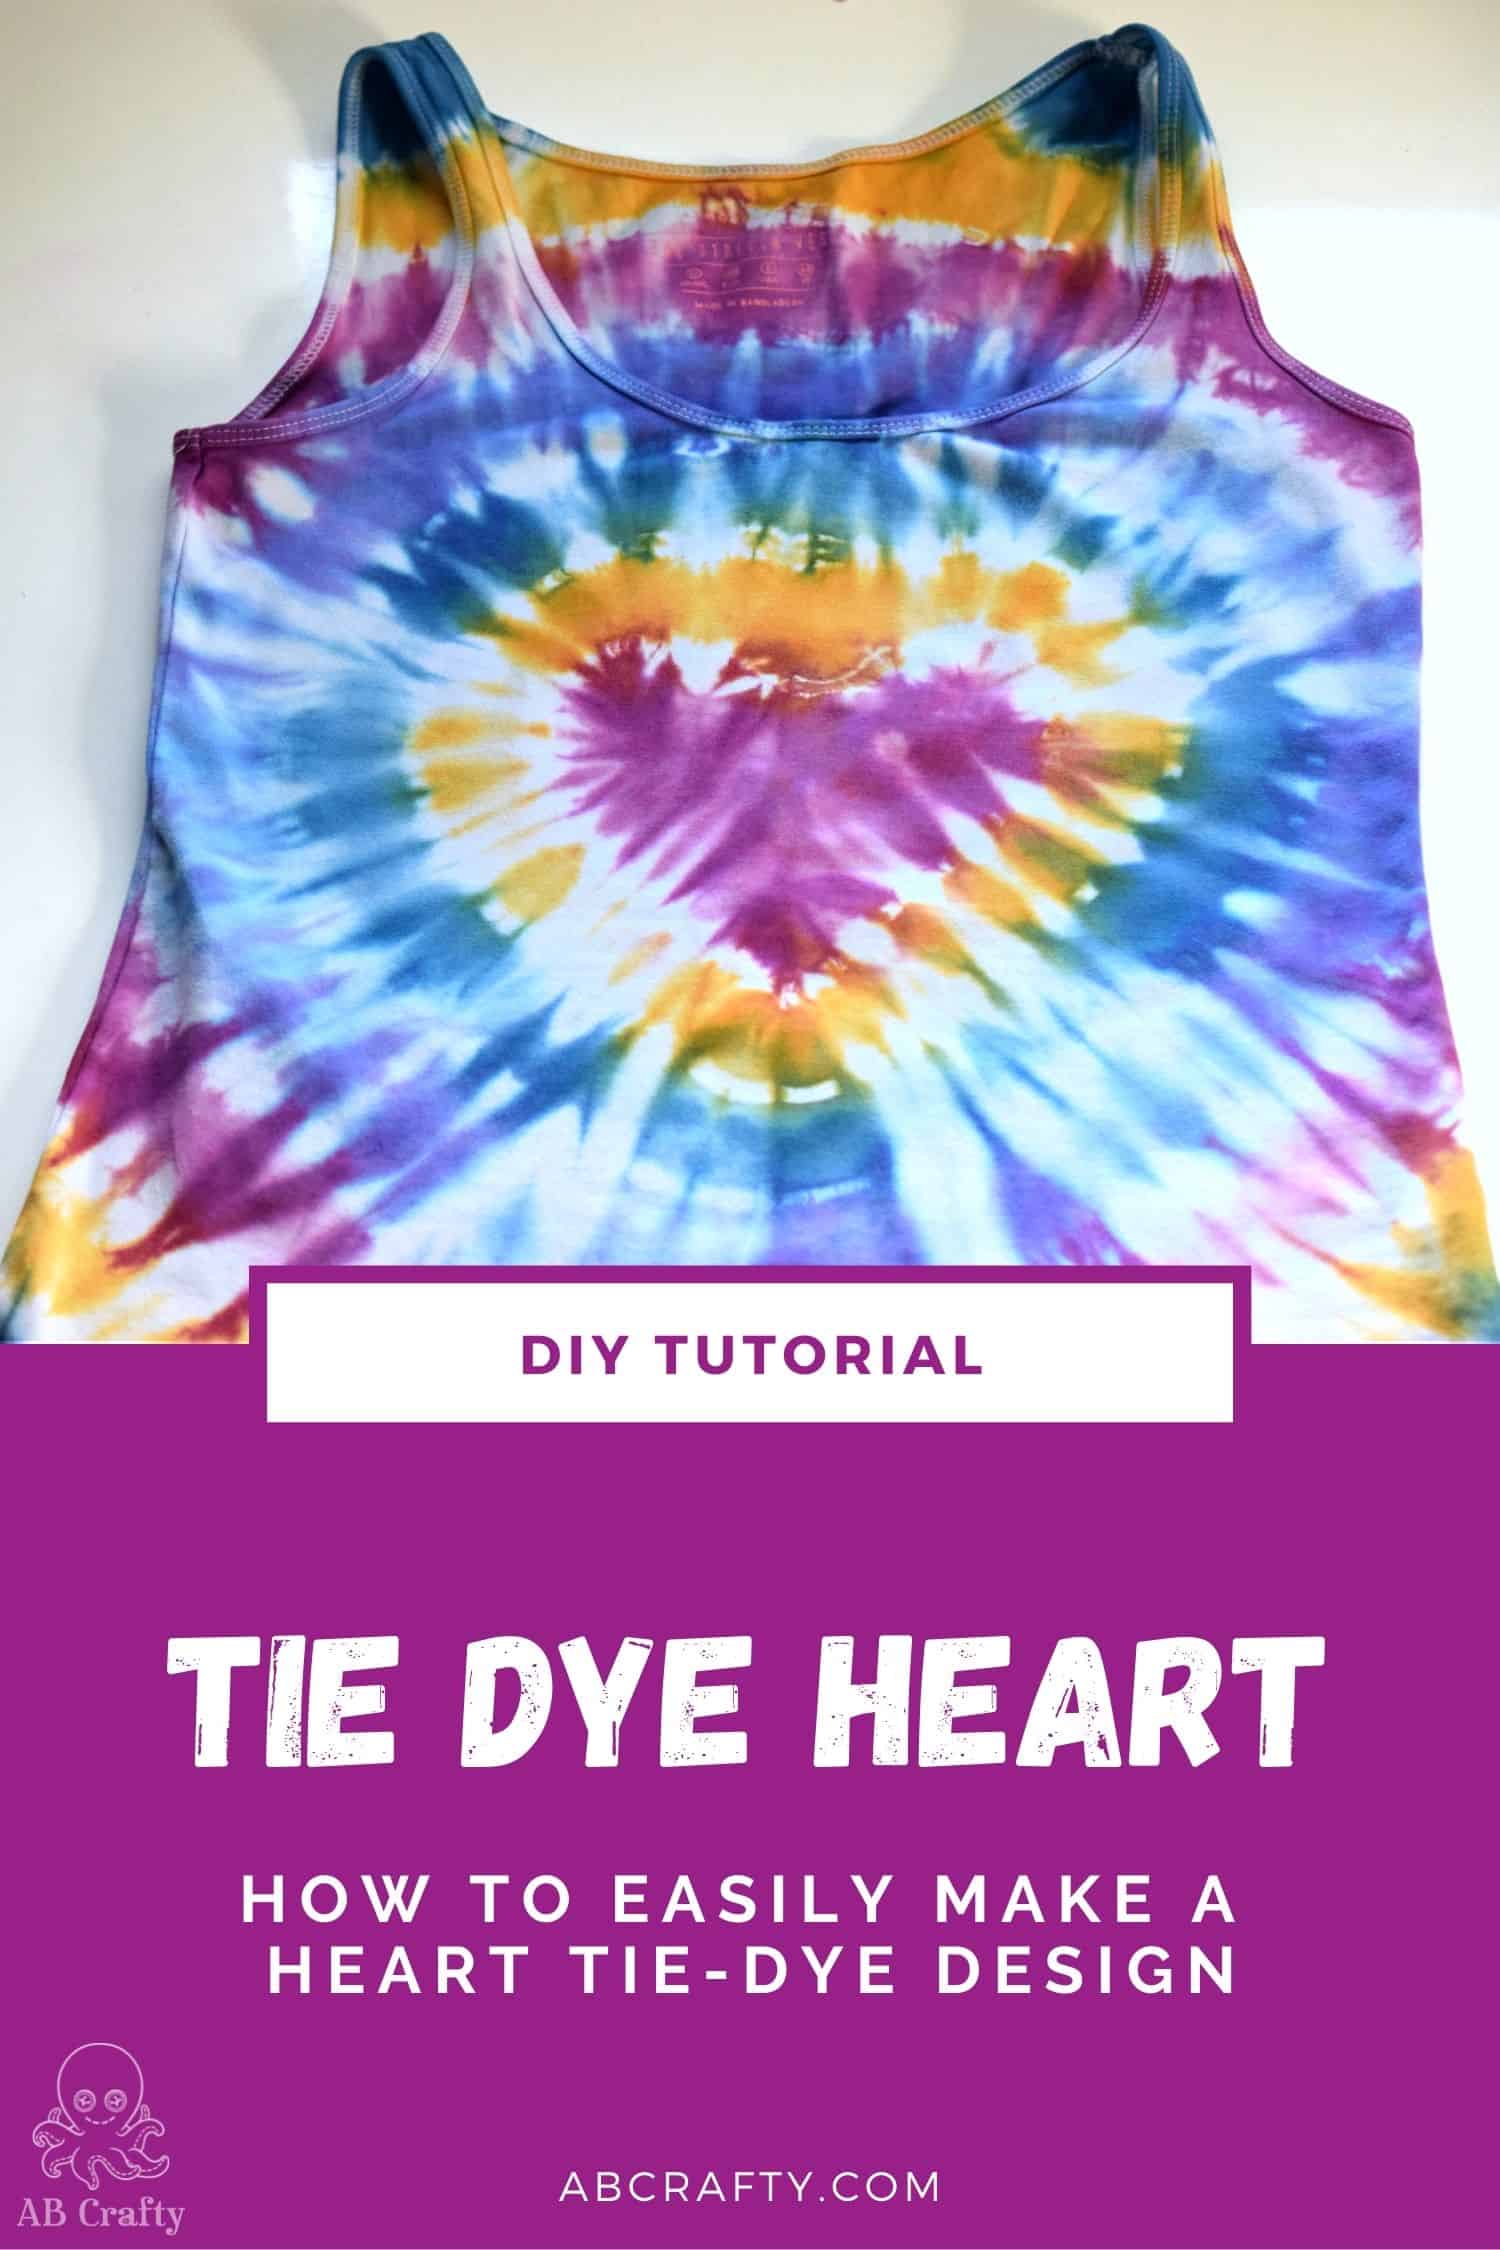
Perfect for Valentine’s day or simply year-round, this is an easy step-by-step tutorial to make a heart tie-dye design. It’s even in rainbow colors!
It also includes a free template to make it easy to make the perfect heart.

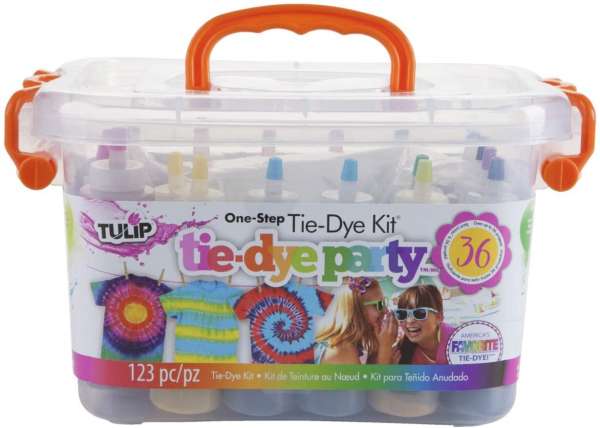
Looking for Tie Dye kits? Our prefered bran is Tulip Tye Dye kits with strong vibrant colours that last.

To make a tie-dye heart t-shirt, you will need the following materials: a white t-shirt, tie-dye kit, plastic gloves, rubber bands, and a heart template (which can be found online or made by hand).

Step 1: Lay the t-shirt flat on a work surface and place the heart template on top.
Step 2: Use the rubber bands to secure the template in place and create the heart shape.
Step 3: Put on the plastic gloves and mix the dyes according to the kit instructions.
Step 4: Apply the dyes to the t-shirt, making sure to saturate the rubber-banded areas thoroughly.
Step 5: Once finished, remove the rubber bands and template, and let the shirt sit for at least 6-8 hours, or according to the dye kit instructions.
Step 6: Rinse the shirt with cold water until the water runs clear.
Step 7: Wash the shirt in the washing machine and dry it.

Your rainbow heart tie-dye t-shirt is ready to wear!

Note: The instructions may vary depending on the tie-dye kit you are using, please follow the instructions provided in the kit.


Read These Next

  • 4th of July Tie-Dye Cookie Ideas – Red, White and…
  • Sock Yarn Gloves Knitting Patterns
«
»

Have you read?

Cross Stitch Ice Cream and Frozen Treats

Summer is the time for sweet treats, whether eating them or stitching them. This collection of patterns is full of designs that are good enough to eat. Almost. 

This year of ice creams from Simone Balman Art is lots of fun, and you could also stitch up these treats individually if you’d rather. The full piece is 210 by 300 stitches, though it’s not full coverage. It uses 25 colors and comes out to 13.6 by 20.1 inches, or 34.5 by 51.2 cm, as shown on 14 count fabric. 

These mini Popsicles from Mariana Gonclaves ART as super sweet and quick to stitch. These would also be a fun border to another summer project. The full design is 43 by 46 stitches, which is 3.1 by 3.3 inches, or 7.8 by 8.3 cm, on 14 count fabric. 

Sam X Stitch has this fun sweet treat sampler, which again would be fun to stitch as individual pieces (maybe on napkins?). In all it calls for 18 colors and measures 153 by 153 stitches. That comes out to 10.93 inches or 27.75 cm on 14 count fabric. 

Another great sampler is this one with ice cream and other sweet treats from Cute Patterns by Maria. At 119 by 132 stitches total, working the full pattern would be about 8.6 by 9.4 inches, or 22 by 24 cm on 14 count fabric, and it uses 33 colors. You can also stitch individual designs, which range in height from 35 to 45 stitches, and in width from 11 to 28. 

This collection of four sundae patterns from Stichrovia would be fun to make for a kitchen or a teen’s room. Each pattern is around 40 by 50 stitches, so they should fit in a four or five inch hoop if worked on 14 count fabric. 

Or stitch up one of the treats from Stitch Chart Studio‘s collection of seven ice cream cross stitch patterns. These range in size and in number of colors needed, but most would fit in a five or six in hoop (and one in a four inch hoop). 

Featured Posts

Edible Crayons

Tutorial: Girl’s faux fur vest with high-low hem

Recycle the trash to make little votive tealight covers

Clay Pot Scarecrow

How to Make a Washi Tape Dispenser

RSS More Articles

  • 12 Handmade Patriotic 4th of July Card Ideas
  • Shark Week Learning for Kids
  • Book Review – Needle Felting Art: Mixed Media Woodland Creatures
  • Knit Summer Tops with Fun Necklines
  • DIY Pottery Clay Doily Platter with Pink Speckled Glaze
  • How to Make Thick Yoghurt Smoothie Bowls in the Ninja Slushie Maker
  • FREE 4×6 Printable Backgrounds – 4th of July Collection (Red, White and Blue Craft Papers)
  • Turtle Crochet Patterns That Are Slow, Sweet, And Totally Worth Making
  • Heirloom Keepsake Crafts: Pretty Ways To Upcycle Grandma’s Vintage Teaspoons
  • Book Review: The Book Book of Beginner Amigurumi

Pick Your Blog

  • Sewing
  • Knitting
  • Quilting
  • Crochet
  • Home & Garden
  • Recycled Crafts
  • Scrapbooking
  • Card Making
  • Polymer Clay
  • Cross-Stitch
  • Edible Crafts
  • Felting
  • Glass Art
  • Indie Crafts
  • Kids Crafts
  • Jewelry Making
  • Lesson Plans
  • Needlework
  • Bath & Body
  • Party Ideas
  • Candle Making
  • DIY Weddings
  • Not Craft
  • Free Craft Projects

Copyright © 2026 · CraftGossip | Start Here | Contact Us | Link to Us | Your Editors | Privacy and affiliate policy