• Home
  • Suggest A Craft
  • DIY Newsletter

Craft Gossip

The largest independent craft review site since 2007

  • About CraftGossip
  • Our Network
    • Bath & Body Crafts
    • Candle Making Ideas
    • Crochet Ideas
    • Cross Stitch
    • Edible Crafts
    • Felting Patterns
    • Glass Art
    • Home & Garden Ideas
    • Indie Crafts
    • Jewelry Making
    • Kids Crafts
    • Knitting Patterns
    • Lesson Plans
    • Needlework
    • Party Ideas
    • Polymer Clay
    • Quilting Ideas
    • Recycled Crafts
    • Scrapbooking
    • Sewing Patterns
    • Card Making
    • DIY Weddings
    • Not Craft Ideas
  • Giveaways
  • Roundups
  • Store
  • Search

Halloween Monster Plushie Rag Doll

September 10, 2017 by Shellie Wilson

Gather some colourful felts and craft this super cute monster plushie! This could be a great gift for this Halloween. This Halloween Monster is perfect as a Halloween gift or as a Halloween decoration too.

Supplies:
1. Felt
2. Hotglue gun
3. Scissors
4. Pencil – to trace patterns
5. Stuffing


Step-1: Remember to choose bright colors for this plushie. In this picture you can see the basic pattern of the plush I made. It includes- body, legs, hands, ears. You will need 2 pieces of patterns for each leg, hand and the body.

Step-2: For the face details I used black and white felts to create the eyes, nose, mouth and teeth. Use hotglue gun to attach the face details on their places, on the front pattern of the body.

Step-3: Glue the orange ear piece on the top of the green ear piece and then slightly fold a side to create the ear for the plush. Attach the ear on the back side of the front body piece.

Step-4: Use white felt to cut out 12 triangular nail patterns and attach 3 nails on 2 leg and 2 hand patterns as shown in the picture. Place the other piece of the hands and legs on the top of the nail glued pieces. Use hot glue gun to attach both pieces together. This means that the nails need to be glued in between the 2 pieces of each part (hands and legs).

Step-5: Glue the hands and legs with the body piece for the back side of the plush. Now take the front piece with face details and place it on the top of the back piece. Carefully attach the sides of the front and back body pieces but don’t forget to keep a small open end for stuffing.

Step-6:  Insert wool or scrap fabric through the open end of the plush. After you’re done filling the plush use hotglue gun to close the open end and secure the stuffing.

You can add more details if you wish to.

Happy crafting!

Read These Next

  • 15 Pencil Pouches You Can Sew for Back to School
  • 20+ Wide Leg Pants Sewing Patterns for Effortless…
«
»

Have you read?

“Transform Popsicle Sticks into Adorable Garden Makers – A Crafting Project You’ll Love

If you’re looking for a creative way to add some personality to your garden, this Popsicle Stick Garden Makers project is the perfect craft for you! Whether you’re an experienced DIYer or just starting your crafting journey, this fun and easy project will help you create charming little garden markers that not only look great but also serve a practical purpose in your outdoor space.

With just a few popsicle sticks, some paint, and your imagination, you can make unique markers for your garden plants. This project allows you to add a personal touch to your garden, making it both organized and aesthetically pleasing. Plus, it’s a perfect activity for kids, letting them join in on the fun of creating something that they can proudly display in the garden.

Ready to get started? href=”https://gluesticksblog.com/popsicle-stick-garden-makers/” target=”_new” rel=”noopener” data-start=”905″ data-end=”998″>Check out the full tutorial here! and craft your own custom garden markers today!

 
Wood Spoon Garden Markers
 
How to make Heart-Shaped Wooden Herb Garden Markers
Super Cute Garden Markers

RSS More Articles

  • “Transform Popsicle Sticks into Adorable Garden Makers – A Crafting Project You’ll Love
  • Book Review: The Sewing Book by Alison Smith
  • Apple Learning Activities
  • 12 Scrapbook Layout Ideas with a Quilted Look and some Sketches
  • Mastering the Basics: A Beginner’s Guide to Quilting
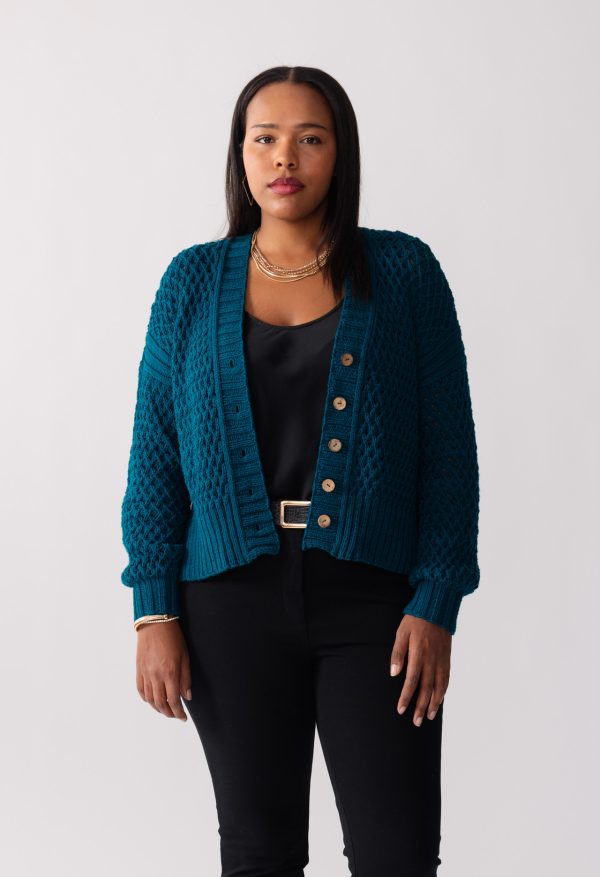
  • Honeycomb Cardigan – Free Crochet Pattern
  • Apple Cider Vinegar Scalp Scrub for Dry, Flaky, or Itchy Scalps – A DIY Detox That Works
  • Designer Spotlight: Knotty Bytes
  • Spotlight on Salt Stitches: A Journey Through Colorful Threads and Creative Embroidery
  • Printable Quilt Block Coloring Pages – Free Download for Quilters

Pick Your Blog

  • Sewing
  • Knitting
  • Quilting
  • Crochet
  • Home & Garden
  • Recycled Crafts
  • Scrapbooking
  • Card Making
  • Polymer Clay
  • Cross-Stitch
  • Edible Crafts
  • Felting
  • Glass Art
  • Indie Crafts
  • Kids Crafts
  • Jewelry Making
  • Lesson Plans
  • Needlework
  • Bath & Body
  • Party Ideas
  • Candle Making
  • DIY Weddings
  • Not Craft
  • Free Craft Projects

Copyright © 2025 · CraftGossip | Start Here | Contact Us | Link to Us | Your Editors | Privacy and affiliate policy