I have featured Michell from Girl In Air many times here at Craft Gossip. She has a great knack for fixing up her home, in particular, areas geared around her little boy. Her guest post today is no exception. So without further delay, here’s Michell!
Hello Craft Gossip readers! I am beyond thrilled to guest post. My name in Michell and I blog over at Girl In Air.
I am a 40-something wife and mom to daughters 20 and 18 years old AND a 2 year old boy. After my boy was born I quit my 10 year career as a Flight Attendant to stay home with him. I LOVE spending my spare time crafting and sharing with others HOW to be creative. I like my projects to be fast, easy and inexpensive. Right now I am decorating my son’s room and making some decor. I have a passion to inspire others. I hope you find yourself inspired and enjoy this tutorial:
I LOVE the look of kids’ rooms in the Pottery Barn Kids catalog. When I saw this GIANT pencil I knew I wanted to try recreate it for my son’s room.
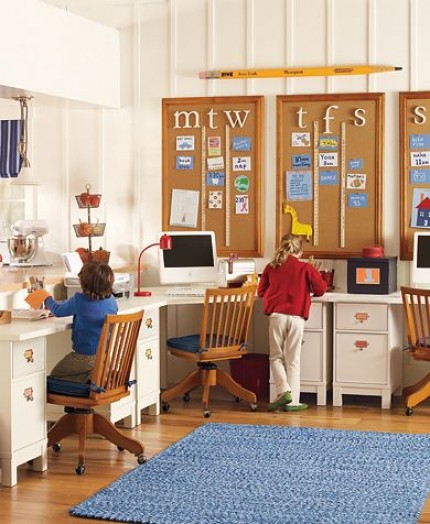 {source Pottery Barn}
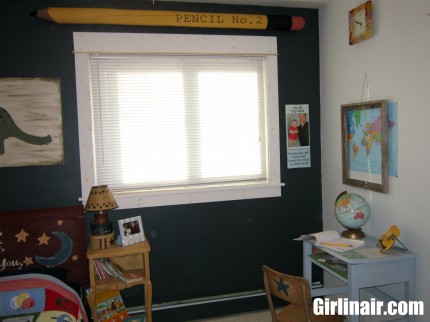 I think I accomplished it! Isn’t it Fabulous?!
AND I made this for under $15!
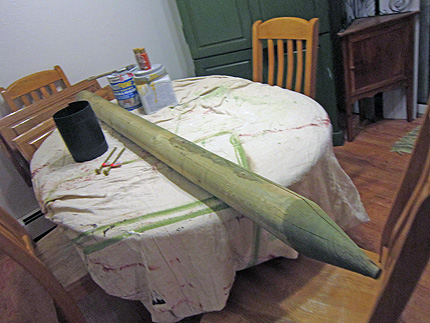 The supplies needed:
Pointed Fence Post
Stove Pipe
Paint
Lag Screws {optional}
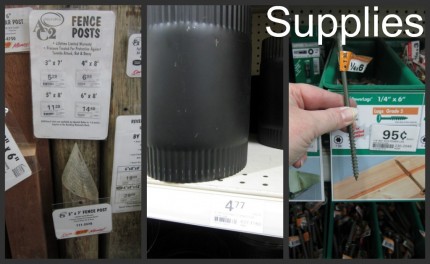 Pointed fence posts can be found at many home improvement stores from $5 to $10 in all sizes untreated or treated.
I purchased a 4″ x 6′ 1/2″ pointed post for $6.99, a stove pipe for $4.77 {in the cooling and heating section} and two 6″ lag screws .95 cents for mounting.
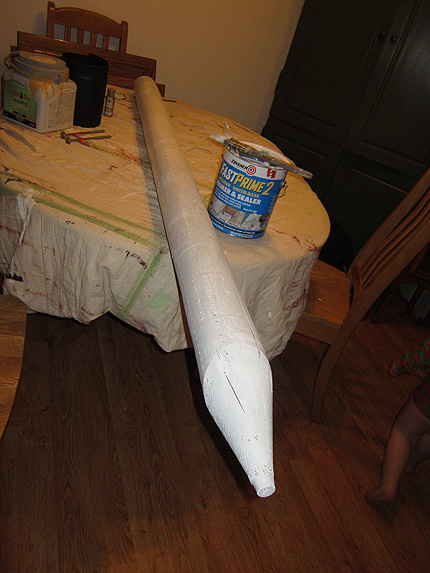 First I primed the post.
I did not do any sanding. I liked the rustic and rough look of the post.
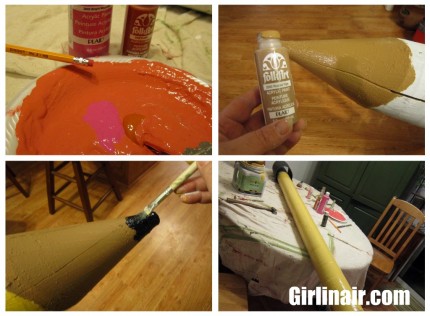 Then I used craft paint for the point, tip and eraser.
A mixture of pink and brown craft paint for the eraser, tan for the point, and black for the tip.
For the body of the pencil I used some leftover yellow house paint.
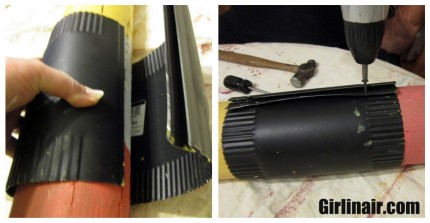 There are lots of different options for this part… even a silver dryer vent. I really liked the look of this stove pipe with the crinkle at the top and bottom. It’s very easy to bend, so I just wrapped and secured it with screws.
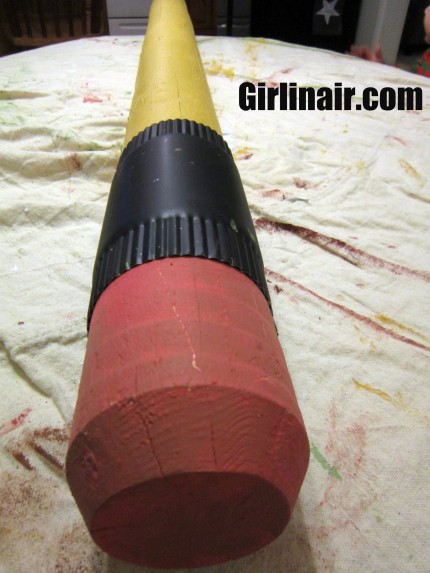 See how simple?? The PERFECT Pencil!
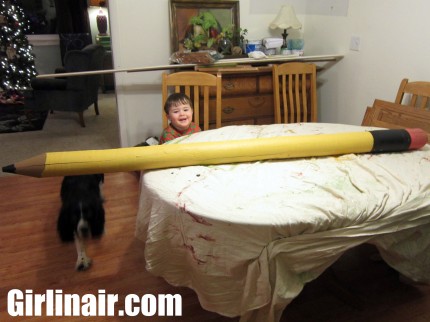 I painted this right at my kitchen table and it took about an hour:-)
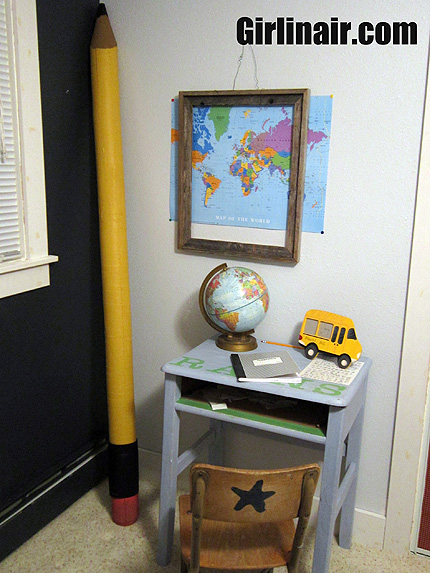 It looks perfect standing in a corner. However, chances are my 2 year old will try to crawl on it, I decided to hang it instead.
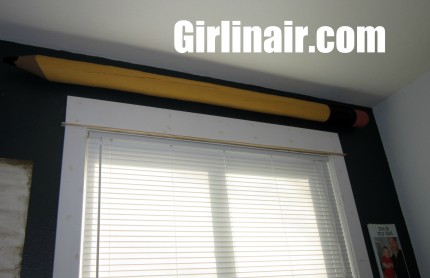 This is where the lag screws come into play. According to the hubby,
two 1/4″ x 6″ screws will support this post.
We pre-drilled 2 holes in the post 16 inches apart and screwed them into the studs.
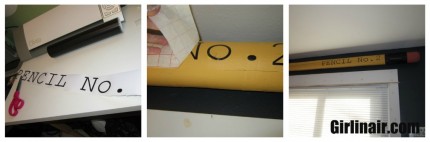 I thought it needed a little something more…
so I used my Silhouette and cut ‘PENCIL No. 2’ in black vinyl. I also think a child’s name or a Teacher’s name would be PERFECT too:-)
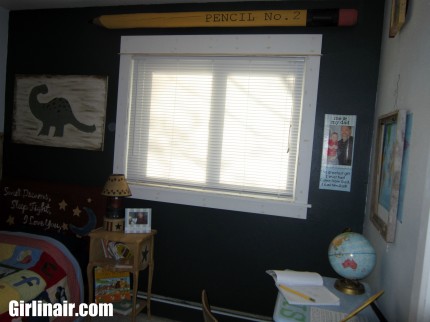 And there you have it. Simple and inexpensive home decor with a BIG
impact!
Thanks so much for letting me share this tutorial with you!
If you liked this project stop my blog Girl In Air and check out my tutorial page. I have projects BIG and small and a little bit of something for everyone.
Here are 3 of my favorites:
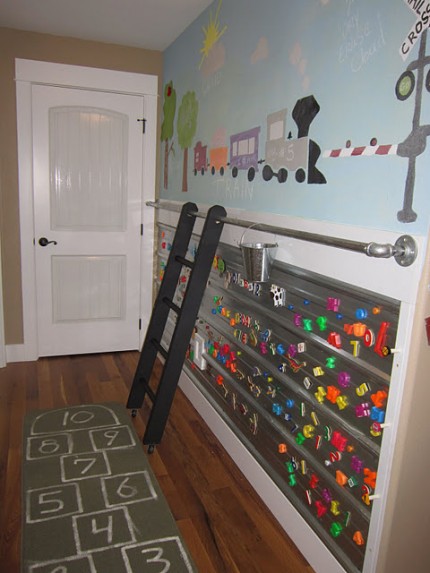

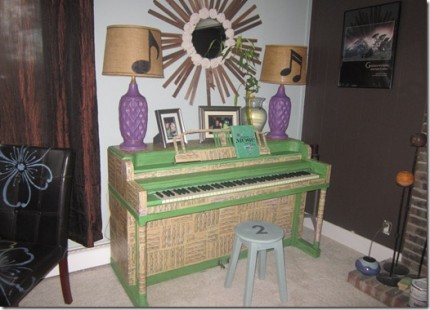
Thank you! You can connect with me on Twitter and Pinterest
Thanks so much for sharing this great project with us Michell!