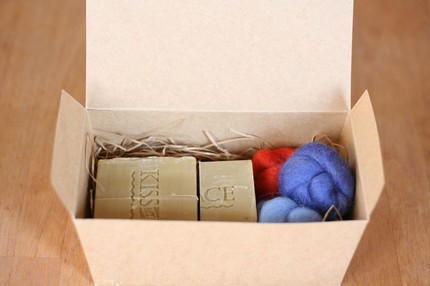
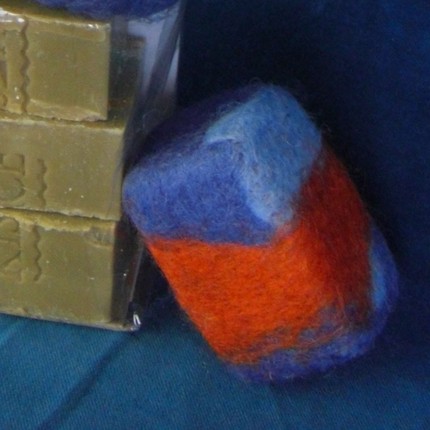
Leah Adams of SpiderFelt is generously offering one of my readers a chance to win her lovely Verbena Felt Soap Kit, so fragrant and pretty. Leah is a talented felt designer who evolves daily in creating exquisite felted items to wear, hold, as well as kits for those who want to make their own felt items. She is an artist who has taken her felting art into brilliant realms. Her knowledge of felt is amazing and we are so lucky to be a part of her world. We would like you to become a fan of Leah’s SpiderFelt on Facebook. If you do not have an account, please think about signing up and joining us on Facebook. The giveaway will run for 10 days, from October 23, 2009 through November 1, 2009. To enter, simply go to Leah’s SpiderFelt Shop and select an item you like, then come back here and post about the item you love in the comment section here. This giveaway will end at midnight EST November 1st. Good luck to everyone.
Have you read?
How to Rip Out Cross Stitch Mistakes
I’ve recently been doing more embroidery than usual, and while I do tend to be rather intuitive when I stitch rather than planning it out too much or caring if all the stitches are perfect, there was a particular section that I felt the need to rip out. Twice.
In cross stitch as well as embroidery, there may come a time when you need to rip out a few stitches or a big section of a project. Maybe you put a stitch or a few where they didn’t belong, used the wrong color or just didn’t like the look of something once it was on the fabric.
What’s the best way to work back in cross stitch? As with most things, the answer is it depends.
But for a look at your options, I don’t think I’ve seen a better rundown than this post from Sirious Stitches. There’s a video in the post if you don’t want to read it all, but either way there are some great ideas and things to think about when you need to rip out stitches.
I think we’ve all stitched backwards from time to time when we put a stitch or two in the wrong place, but it’s helpful to know what the best solution is when you’ve got more ground to cover. Or uncover, in this case.
Personally I was a little afraid to use a seam ripper but I’m glad to see that’s a valid option if you’re careful.
The post also has good tips for cleaning up your project after you rip things out, since you might have some stray thread tails of fuzzy bits that need to be dealt with before you get back to stitching.
There’s lots of great stuff in there worth reading before you need it and keeping handy in case you need to remove a bunch of stitches from a project.
Have you ever ripped out a lot of cross stitch? I’d love to hear how you went about it.
[Photo: Sirious Stitches]