• Home
  • Suggest A DIY
  • DIY Newsletter

Craft Gossip

Independent craft blog since 2007

  • About CraftGossip
  • Our Network
    • Bath & Body Crafts
    • Candle Making Ideas
    • Crochet Ideas
    • Cross Stitch
    • Edible Crafts
    • Felting Patterns
    • Glass Art
    • Home & Garden Ideas
    • Indie Crafts
    • Jewelry Making
    • Kids Crafts
    • Knitting Patterns
    • Lesson Plans
    • Needlework
    • Party Ideas
    • Polymer Clay
    • Quilting Ideas
    • Recycled Crafts
    • Scrapbooking
    • Sewing Patterns
    • Card Making
    • DIY Weddings
    • Not Craft Ideas
  • Giveaways
  • Roundups
  • Store
  • Search

DIY Sublimation Printer

March 9, 2023 by arabella

For those interested in sublimation, this is a cheap way to make your own sublimation printer using an Epson Ecotank. 

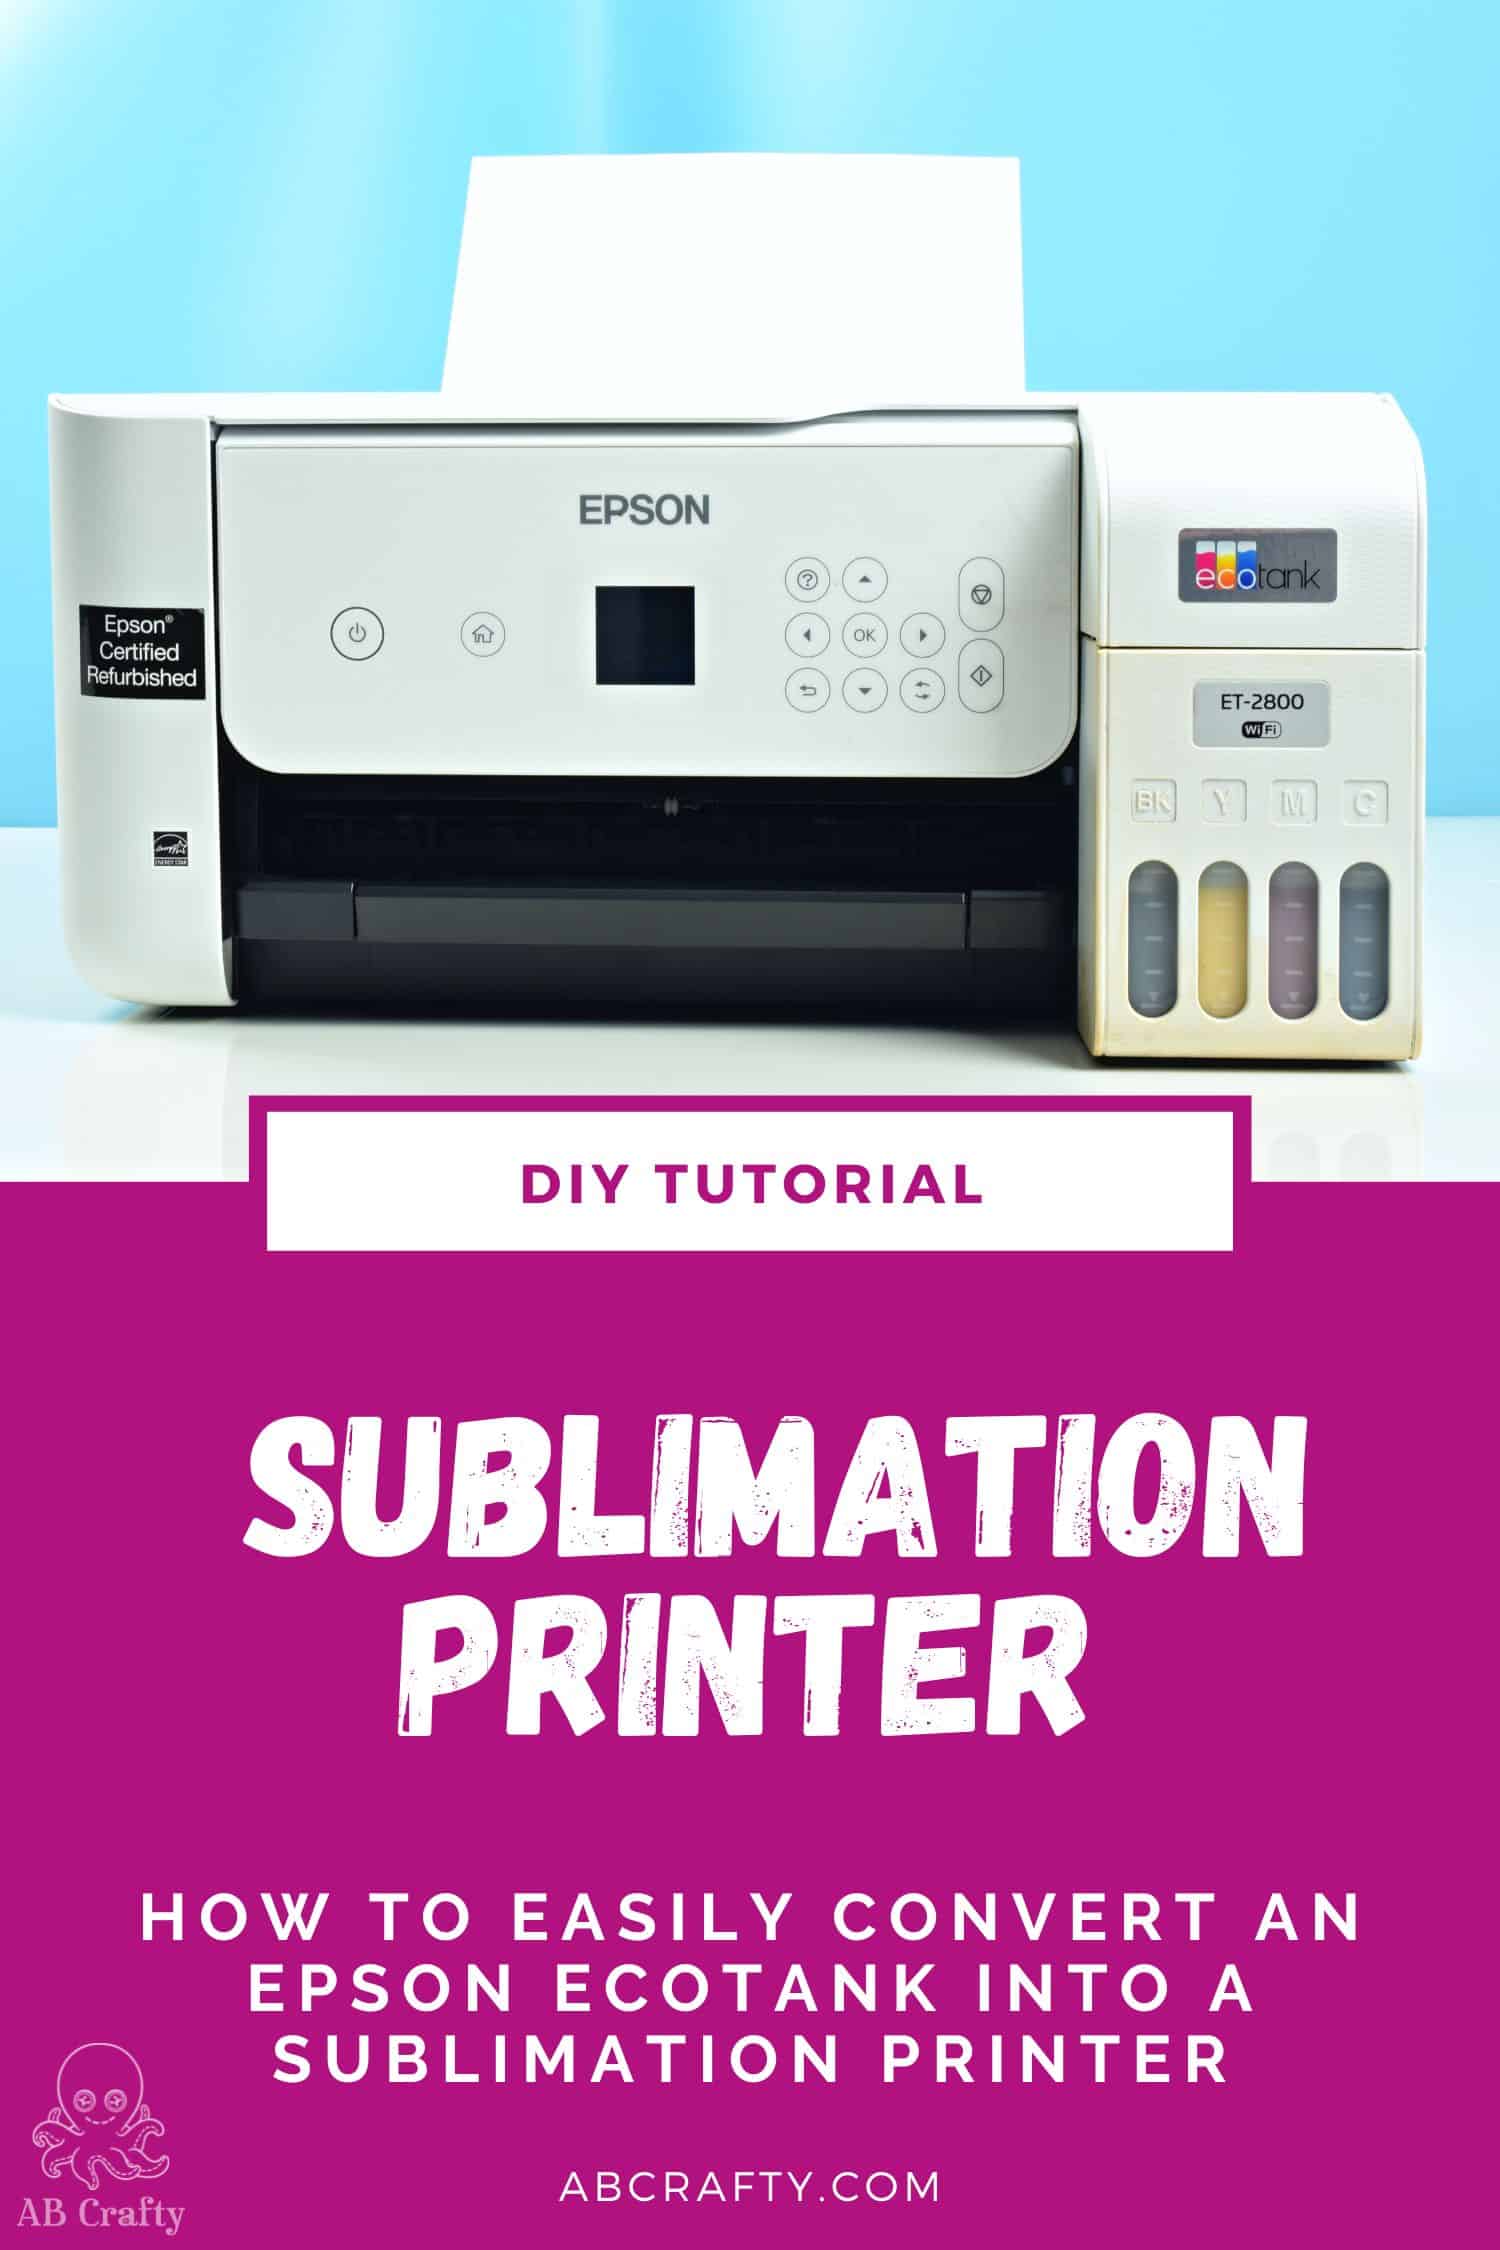
Sublimation printing is a popular method of printing designs onto various substrates, such as textiles, ceramics, and metals. It involves transferring a design from a special transfer paper onto the substrate using heat and pressure. While sublimation printing is a great way to create high-quality, long-lasting prints, it can be costly to set up a sublimation printer. However, there is a cheap way to make your own sublimation printer using an Epson Ecotank.

The Epson Ecotank is a range of inkjet printers that use refillable ink tanks instead of traditional cartridges. They are known for their low running costs, high-quality prints, and versatility. By using the Epson Ecotank and a special sublimation ink, you can create your own sublimation printer at a fraction of the cost of a traditional sublimation printer.

Sublimation ink is a special type of ink that turns from a solid to a gas when exposed to heat and pressure. This process is called sublimation, hence the name sublimation printing. The sublimation ink is printed onto a special transfer paper, which is then placed onto the substrate and subjected to heat and pressure. The heat and pressure cause the ink to turn into a gas, which then bonds with the substrate and creates a permanent, vibrant print.

DIY Sublimation Printer 

Read These Next

  • Your pasta machine is good for more than pasta or…
  • Beginner Sewing - How To Make And Cut Out A Sewing Pattern
«
»

Have you read?

Cross Stitch Cards for All Occasions

I have never stitched a greeting card, but I kind of like the idea of it. It’s a card and a gift all in one, and hopefully one the recipient will hang onto for years to come. 

This collection of easy and colorful greeting card cross stitch patterns from Susan Bates (via Gathered) are a great place to start if you want to stitch your own greeting cards. 

These text-based designs cover a lot of card-sending events, such as:

  • get well soon
  • happy birthday
  • thank you
  • thinking of you
  • congratulations
  • anniversary
  • new home
  • good luck

The lettering is done in gradients and there are other details like hearts and stars, a house key and a gift, depending on the text. There are full cross stitches and back stitch on all of the cards, and they use 15 colors for the cross stitching and six for the back stitching (and just two colors are used for both, so it’s 19 colors total). 

The designs vary a bit in size but the biggest one is 52 by 67 stitches, which comes out to 3.75 by 4.75 inches or 9.5 by 12 cm when worked on 14 count fabric or 28 count evenweave. The text suggests beads are also used in the patterns but there’s no note of them in the key, so go wild and add some beads if you like. 

Designs are worked on a price of 6 by 8 inch/15 by 20 cm fabric and then mounted to a card with a colorful baking piece of card stock behind it. This is easy to assemble with whatever cardstock greeting cards you have on hand.

You can get the free charts as a PDF from Gathered. 

Have you ever stitched your own greeting cards? I’d love to hear about it, or let me know if these inspire you to try. 

[Photo: Susan Bates via Gathered]


Featured Posts

Project: Dry Embossed and Inked Butterfly Card

Men Week at American Crafts Studio

Yummy Banana Nut Bread Recipe

Tutorial: Use craft paint to tint lace

Hot Stuff Heat Pad

RSS More Articles

  • 3 FREE Dark Romantasy Coloring Pages
  • Needle Felted Tropical Hibiscus Flower Tutorial
  • 12 Masculine Scrapbook Layouts for Men
  • Book Review: The No-Brainer Brain Explainer
  • Knit and Felt Some Tabi Style Slippers
  • Make This Rustic Patriotic Flag Wreath for Your Front Door
  • 14 Large And Giant Crochet Patterns For Big, Cosy Makes
  • FIFA Soccer Crafts For Kids, Crochet Fans And Game-Day Makers
  • Cross Stitch Ice Cream and Frozen Treats
  • Sunflower Ribbon Embroidery Tutorials and Kits to Brighten Your Hoop

Pick Your Blog

  • Sewing
  • Knitting
  • Quilting
  • Crochet
  • Home & Garden
  • Recycled Crafts
  • Scrapbooking
  • Card Making
  • Polymer Clay
  • Cross-Stitch
  • Edible Crafts
  • Felting
  • Glass Art
  • Indie Crafts
  • Kids Crafts
  • Jewelry Making
  • Lesson Plans
  • Needlework
  • Bath & Body
  • Party Ideas
  • Candle Making
  • DIY Weddings
  • Not Craft
  • Free Craft Projects

Copyright © 2026 · CraftGossip | Start Here | Contact Us | Link to Us | Your Editors | Privacy and affiliate policy