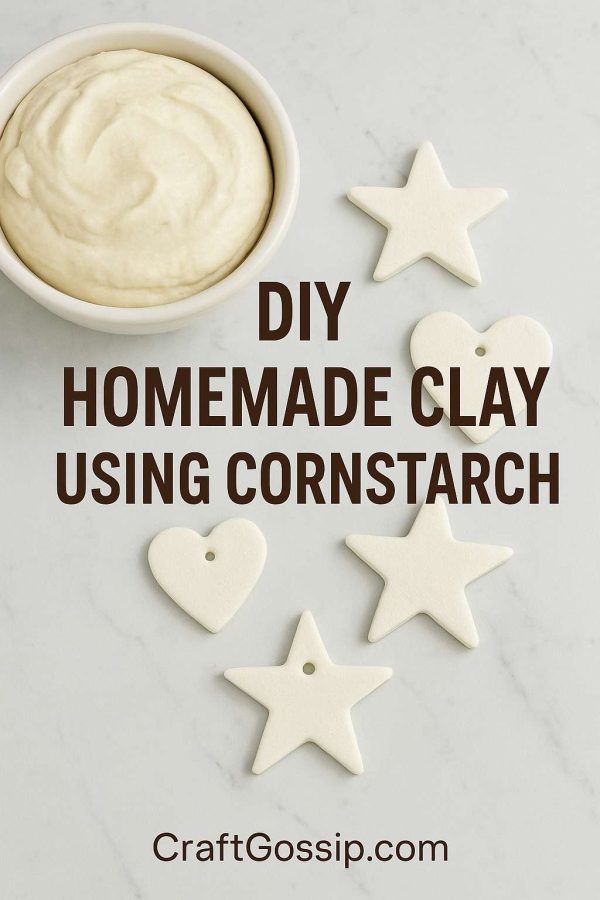
Homemade clay is one of those secret recipes that once you try, you’ll never go back to store-bought. A bag of cornstarch and a little baking soda can become something truly magical: a soft, pliable clay that air dries beautifully and costs next to nothing.
I first made this when my kids were little. It was raining for the third day in a row, the dog was climbing the walls, and I needed a distraction before I lost my mind. A quick pantry raid later and suddenly we were rolling, cutting, and stamping ornaments like little elves in July. Twenty years later, I still use this exact recipe when I want a quick batch of DIY clay for ornaments, trinket dishes, or even pawprint keepsakes of our dog, Aloo.
This clay recipe is simple, safe, and endlessly versatile. Whether you’re a grandma doing a rainy-day project with the grandkids or a seasoned crafter wanting a budget-friendly alternative to air dry clay, this cornstarch-based clay has you covered.
Why Use Cornstarch Clay Instead of Store-Bought?
While you can absolutely buy clay at the craft store, homemade clay has some unique advantages:
- Budget-friendly: Uses pantry staples instead of pricey clay packs.
- Non-toxic & safe for kids: Made with edible ingredients (though don’t snack on it, please).
- Beginner-friendly: Even if you’ve never touched clay before, you can handle this recipe.
- Versatile: Great for holiday décor, jewelry, keepsakes, or just fun play clay.
- Customizable: Add natural pigments, food coloring, or even essential oils.
Think of this clay as the homemade bread of the craft world – wholesome, simple, and made with love.
Ingredients for Homemade Cornstarch Clay
You only need three ingredients – all likely already in your kitchen:
- 1 cup cornstarch (cornflour in some countries)
- 2 cups baking soda
- 1 ¼ cups water
Optional add-ins:
- A few drops of food coloring for tinted clay
- A splash of vanilla or lavender essential oil for a gentle scent
- Natural coloring powders like turmeric (yellow), beetroot (pink), or cocoa (brown)
Step-by-Step Clay Recipe
Step 1: Mix It Up
In a saucepan, whisk the cornstarch and baking soda together. Slowly add the water, stirring until smooth.
Step 2: Cook Over Heat
Place the pan on medium heat. Stir continuously. Within minutes, the mixture will thicken – first like pancake batter, then mashed potatoes. Keep stirring until it clumps together into a doughy ball.
Step 3: Cool It Down
Transfer the clay to a bowl or plate and cover with a damp cloth. Let it cool until it’s safe to touch.
Step 4: Knead Until Smooth
Once cool, knead the dough until soft and smooth. If it’s sticky, sprinkle in a little extra cornstarch. If crumbly, add a few drops of water.
Step 5: Shape Your Creations
Roll it out with a rolling pin and cut with cookie cutters, press stamps or leaves into it for texture, or hand-sculpt your own designs.
Step 6: Dry & Finish
- Air dry: Place creations on parchment and allow 24–48 hours to dry, flipping halfway.
- Oven dry: Bake at 175°F (80°C) for 30–60 minutes. Keep a close eye to prevent cracks.
Pro Tips for Perfect Clay
- Always knead well before shaping – this prevents cracking.
- Keep unused dough covered with a damp cloth while you work.
- For ornaments, remember to make hanging holes with a straw before drying.
- For smoother finishes, sand lightly once dry.
How to Store Homemade Clay
If you don’t use all the clay at once, wrap it in cling film or place in an airtight container. Store in the fridge for up to 3 days. Just let it sit at room temperature a few minutes before kneading again.
Decorating Your Creations
Once your clay pieces are dry, the real fun begins.
- Paints: Acrylic paints or watercolors both work beautifully.
- Metallics: Try gold or silver leaf for a luxe finish.
- Natural look: Leave them plain white for a minimalist Scandinavian vibe.
- Sealing: Use clear Mod Podge, acrylic varnish, or resin if you want to make them more durable or water-resistant.
Common Troubleshooting
Clay too sticky? Sprinkle more cornstarch.
Clay too dry? Add a few drops of water and knead.
Clay cracking when drying? Either it was rolled too thin, or it dried too quickly – try air drying more slowly.
Clay going moldy? You left it too long in storage – best to make small batches.
What Can You Make with Cornstarch Clay?
Here’s where your imagination takes over. Some favorites include:
- Christmas Ornaments: Stars, snowflakes, bells, or hand-painted baubles.
- Gift Tags: Personalize with stamps or lettering before drying.
- Handprint Keepsakes: A timeless project for kids and grandkids.
- Paw Prints: A lovely way to capture your pet’s paw forever.
- Trinket Dishes: Roll over a doily for lace impressions, then shape into shallow bowls.
- Clay Jewelry: Cut out earring or pendant shapes and paint after drying.
Comparing Cornstarch Clay to Other DIY Clays
- Salt Dough vs Cornstarch Clay: Salt dough is rougher, heavier, and can look grainy once dry. Cornstarch clay is smoother and whiter.
- Store-Bought Air Dry Clay vs Cornstarch Clay: Store-bought is stronger and longer-lasting, but homemade is cheaper, easier, and safer for kids.
- Cold Porcelain Clay vs Cornstarch Clay: Cold porcelain uses glue and oil, making it more durable but less kid-safe.
FAQ
Is cornstarch clay waterproof?
Not on its own. Seal with Mod Podge or spray varnish if you want water resistance.
How long does cornstarch clay last once dry?
With proper sealing, years. Without sealing, avoid damp conditions.
Can you eat cornstarch clay?
Nope – while made from food ingredients, it’s not edible.
Why did my clay crack?
Usually from drying too fast or rolling too thin. Keep pieces about ¼ inch thick.
DIY cornstarch clay is the perfect rainy-day project – quick, inexpensive, and surprisingly sturdy once finished. It’s ideal for handmade gifts, keepsakes, and holiday decorations. I keep coming back to this recipe year after year because it’s just so reliable.
So next time you’re craving a crafty afternoon, grab some cornstarch and baking soda and whip up your own batch of homemade clay. I promise – it’s more fun than baking cookies (well, almost).