• Home
  • Suggest A DIY
  • DIY Newsletter

Craft Gossip

Independent craft blog since 2007

  • About CraftGossip
  • Our Network
    • Bath & Body Crafts
    • Candle Making Ideas
    • Crochet Ideas
    • Cross Stitch
    • Edible Crafts
    • Felting Patterns
    • Glass Art
    • Home & Garden Ideas
    • Indie Crafts
    • Jewelry Making
    • Kids Crafts
    • Knitting Patterns
    • Lesson Plans
    • Needlework
    • Party Ideas
    • Polymer Clay
    • Quilting Ideas
    • Recycled Crafts
    • Scrapbooking
    • Sewing Patterns
    • Card Making
    • DIY Weddings
    • Not Craft Ideas
  • Giveaways
  • Roundups
  • Store
  • Search

DIY Funfetti Candle

July 17, 2014 by Shellie Wilson

DIY-Fenfetti-Candle

If you are looking for a fun and unique candle to make for a birthday or celebration, then this funfetti candle is just the thing. With its cute and quirky appearance, this candle is sure to add a touch of fun to any occasion. Plus, you can customize the scent to match your favorite dessert or party theme.

The best part is that making this candle is surprisingly easy. You will need just a few basic supplies, including a melt and pour soap base, candle dye, fragrance oil, and sprinkles. You can find all of these items at a craft store or online.

To get started, simply melt the soap base in a double boiler or microwave. Once it is fully melted, add your candle dye and fragrance oil. The amount you use will depend on the size of your candle, so be sure to follow the instructions carefully. You can choose any color and scent that you like, but a sweet scent like vanilla, strawberry, or chocolate would be perfect for this funfetti candle.

Next, pour the melted soap into a candle mold. You can use any mold that you like, but a simple votive or jar will work best for this project. Before the soap sets, add a handful of sprinkles to the top. You can use any type of sprinkles that you like, but colorful jimmies or confetti would be ideal for this candle.

Allow the candle to cool and harden completely before removing it from the mold. Once it is fully set, you can decorate the outside of the candle with additional sprinkles, stickers, or other fun embellishments. The possibilities are endless, so feel free to get creative!

Making a funfetti candle is a great way to add some fun and whimsy to your candle collection. It is easy to make and can be customized to suit any occasion or theme. Whether you are looking for a fun birthday gift or a festive decoration for your next party, this candle is sure to delight. So, gather your supplies and get ready to create a fun and colorful candle that everyone will love.
Full tutorial here.


«
»

Have you read?

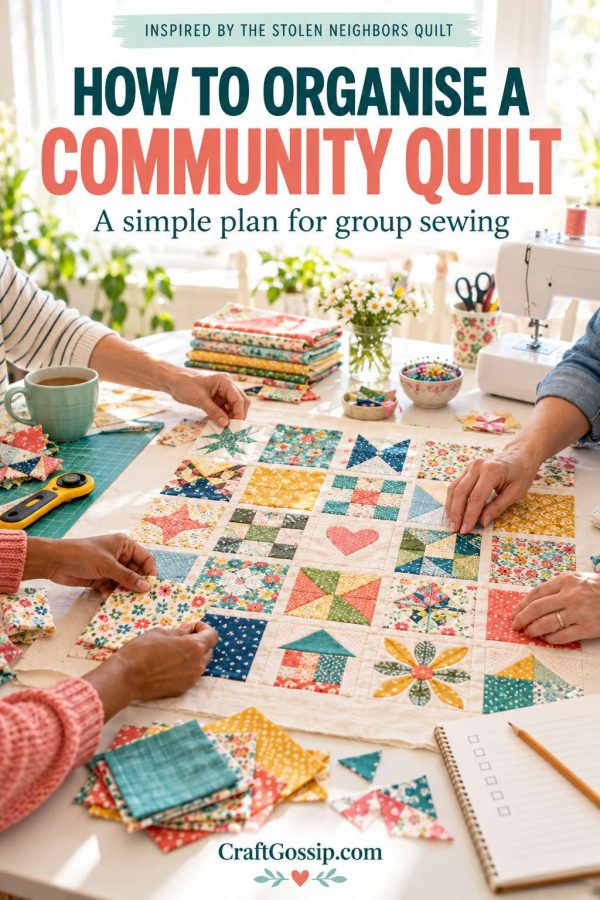
Inspired by the Stolen Neighbors Quilt? How to Organise a Community Quilt Project

The Minnesota Stolen Neighbors Quilt has reminded many of us just how much a group of makers can achieve together. Its organisers brought contributions from across the country into a quilt containing 12,500 squares, which was unveiled at the Minnesota State Capitol in September 2026.

Your own community quilt does not need thousands of pieces or a Capitol-sized staircase. It might bring together a quilting guild, a school, a neighbourhood, a family or a group remembering someone they love. The part worth borrowing is the approach: give people a clear purpose and a manageable way to contribute.

Here is how I would plan a community quilt that people can actually finish, display and enjoy.

1. Decide what the quilt is for

Write its purpose in one or two sentences before you choose fabrics. Are you recording local stories, celebrating a school anniversary, raising money, honouring a person or making a quilt to donate?

This decision helps with everything that follows, especially when someone asks what to put on their block. If the subject involves people’s names or personal experiences, decide how you will seek permission and what you will keep private. That conversation is much easier before the sewing begins.

For more examples of quilts carrying a public message, see our resistance quilts and protest patchwork guide.

2. Work backwards from the finished size

Start with a realistic display space and the number of contributions you expect. For a simple example, 48 blocks finishing at 8 inches each, arranged six across by eight down, make a centre measuring 48 by 64 inches before borders. With a standard quarter-inch seam on each side, contributors would submit unfinished blocks measuring 8½ inches square.

Choose one size and say clearly whether it is the unfinished submission size or the finished size after joining. Those extra half-inches are exactly the sort of detail that can turn a pleasant sewing afternoon into an evening with a seam ripper.

If beginners or children will decorate fabric squares, consider preparing the base pieces for them. You can give experienced quilters the job of squaring up and joining the contributions later.

3. Write a one-page contributor guide

Keep it short enough that people will read it. Include:

  • The quilt’s purpose and who may contribute
  • Exact unfinished block dimensions
  • Fabric and colour guidance, if needed
  • Suitable techniques, such as piecing, appliqué, embroidery or fabric markers
  • Any limits on beads, buttons or bulky embellishments
  • The deadline and delivery address
  • Whether blocks may be photographed or displayed publicly
  • How contributors will be credited

Projects such as the We the People Quilt show how useful clear instructions can be when many makers are contributing different designs. Its organisers also explain why stitched or painted details may be more durable than glue alone.

4. Make a sample before inviting everyone in

Sew one block to your own rules. Measure it, photograph it and ask a beginner to follow the instructions. If they have to message you three times to ask what you meant by “8-inch square,” the guide needs another edit.

A sample is particularly useful when the quilt will contain words. Check that lettering remains readable after seam allowances take a bite out of the edges.

5. Plan jobs beyond making blocks

Someone needs to log arrivals, check measurements, arrange the layout, piece the top, quilt it, bind it and make a label. For a large project, you may also need people to store sections, fund postage and organise the final display.

Ask volunteers which part they want to do. Not everyone enjoys precision piecing, but someone may be brilliant at tracking contributions or taking photographs. If donated scraps are part of your plan, our string quilt block tutorial offers an approachable option for using narrow strips.

For a project made from new quilting cotton, a coordinating bundle from Fat Quarter Shop or Connecting Threads could help keep the background consistent while leaving contributors free to add their own colours. Check what your group already has first. Community quilts have a lovely habit of beginning in several well-stocked fabric cupboards.

6. Decide where the quilt will go

Will it hang in a library, travel between community spaces, be given to a family or be raffled for a cause? Confirm the venue’s hanging requirements and the quilt’s eventual owner. Agree on who can lend it, photograph it and look after it when the event is over.

Add a label recording the project name, dates, purpose and contributors. Our stitched envelope quilt label tutorial is one way to keep some of that history with the work.

Then photograph the finished quilt and its details. From across a room, people will see what the group achieved together. Close up, they can see what each maker gave.

RSS feed: More Articles More Articles

  • 20 Kids Crafts That Use Upcycled Toilet Roll Tubes
  • Bundle Halloween ITH Toy Machine Embroidery Designs – Etsy Review
  • Resources for Teaching Cursive to Kids
  • 100 FREE Autumn and Fall SVG Cut Files and Printables
  • How Was the Stolen Neighbors Quilt Made? The Community Behind 12,500 Squares
  • 7 Woven Ribbons Quilt Patterns for a Beautiful Interlaced Look
  • Fall Quilt Set Sale: Cozy Ready-Made Quilts for an Autumn Bedroom
  • Cross Stitch Lids for Mason Jars
  • Knit an Adorable Set of Sea Creatures
  • 12 FREE Halloween Kids in Costumes Digital Stamps

Pick Your Blog

  • Sewing
  • Knitting
  • Quilting
  • Crochet
  • Home & Garden
  • Recycled Crafts
  • Scrapbooking
  • Card Making
  • Polymer Clay
  • Cross-Stitch
  • Edible Crafts
  • Felting
  • Glass Art
  • Indie Crafts
  • Kids Crafts
  • Jewelry Making
  • Lesson Plans
  • Needlework
  • Bath & Body
  • Party Ideas
  • Candle Making
  • DIY Weddings
  • Not Craft
  • Free Craft Projects

Copyright © 2026 · CraftGossip | Start Here | Contact Us | Link to Us | Your Editors | Privacy and affiliate policy