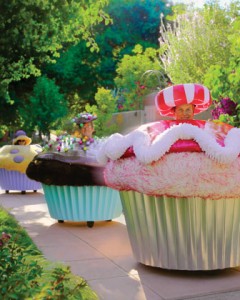
 As found via CakeSpy: the Cupcake Car from Neiman Marcus. Really. A cupcake car. How cute but sort of odd would it be to drive around DC in one of these?
Have you read?
HALO-5 Embroidery Machine Review: Are Five Needles Worth the Upgrade?
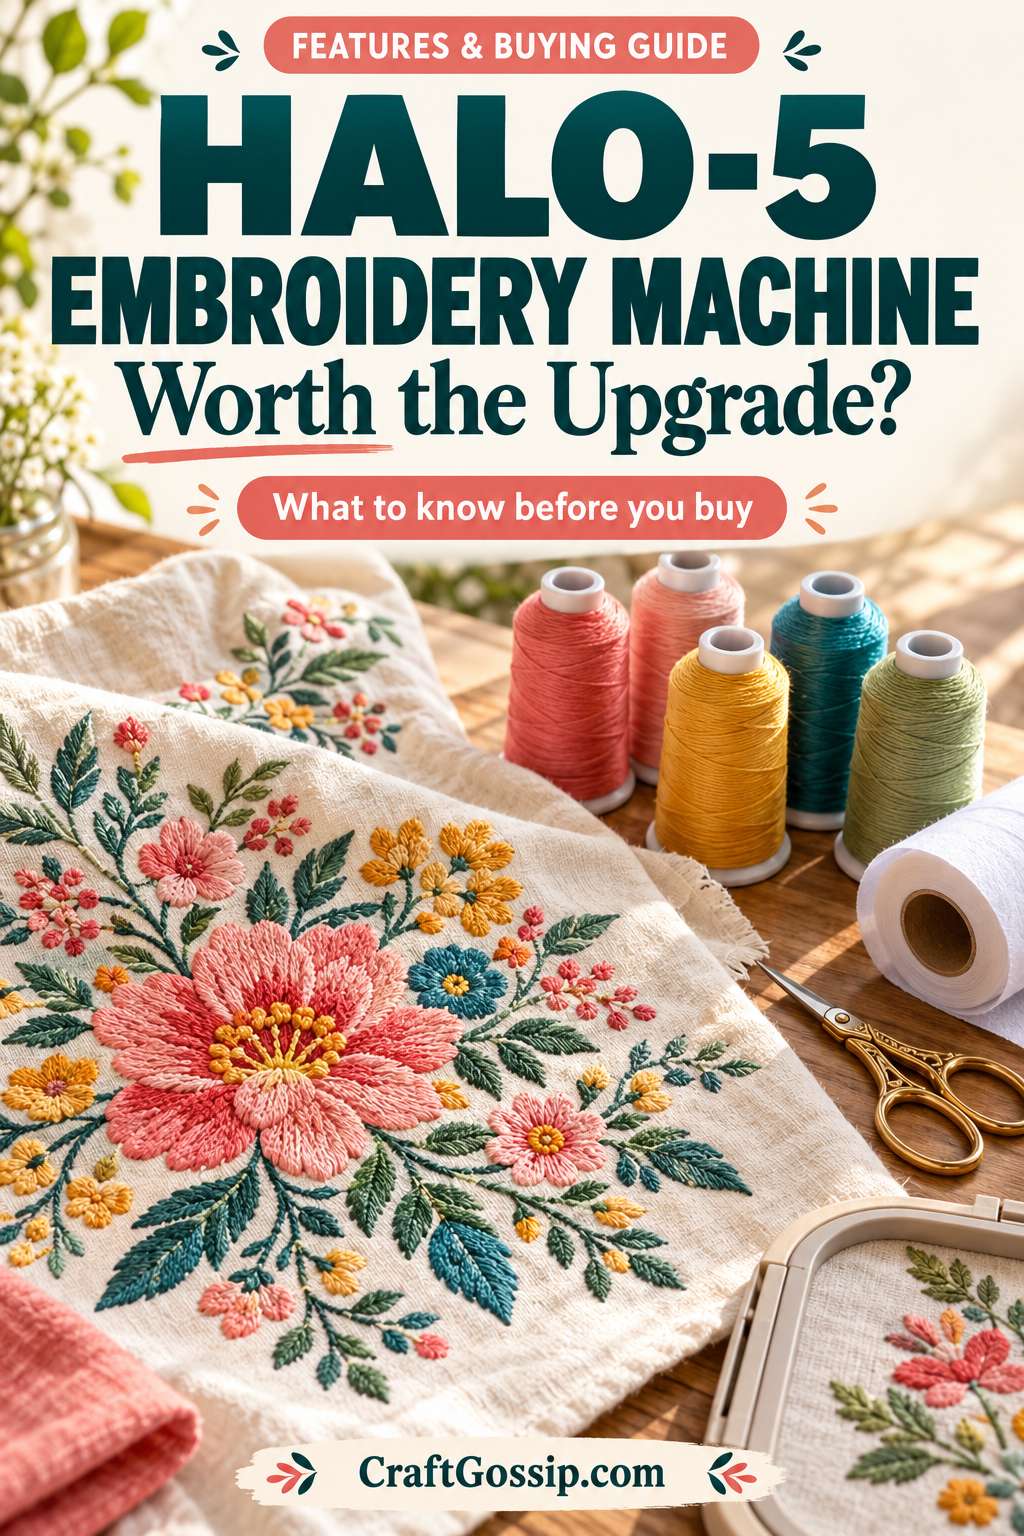
There comes a point with machine embroidery when changing thread colours starts to feel like a hobby all of its own. You sit down to make a personalised gift, load a lovely design, and then spend rather more time rethreading than you imagined.
That is what makes a multi-needle embroidery machine so appealing. Having several colours ready to go could make colourful projects feel less stop-start, especially when you are making matching gifts or stitching the same design repeatedly.
The HALO-5 embroidery machine is being promoted around that convenience, alongside image-to-embroidery technology and room for larger designs. Those are attractive promises for home crafters and small handmade businesses, but what do they actually mean for everyday stitching?
Here is my practical assessment of the announced features, the potential advantages, and the questions I would want answered before making space for one in the craft room.
Review disclosure: This article evaluates published product information. It is not a hands-on test, and stitch quality, ease of use and long-term reliability have not been independently assessed.
What Is the HALO-5 Embroidery Machine?
According to the official HALO-5 launch page, the machine offers five needles with automatic colour changes, mobile-app auto-digitising, a stitch preview, a built-in design library and an advertised 10 × 16-inch embroidery area. The company also promotes cap and specialty-frame embroidery, plus a brushless main-shaft motor. These are manufacturer claims rather than independently verified performance results.
The practical attraction is having several thread colours available during a project. For someone moving from single-needle embroidery, that could change the rhythm of making considerably.
However, needle count is only one part of choosing a machine. Hooping, design preparation, fabric support, maintenance and access to help deserve just as much attention.
Five Needles: Where the Convenience Could Matter Most
Think about a design that repeatedly switches between pink, green, cream and brown. On a single-needle machine, each colour change requires the appropriate thread to be loaded again.
A multi-needle setup can reduce that repeated work when those colours are already threaded and correctly assigned.
For me, the most convincing use case is repeat stitching. Making one floral gift is lovely. Making six matching gifts is where repeated threading starts to eat into your afternoon.
There is a limit to the convenience, though. Five needles do not mean unlimited colours without intervention. A design using more than five distinct thread colours requires planning and potentially changing threads during the job.
I would look at the designs you actually enjoy stitching before deciding whether five needles are enough. Count the colours in your favourite files, especially the ones you make repeatedly.
A Larger Embroidery Area: Useful Space or Tempting Excess?
A larger working area can be appealing for statement embroidery, decorative panels and projects that otherwise require repositioning.
But the useful question is not simply, “How big can it stitch?”
It is, “How big are the projects I want to make?”
If most of your embroidery consists of small names, modest monograms and little motifs, a large field might be an occasional bonus. If you regularly plan bold decorative pieces, it could influence your buying decision much more.
I would also confirm which hoop sizes are supplied. The maximum embroidery field and the contents of the accessory box are separate things.
Large projects need thoughtful preparation, too. More stitching can mean more fabric movement, more weight to manage and a greater investment in materials if something goes wrong. Extra space is useful, but it does not remove the need for a well-prepared design.
Auto-Digitising: The Feature I Would Examine Most Closely
Turning your own artwork into embroidery is an exciting idea. A child’s drawing, a simple motif or an original illustration can feel much more personal than another downloaded design.
However, converting an image into stitches involves more than tracing its edges.
A stitch file needs decisions about stitching order, stitch direction, density, underlay and how shapes behave when thread pulls on fabric.
That is why I would approach automatic conversion as a starting point that needs checking.
For a meaningful demonstration, I would want to see several different kinds of artwork:
- A clean, simple shape with clear edges.
- Lettering at the size intended for the finished project.
- A design with overlapping colours.
- A more detailed illustration.
Then I would want to see the actual stitch-outs, including the backs.
A polished screen preview is helpful, but fabric has opinions. The important result is what happens after the design leaves the screen and meets a needle.
Before relying on the app, I would also confirm whether there are subscription fees, conversion limits, internet requirements or restrictions on exporting files.
Stitch Quality: What a Proper Test Needs to Show
Without stitched samples, I cannot fairly call the HALO-5’s embroidery crisp, consistent or trouble-free.
What I can explain is what would make a convincing test.
I would begin with a suitable stable woven fabric and a professionally prepared design. That establishes a more useful starting point than testing an unfamiliar machine with an untested image conversion.
I would examine:
Lettering: Are the letters readable at the intended size, with clear spaces between them?
Outlines: Do borders meet the shapes they are supposed to surround?
Filled areas: Is coverage appropriate without turning the fabric into a stiff patch?
Colour changes: Do successive sections line up?
The reverse: Is there excessive looping, nesting or other evidence of a problem?
I would then repeat a design and compare the results. One attractive sample is encouraging; repeatable results are much more useful.
For washable projects, I would also inspect the embroidery after laundering according to the materials’ care instructions.
Stabiliser Still Deserves a Place in the Budget
It is easy to become absorbed in machine features and forget the less glamorous supplies.
But embroidery stabiliser is doing an important job beneath all that lovely thread.
The backing needs to suit the fabric, the design and the finished item’s use. Stretchy clothing, dense embroidery and textured towels present different challenges.
Our guide to choosing stabiliser for machine embroidery explores those considerations in more detail.
I would budget for practice fabric, suitable backing, embroidery thread, compatible needles and bobbins alongside the machine. Check the specified needle system before buying supplies. A packet that suits your domestic sewing machine may not suit a different embroidery setup.
A modest supply collection chosen carefully is more useful than an enormous bargain bundle bought before checking compatibility.
Caps, Pockets and Awkward Items Need a Demonstration
Personalised caps and small accessories sound like wonderful projects, particularly if you enjoy making gifts or selling customised items.
They also introduce access and positioning challenges.
For cap embroidery, I would ask for a demonstration using the type of cap I intended to stitch. A soft unstructured cap and a structured cap with a prominent centre seam are different starting points.
For pockets, the key question is whether the machine can reach the intended area without stitching through another layer. A frame does not automatically make every finished pocket accessible.
Before buying specialist accessories, I would ask:
- Which frames are included?
- Which must be purchased separately?
- What are their usable embroidery dimensions?
- Are there restrictions on item shape, thickness or opening size?
- Is training available for each attachment?
A demonstration on your own blank item would be particularly helpful.
Is the HALO-5 Suitable for Beginners?
My view is that a beginner should assess the teaching and support package as carefully as the hardware.
Someone new to embroidery needs to learn threading, bobbin handling, hooping, stabilising, file preparation and basic troubleshooting. Extra needles may reduce repeated colour changes, but they do not replace those skills.
I would want clear instructions for recovering from a thread break, identifying a tension problem and returning to the correct point in a design.
For early projects, I would keep things manageable: suitable woven fabric, a modest design and a limited colour palette.
There is plenty of time for ambitious projects once the basic process feels comfortable. Your first afternoon does not need to involve a cap, tiny lettering and a deadline.
Our article on preventing machine embroidery puckering is useful preparation for spotting fabric distortion before it becomes a recurring frustration.
Could It Suit a Small Embroidery Business?
Potentially, but I would assess it against the work you plan to sell.
For a small business, the useful measure is the time needed to produce a finished, saleable item. That includes preparing the design, hooping, stitching, trimming, checking quality and packing.
A machine can reduce one part of that workload while leaving the rest unchanged.
Before buying, I would calculate costs using a realistic project: one you could genuinely sell, at a price your customers would pay. Include blanks, thread, stabiliser, design licensing, labour and an allowance for mistakes.
I would also confirm that purchased designs and any included library designs permit the intended commercial use.
If personalised clothing proves awkward to handle, separately stitched patches might offer another product route. Our introduction to making patches on an embroidery machine explains the general approach, although HALO-5 compatibility still needs checking.
Space, Weight and Everyday Practicalities
One detail needs clarification before treating this machine as portable: the launch page gives conflicting weights of 55 lb and 59 lb, approximately 25 kg and 27 kg.
Either way, I would plan a stable, dedicated position rather than assume it could be casually lifted onto the dining table.
Ask for the complete operating footprint, including space for hoop movement, thread access and the items being embroidered.
I would also want to hear the machine running in an ordinary room. Noise is personal, and a brief demonstration in a busy showroom does not necessarily tell you how it will feel beside your home office.
What I Would Confirm Before Ordering
My essential checks would be:
- The final specification sheet and operating manual.
- The complete price, currency, delivery costs and included accessories.
- Supported embroidery file formats.
- App compatibility, fees and file-export options.
- Maximum working speed and recommended settings for different projects.
- Cleaning, oiling and servicing requirements.
- Written warranty terms covering this exact model and purchase location.
- Who handles repairs and supplies replacement parts.
- Training arrangements and support hours.
- Delivery timing and return conditions.
For Australian buyers, I would specifically ask who provides local servicing and where the machine would need to go if repairs were required.
My Take: Promising Features, With Performance Still to Establish
The HALO-5’s appeal is easy to understand. Less repeated threading, scope for original artwork and room to explore bigger projects could be a useful combination for an enthusiastic embroiderer.
The strongest reason to consider it is a clear match with the projects you already want to make.
I would be more cautious about buying solely because automatic digitising sounds effortless or because embroidery seems like an easy business opportunity. Both still need practical skills and realistic expectations.
Before recommending it as a purchase, I would want to see repeat stitch-outs, usable instructions and clear support arrangements. Those details would tell me far more than an impressive feature list.
There is nothing wrong with getting excited about a new machine. I would simply bring a favourite design, a suitable fabric sample and a few practical questions to the demonstration. The most useful embroidery machine is the one that helps you finish projects you love, with support available when the thread decides to misbehave.