I’ve been running across so many cowl patterns lately that it MUST be a trend. I’m not one who is usually ‘up’ on trends, especially fashion trends. But, for what it’s worth, I like using a cowl on cold, wintry days to keep my neck warm. Other scarves work well too, but these add a bit of color around the neck without much bulk, and can be used as ‘jewelry’ too – embellishing a simple sweater or even a sweatshirt.
Since these lovely cowls typically use small amounts of yarn, this is an opportunity to splurge on a skein of that special yarn you’ve been yearning for. It’s also an opportunity to use up some odds and ends you might have on hand. Since they work up so quickly, make some for yourself and as warming winter gifts for friends and loved ones.
Check out these freebies I’ve run across.
This first one is from a lovely blog written in Scotland. Be aware of the variations in stitch terminology. Check here for clarification:
http://www.garnstudio.com/lang/en/includes/chart_crochetterms.php
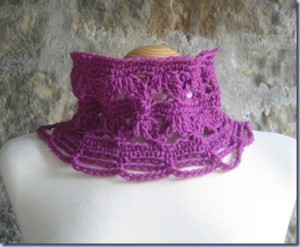
http://goodtimesithinkso.blogspot.com/search/label/Crochet
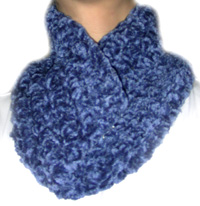
Crochet Me offers this lovely freebie – really simple to make:
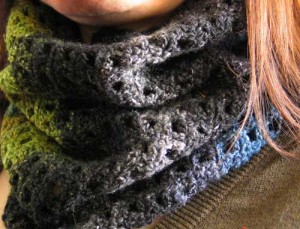
Flexi cowl CrochetMe
http://crochetme.com/patterns/flexi-cowl
If you have some vintage buttons or a pretty antique broach, use it to accent this cowl. Oh, by the way, you’ll actually need a long neck for this one! LOL. Not for me. But, it’s really pretty, isn’t it?
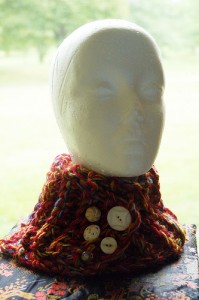
http://www.craftleftovers.com/blog/archives/433
Finally, there’s my all time favorite cowl – the simple Moebius. Use any weight yarn, any size hook, any soft fiber. Here’s one that two of our CrochetPartners offer:
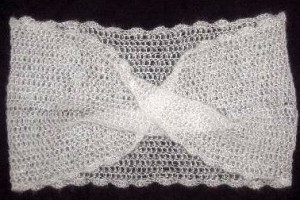
Design concept by Mirjam Bruck Cohen, Israel Written by Bonnie Pierce, USA
http://home.comcast.net/~gandal195/MoebiusShawlPattern.htm
And, the absolutely easiest one of all is this freebie:
http://www.crochetspot.com/crochet-pattern-absolutely-easy-neck-warmer/