Creating custom candle colors is one of the most satisfying parts of candle making, and it all starts with understanding basic color mixing. Almost every shade can be achieved by blending the three primary colors: red, blue, and yellow. By adjusting the ratios, you can create anything from soft pastels to deep, dramatic tones.
To lighten a candle color, add a small amount of white dye. This softens the shade and creates a more muted or pastel look. To deepen or darken a color, a tiny amount of black dye can be added — but use it sparingly, as black is very strong and can quickly overpower other colors.
Why Melted Wax Looks Different Than Finished Candles
One of the biggest beginner mistakes is judging candle color while the wax is still melted. Melted wax can appear much lighter, clearer, or even translucent, especially with certain pigments. The true color only reveals itself once the wax cools and sets.
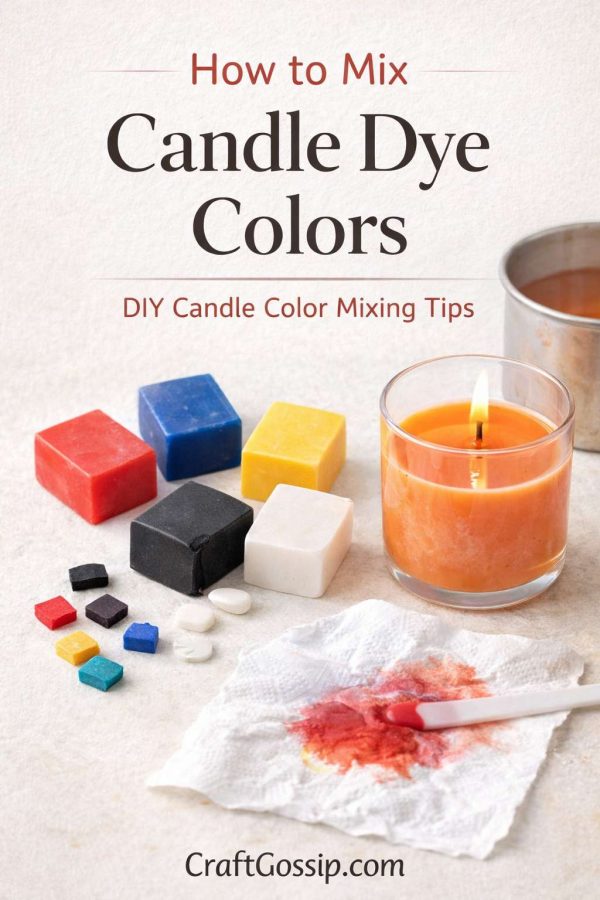
A simple and reliable way to test your color is to drip a small amount of the dyed wax onto a paper towel or scrap of parchment paper. Allow it to cool completely. If the color is too light or too dark, you can adjust it before pouring your candles. This quick test saves time, materials, and frustration.
Avoiding Color Issues in Candle Making
Overheating your wax can negatively affect candle dye, causing colors to fade, darken unexpectedly, or shift in tone. Always follow recommended temperature guidelines for both your wax and dye.
If you’re using solid dye chips or blocks, make sure they are fully melted and evenly dispersed. Any undissolved particles left floating in the wax can cause speckling or uneven color in the finished candle.
Basic Candle Color Mixing Guide
Here are some simple and popular color combinations to get you started:
- Blue + Yellow = Green
(More yellow creates a lighter, brighter green) - Yellow + Red = Orange
- Blue + Red = Purple
- Blue + Green = Turquoise or Teal
Once you’re comfortable with these basics, you can fine-tune shades by adding tiny amounts of white or black to adjust brightness and depth.
Liquid Dyes vs. Dye Blocks and Chips
Candle makers often ask whether liquid dyes or solid dye blocks are better. Both work well, but they offer different experiences.
Some people prefer liquid candle dyes because they’re easy to mix and great for experimenting, especially when starting out. A basic set of red, blue, and yellow liquid dyes allows for endless color combinations and hands-on learning.
Personally, I prefer solid dye blocks or chips. They’re less messy, easier to store, and make it simpler to control how much color you add. I also find it easier to achieve consistent results when measuring solid dyes rather than pouring liquids.
Final Tip for Consistent Candle Colors
Start with small amounts of dye and build color gradually. It’s much easier to deepen a shade than to lighten one that’s gone too dark. With a little practice and patience, color mixing becomes second nature — and your candles will look beautifully professional every time.