 Here’s another Christmas ornament tutorial that anyone can do. It doesn’t require a kiln or a torch…just a class ornament, some fake snow, some glue and rhinestones and some beads to finish it up. I found this over at Things that Sparkle blog. It’s easy and adds a few more ornaments to your tree…and I’ll be back with more ornament tutorials. Can’t have enough and they make great hostess gifts or something to bring to a party…
Have you read?
Learn about Costa Rica for Kids
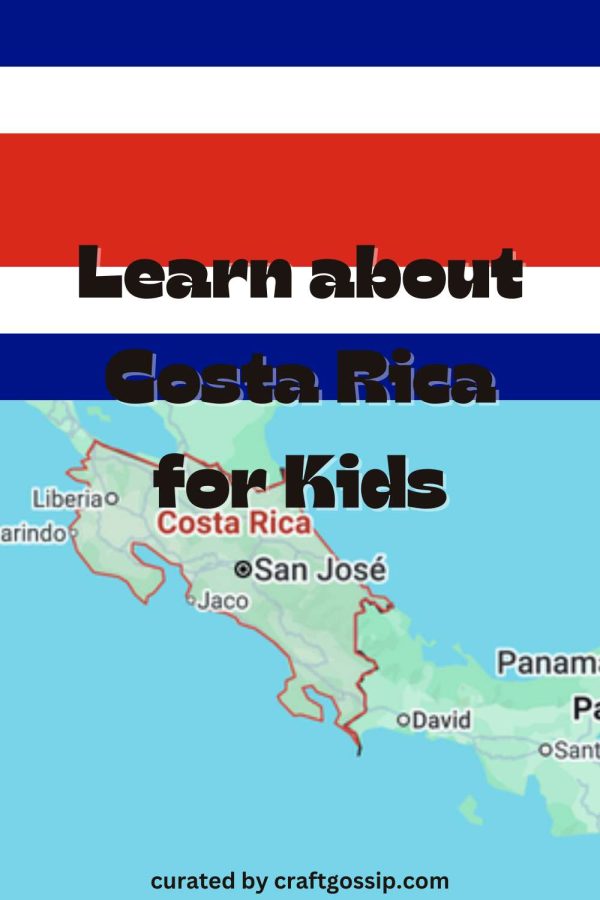 I have a friend whose family is from Costa Rica so I’m excited to share more about this Central American country with you. Officially the Republic of Costa Rica, it borders both the Caribbean Sea and the Pacific Ocean, and has a maritime border with Ecuador, as well as physical borders with Nicaragua and Panama.
Costa Rica Basics
The country has a population of about five million and a land area of about 19,760 square miles (or 51,180 square kilometers). The capital, San Jose, is also the largest city, with a metropolitan area population of around two million.
Costa Rica had an indigenous population before Spain colonized it in the 16th century. It became part of the First Mexican Empire, then the Federal Republic of Central America, from which it declared independence in 1847.
Costa Rica abolished its army in 1949 following a civil war, making it one of the few sovereign nations without a standing army.
The official language is Spanish but other indigenous languages and patois are also recognized. The name means “the rich coast” in Spanish.
It is a presidential republic with a president and two vice presidents, as well as a legislative assembly.
Costa Rica has a tropical climate and has a great amount of biodiversity. The country has stopped deforestation and worked to restore habitats that had been destroyed.
As of 2023, about 95 percent of the nation’s electricity was generated from renewable resources (mostly hydropower).
Costa Rican National Symbols
The Costa Rica flag features blue stripes at the top and bottom, with white stripes next to those and a wider red stripe in the center. The same flag has been used, with minor modifications and changes to the coat of arms, which is shown on some versions of the flag, since 1848. Because the country gained its independence during the French revolution the colors stand for the ideals of that struggle: freedom, equality and brotherhood.
The colors can also represent the blue sky and perseverance, clear thinking and the sun casting its light of freedom on the people of Costa Rica, among other things.
The national anthem is “Himno Nacional de Costa Rica,” or “National Anthem of Costa Rica,” also sometimes known by the lyric “Noble patria, tu hermosa bandera” (“noble fatherland your beautiful flag”). It was fist adopted in 1852, but the lyrics have changed through the years and became official in 1949.
La guaria morada, a purple orchid, is the national flower of Costa Rica. Guanacaste, or elephant ear tree, is the national tree.
The national bird is the Yigüirro or clay-colored thrush, and the white-tailed deer and manatee are considered symbols of the fauna of the country. The two native species of sloths are also considered national symbols.
The marimba is the national instrument, and the oxcart (la carreta) is considered a national symbol for its historic role in the economic and social development of the country.
Indigenous stone spheres, recognized as a world heritage site by UNESCO, are also a national symbol (more on them below).
And of course, coffee is recognized as being of national importance to the country’s economic development.
Costa Rica Activities for Kids
Pull out all your rainforest activities to talk about the animals and plants of Costa Rica. A few to get you started: jungle math from Turner Tots, rainforest animal coloring pages from The Craft Train, rainforest bingo from Precision Roller, and a climbing tree frog craft from Barley & Birch.
Learn about the phrase “pura vida,” which means pure life but is also kind of a way of life in Costa Rica.
Check out how Unremarkable Files studied Costa Rica at home, and learn some cool Costa Rica facts with these printable fact sheets from Kids Activities Blog.
Find Spanish resources for teaching about Costa Rica from Srta Spanish. There are lots of resources in English and Spanish for learning about Costa Rica at Teachers Pay Teachers.
Read some books about Costa Rica like ABCs of Costa Rica or Animals of Costa Rica.
Listen to some Costa Rican marimba music (that link is to a long playlist of videos to choose from).
Learn more about the mysterious stone spheres and talk about how and why you think they were made.
One of the most popular dishes in Costa Rica is gallo pinto, which despite sounding like meat (it literally means spotted rooster) is actually beans and rice. Of course everyone’s abeula has their own recipe but you can try this one from Striped Spatula, which uses black beans, or this one from Pura Vida Moms, which I love because it specifically calls for day old beans and rice.