• Home
  • Suggest A Craft
  • DIY Newsletter

Craft Gossip

The largest independent craft review site since 2007

  • About CraftGossip
  • Our Network
    • Bath & Body Crafts
    • Candle Making Ideas
    • Crochet Ideas
    • Cross Stitch
    • Edible Crafts
    • Felting Patterns
    • Glass Art
    • Home & Garden Ideas
    • Indie Crafts
    • Jewelry Making
    • Kids Crafts
    • Knitting Patterns
    • Lesson Plans
    • Needlework
    • Party Ideas
    • Polymer Clay
    • Quilting Ideas
    • Recycled Crafts
    • Scrapbooking
    • Sewing Patterns
    • Card Making
    • DIY Weddings
    • Not Craft Ideas
  • Giveaways
  • Roundups
  • Store
  • Search

8 Desserts To Cook On The Campfire

May 24, 2014 by Larissa Coleman

campfiredesserts

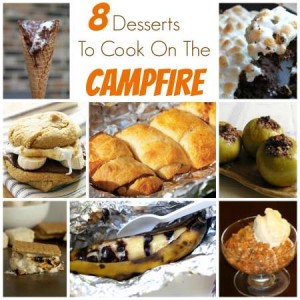
The warm summer months bring about the opportunity to build a campfire and whether or not you build that fire at your favorite camp site or in a fire pit in your back yard, you have the chance to make some type of campfire food.  Today we have brought to you 8 different dessert recipes that can be cooked on your campfire, sure to satisfy your sweet tooth.

Looking for more Campfire Cooking recipes? Check out this amazing Camping cook book on Amazon.


campfire-cones3

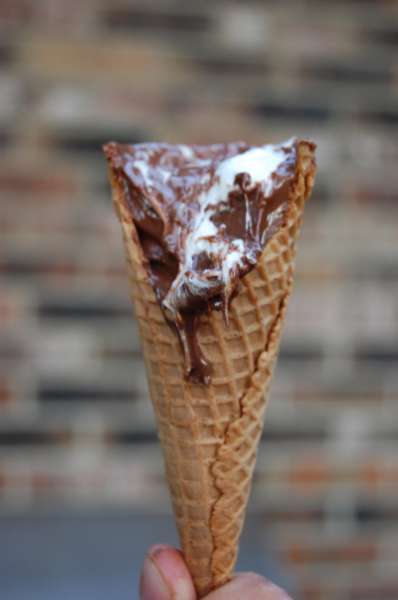
1- Campfire Cones from Haute Apple Pie

smorebrownie

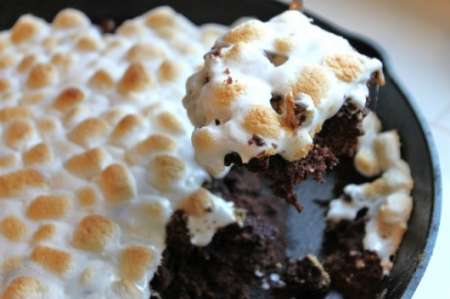
2- Grilled S’more Brownie from Created By Dianne

smores-banana-l

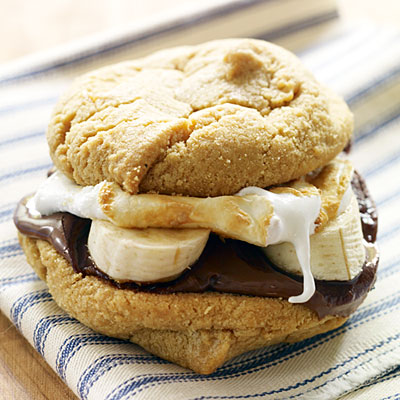
3- Nutella and Banana S’mores from Sunset

applecrescents

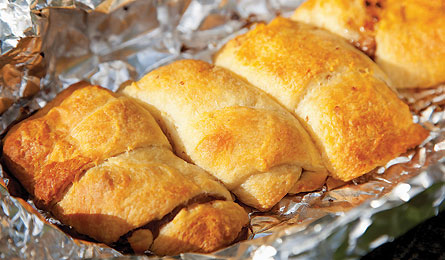
4- Warm Apple Crescents from Back Packer

bakedapples

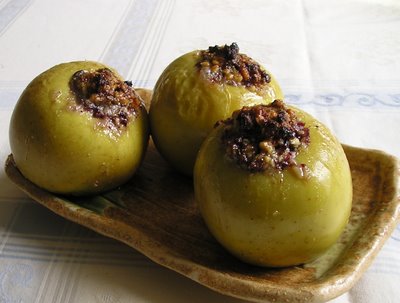
5- Baked Apples from SugarDoodle

Pinacolada-smores

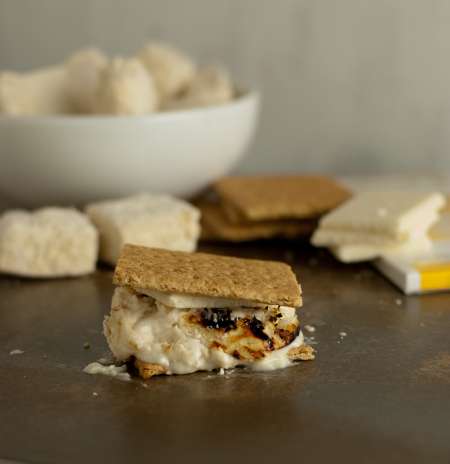
6- Pina Colada Smores from Pineapple and Coconut

banana-boat

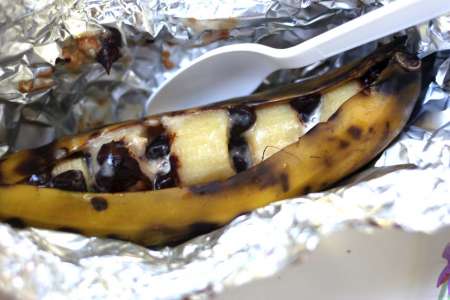
7- Banana Boats from This Week For Dinner

peachcrisp

8- Dutch Oven Peach Crisp from Oh Sweet Basil

Read These Next

  • 20 Palate Pleasing Slab Pies
  • 10 Camping Inspired Kids Crafts
«
»

Comments

  1. Gigi says

    May 30, 2014 at 3:18 pm

    I don’t understand what makes the pins colada snores. All you mentioned was graham crackers , chocolate, and marshmallows. What makes it pina colada?

  2. Debbie says

    June 5, 2014 at 5:39 pm

    pineapple and coconut

Have you read?

Making Popsicle Stick Playing Cards – Surprisingly Fun and Totally Charming!

Okay, I’ll be honest — when I first saw the Popsicle Stick Playing Cards project floating around on Instructables, I wasn’t entirely sold. Popsicle sticks and playing cards? Sounds like a summer camp throwback, right? But curiosity got the best of me (as it usually does with anything slightly crafty and slightly quirky), and I decided to give it a whirl.

And let me just say: I loved this project way more than I expected to.

At its core, this DIY is super simple. You’re basically fusing old playing cards with humble craft sticks to create chunky, tactile “cards” that are durable enough for little hands — or just to enjoy as a cool novelty set. The end result? A full deck that feels a little bit rustic, a little bit retro, and totally unique.

What I really appreciated about this project was how accessible it was. You don’t need anything fancy to get started — just some basic glue, scissors, popsicle sticks (standard size worked fine for me), and of course, a deck of cards that’s either past its prime or missing a few members. We all have one of those lying around somewhere, right?

I ended up using an old UNO deck that was looking pretty rough around the edges, and it turned out great. The cards stick well to the wood, and once everything’s dry, you get these sturdy, chunky pieces that have such a fun hand-feel. It almost reminds me of vintage tile games or big wooden dominoes.

This would be such a great project for kids — whether it’s as a rainy-day craft, a classroom activity, or even as part of a DIY learning game (think memory matching or number recognition). I can see this also being a hit with older adults or people who need cards with a little more grip or visual clarity.

Plus, if you’re a DIY gift-giver like I am, imagine pairing these with a handmade fabric pouch or wooden box for a personalized twist. It would make a really thoughtful and low-cost present for a game lover or nostalgic friend.

Now, one tiny tip: make sure to let everything dry completely before stacking or using them. I rushed a bit on my first batch and ended up with a few cards stuck together. A bit of sanding or sealing would probably help prevent that too, especially if you want them to last.

Overall, this craft hit all the right notes — easy, upcycled, fun, and surprisingly satisfying to hold in your hands when they’re done. It’s a fantastic way to breathe new life into something old, and I honestly can’t wait to make a few themed sets as gifts.

So if you’re on the fence, give it a try. It’s playful, it’s practical, and hey, it might just be your new favorite weekend project.

RSS More Articles

  • Making Popsicle Stick Playing Cards – Surprisingly Fun and Totally Charming!
  • Book Review: Sewing Made Simple: Craft Your Own Clothes with Confidence
  • 12 Scrapbook Layouts with Lots of Layers
  • Cat Themed Learning Activities
  • The Panel Quilting Workshop: 12 Quick-and-Easy Quilting Ideas
  • DIY Beaded Garden Stakes
  • Free Jelly Fish Crochet Pattern
  • Strawberry Cross Stitch Patterns
  • Eco-Craft Fun: 25+ Sustainable Activities to Teach Kids About Going Green
  • Stack and Whack Four Patch Quilt Tutorial – A Beginner-Friendly Quilting Method You’ll Love

Pick Your Blog

  • Sewing
  • Knitting
  • Quilting
  • Crochet
  • Home & Garden
  • Recycled Crafts
  • Scrapbooking
  • Card Making
  • Polymer Clay
  • Cross-Stitch
  • Edible Crafts
  • Felting
  • Glass Art
  • Indie Crafts
  • Kids Crafts
  • Jewelry Making
  • Lesson Plans
  • Needlework
  • Bath & Body
  • Party Ideas
  • Candle Making
  • DIY Weddings
  • Not Craft
  • Free Craft Projects

Copyright © 2025 · CraftGossip | Start Here | Contact Us | Link to Us | Your Editors | Privacy and affiliate policy