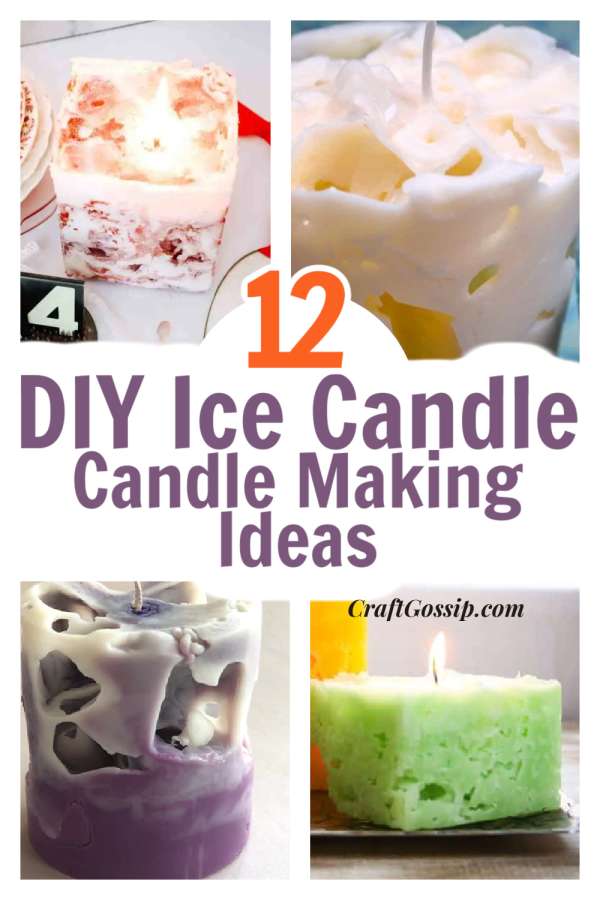
This roundup of tutorials shows you how to make candles with ice cubes. Ice cubes in candles is actually one of the very first candle-making classes I taught to a bunch of 8-12-year-olds. Ice candles are great for craft activities when they need to take the team home with them, the ice forces the wax to set fast, making them set enough for transporting.
Ice candles are pretty to look at and if made correctly they can be great for burning too, but personally, I think they are just best used as a decorative piece as they can be a little unstable. As with all candles only burn with supervision.
So how do you make a candle with ice? Ice cubes form decorative shapes around the wax. To create a candle that burns well you need to make sure the wick is coated in wax so the wick has wax around it to burn.
Wax candles are great for short burn events, such as a wedding or party, you can make them quickly and they look pretty on the table, but are not required to burn for more than a few hours.
How To Make An Ice Candle – Running With Sisters
How to Make Candles with Ice – AB Crafty
How to Make Ice Candles: DIY Instructions | Honest to Nod
Recycle Old Candles and Make Ice Candles – Hello Glow
How to Make Candles with Ice Cubes – Welcome To Nana’s
How to make Miniature Ice Candles!
How to Make Beautiful Ice Candles – Fiddle Leaf Interiors
Milk Carton Crayon Ice Candles
Ice candles are a unique and beautiful addition to any home decor, perfect for setting the mood at special occasions or simply adding a touch of warmth and coziness to your space. They are also incredibly easy and affordable to make, and with a few simple steps, you can create ice candles that burn well and look stunning.
Materials:
Candle wax
Double boiler or a large pot and a smaller pot
Candle wick
Ice cubes
Large container (such as a bucket or large bowl)
Cooking spray or petroleum jelly
Essential oils (optional)
Candle dye (optional)
Instructions:
Melt the wax: Begin by melting the paraffin wax in a double boiler or in a large pot on the stove. If you don’t have a double boiler, you can use a smaller pot inside a larger pot with water in the bottom. Melt the wax on low heat and stir occasionally until it has completely melted.
Add scent and color (optional): If you want scented and/or colored candles, now is the time to add the essential oils and candle dye to the melted wax. Stir the mixture thoroughly until the color and scent are evenly distributed.
Prepare the container: Grease the inside of the large container with cooking spray or petroleum jelly to make it easier to remove the candle later. Place the candle wick in the center of the container, making sure it is long enough to stick out of the top.
Create the ice mold: Fill the container with ice cubes around the candle wick, leaving about an inch of space at the top. Pack the ice cubes tightly around the wick, as this will create the unique, textured appearance of the ice candle.
Pour the wax: Carefully pour the melted wax into the container, filling it to the top. Allow the wax to cool completely before moving on to the next step.
Remove the candle: Once the wax has fully hardened, remove the ice candle from the container by gently twisting it and pulling it out. You can also place the container in warm water for a few seconds to loosen the candle.
Trim the wick: Trim the wick to about 1/4 inch in length, and your ice candle is now ready to be lit and enjoyed!
Tips:
Use a high-quality paraffin wax for best results.
Adding essential oils and candle dye can enhance the overall experience of the candle, but they are optional.
To ensure your ice candle burns well, make sure the wick is centered and trimmed to the proper length.
If the wax doesn’t fully fill the mold, you can re-melt the remaining wax and top it off.
With these simple steps, you can easily create your own ice candles that burn well and make a stunning addition to any home decor. Enjoy the cozy ambiance and warm glow of these unique candles all year round.