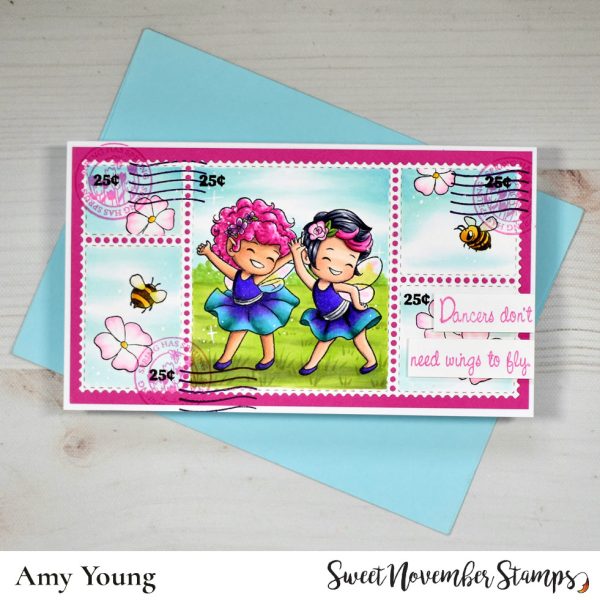
Sweet November has some of my favorite fairy stamps! Amy used them for a trendy Spring postage style card with buzzing bees and falling flowers and a darling dancing fairy scene in the center. She colored her stamped images and created the background using Copic markers. Learn more at A Thousand Sheets of Paper blog.
As someone who loves fantasy I think of Spring as a time when the fairies wake from their winter naps and fly among the blooming trees and flowers. You can include fairies any time of year but I really love incorporating them on my Springtime cards. There also seems to be a lot of brand new stamps featuring fairies released right now so let’s flutter into a big bunch of fabulous, fantasy, fairy card ideas and get some inspiration.
Below each photo you’ll find a link, click it for details like tutorials, techniques and products used.
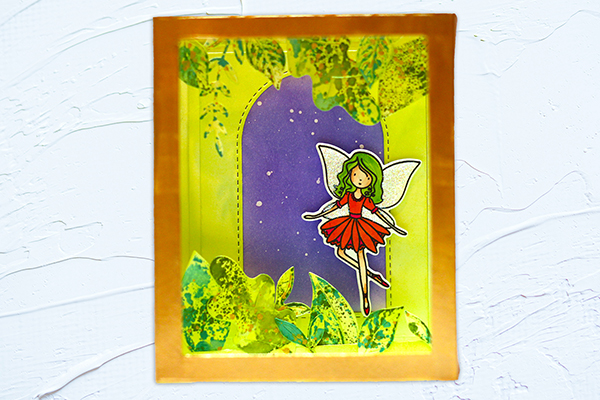
Lydia created a 3D shadow box card for her awesome fairy design. There’s an ink blended and splattered night sky, ink smooshed leaves and the sweet fairy with glittery wings. Watch her video tutorial over at Splitcoast Stampers.
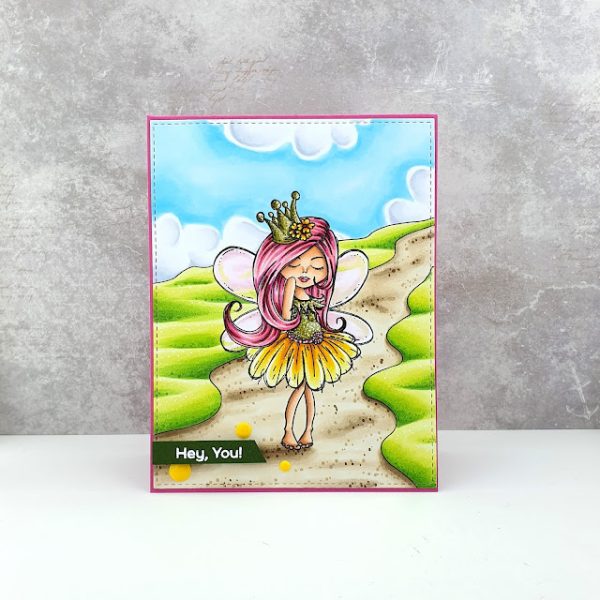
Liz created a wonderful Spring day scene behind her sweet fairy that’s wearing a yellow flower outfit. She drew the road and hills with a fine tip black marker and colored everything in with Copic markers. I love the bright pink hair she gave her fairy! Fairies are perfect for experiment with different hair colors. Take a closer look at the Polkadoodles blog.
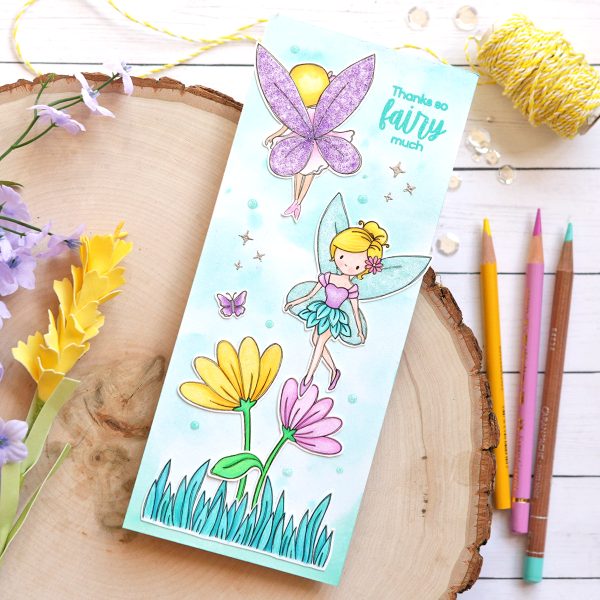
Stephanie used two fairies flying around beautiful blooming flowers on her tall slimline card. She used shimmer powders for her background, heat embossed her sentiment and some sparkles, coloring her flowers and fairies with colored pencils. She sharing more cards from this stamp set over at the Simon Says Stamp blog.
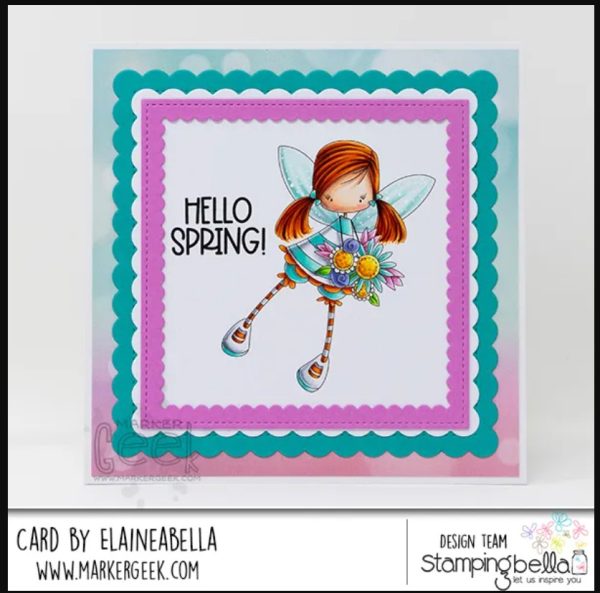
Elaine used a darling fairy stamp from Stampingbella for her pretty Spring card. She colored her fairy with Copic markers and used some of the same colors in the layers of die cut and stacked scalloped frames and edges for a colorful cohesive design. Visit the Marker Geek blog to watch her coloring tutorial.

Open a door to a hidden fairy garden on a stunning card from Amanda. She used Lavinia stamps for this scene, they are known for their beautiful silhouetted fairies and animal stamps. She does weekly live video tutorials and you can find the details on the Lavinia Stamps Instagram page.
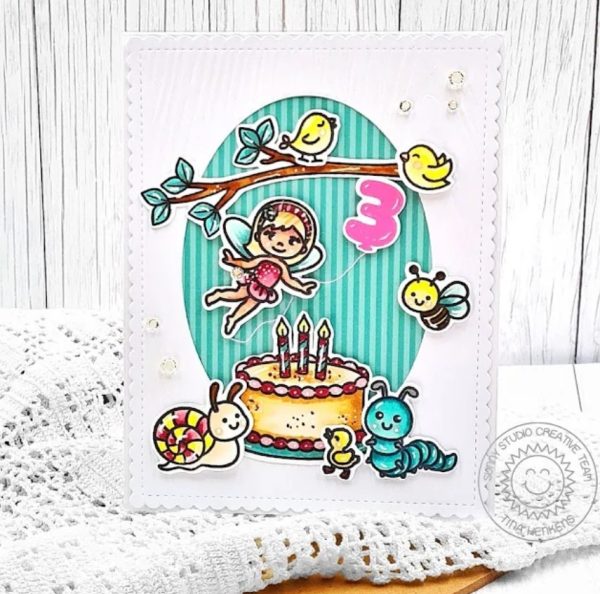
The birds and bugs and a sweet fairy are here to wish a special little someone a very happy birthday! I love how Tina added the number balloon to the fairies hand with twine, so clever! She colored all her stamped image with Copics and added a stripped teal pattern paper behind the die cut oval opening. Find all the details at the Sunny Studio blog.

This fairy is strolling through beautiful blooming flowers in her flower petal dress with beautiful butterfly wings in tones of pink and orange. Having two floral stamped panels and a chunky sentiment helps add depth and dimension to the card design. This card uses products from Crafter’s Companion.

Add an easy background to your fairy card with pre-printed designs like Laurie used on this stunner of a card. The Springtime woodland scene paper comes from Mintay and the fairy on a mushroom stamp is from Conie Fong and was colored with Copics. Find all the details at the Stamp with Laurie blog.
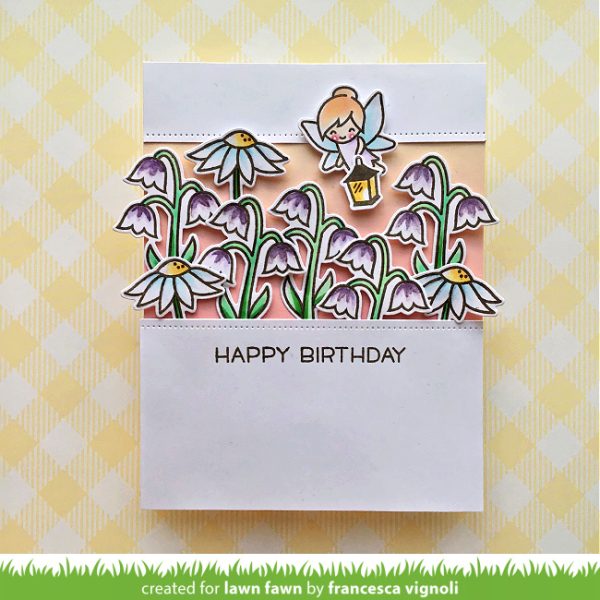
Francesca used two white border panels with a faux stitched edge to drawn the eye to the center of her sweet fairy card. The pattern paper background adds a nice glow behind the flowers that are popping up along with the darling fairy flying by with a lantern for a dusky night design. Take a closer look at the Lawn Fawn blog.
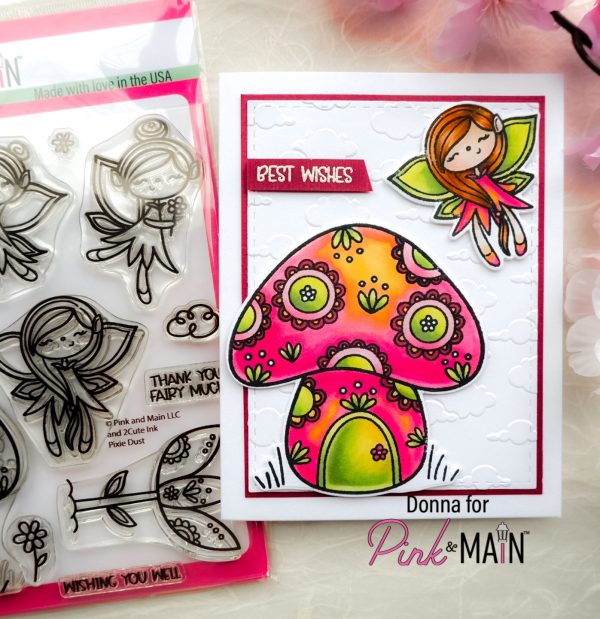
The bold patterns and bright colors on the mushroom and fairy on this card from Donna give me cool psychedelic 70’s vibes and I’m here for it! She added nice texture with the dry embossed cloudy background, faux stitched edges and heat embossed sentiment. Find the details at the Pink and Main blog.
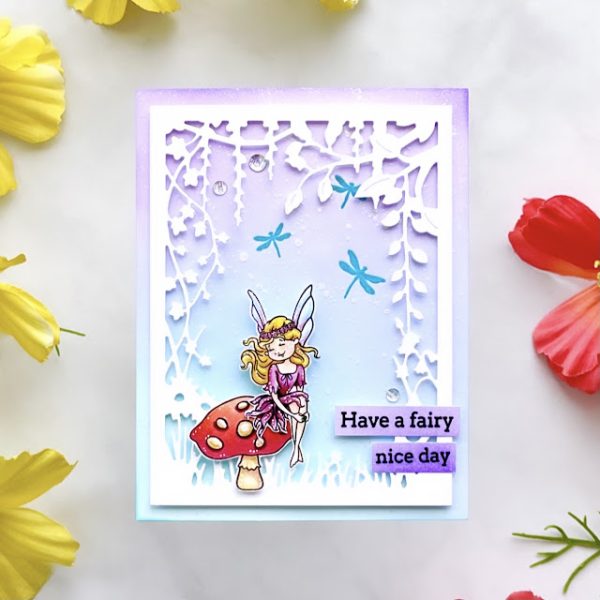
This sweet fairy is sitting in a beautiful fairy glen with trailing vines and flowers with dragonflies fluttering around. Maria used products from Tonic Studio, creating the lavender background with ink blending and splatters of paint and glitter, adding tiny gems for some shimmer with the stamped and colored fairy in the foreground. Visit the Cardbomb blog for a video tutorial.
I hope you’ve been inspired to add some fun and fluttering fairies to your Spring cards!
-Heather
You can shop some of our affiliate companies mentioned in this post:
You can find Lawn Fawn products here on Amazon and over at A Cherry On Top